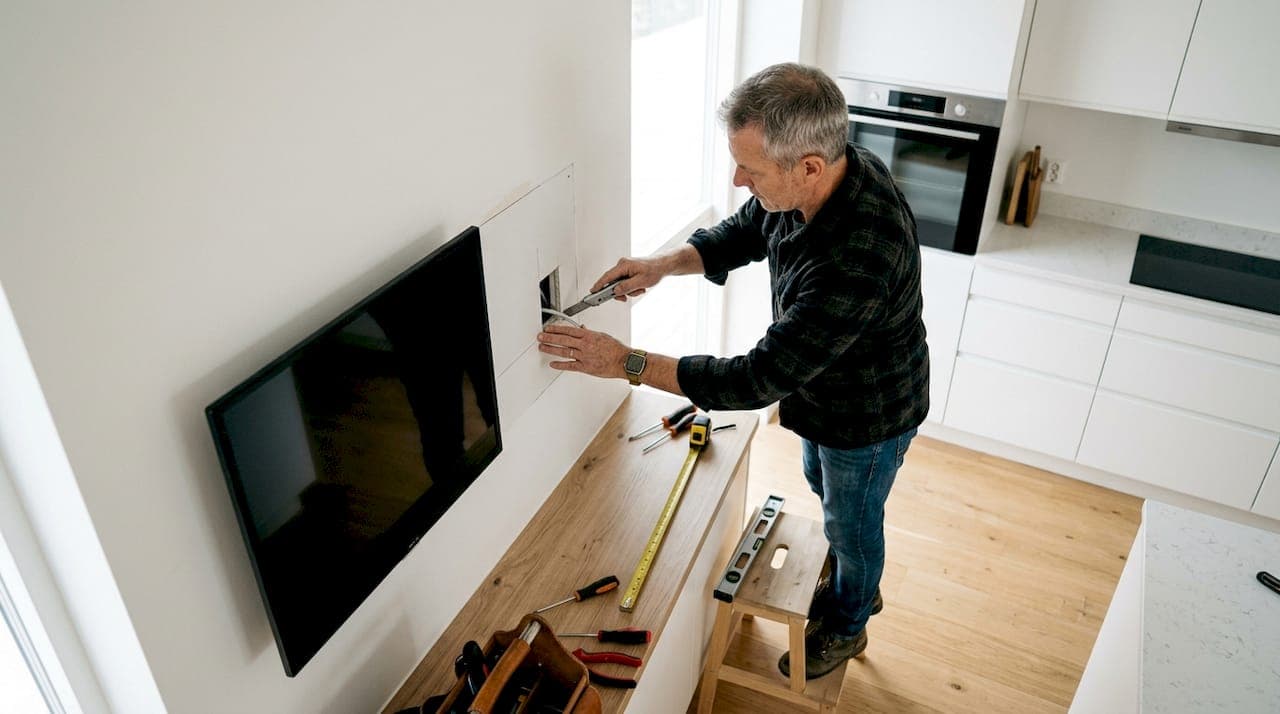
Hiding TV wires in the wall is achieved by running low-voltage cables through wall cavities and using an in-wall power relocation kit to handle power safely and in compliance with the National Electrical Code (NEC). The process involves two distinct cable types: low-voltage signal cables like HDMI and ethernet, and line-voltage power wiring, each with separate code requirements. Only CL2 or CL3 rated cables are permitted inside walls per NEC standards. Getting this right means your finished wall shows nothing but two small flush plates and a clean, cable-free surface.
How to hide TV wires in the wall: tools and materials you need
The right tools make the difference between a clean install and a frustrating afternoon. Gather everything before you cut a single hole.
Essential tools:
- Stud finder with AC and pipe detection (multi-mode detector)
- Drywall saw or jab saw
- Fish tape or fish sticks
- Pencil and measuring tape
- Voltage tester
- Drill with long bit
Materials:
- In-wall power relocation kit (NEC-listed)
- CL2 or CL3 rated HDMI and ethernet cables
- Low-voltage mounting brackets (two)
- Wall plates to cover both openings
- Cable ties or velcro straps
The in-wall power relocation kit is the most important purchase on this list. It contains the approved wiring that connects to your existing outlet and powers a new recessed outlet behind your TV, all without violating fire codes.
Using a multi-mode stud finder with AC and pipe detection is non-negotiable before cutting drywall. Cutting into a live wire or water pipe turns a $50 project into a costly repair.
Pro Tip: Buy 20% more cable than you think you need. Extra slack prevents strain on connectors and gives you room to adjust the TV position later.
The DIY approach costs around $50 per TV location and takes about 30 minutes with the right kit. Professional installation can exceed $300, so the savings are real.
| Item | Estimated Cost |
|---|---|
| In-wall power relocation kit | $25–$40 |
| CL2/CL3 HDMI cable (6 ft) | $10–$20 |
| Low-voltage mounting brackets | $5–$10 |
| Wall plates | $3–$8 |
| Total | ~$50 |
How do you plan and mark wall openings correctly?
Accurate planning prevents wasted cuts and keeps your install code-compliant. The layout follows a simple two-hole system: one opening behind the TV and one near the floor.
Standard practice places the upper hole directly behind where your TV will hang and the lower hole 12–18 inches above the floor, aligned with an existing outlet. Stud spacing in American homes runs 12–16 inches, so both holes must land between studs, not on them.
Planning steps:
- Use your stud finder to mark stud locations across the planned TV area
- Identify the nearest existing outlet below the TV location
- Mark the upper opening centered behind the TV bracket
- Mark the lower opening 12–18 inches above the floor, between the same two studs
- Verify both marks are between studs, not on them
- Scan both areas with the AC detection mode to check for hidden wiring
Pro Tip: Hold your TV mount against the wall and trace the bracket outline lightly in pencil. This shows exactly where the upper hole needs to go so it stays hidden behind the TV.
Vertical routing between the two holes is the only practical path. Horizontal cable runs require drilling through multiple studs, which adds difficulty and risk. Keep both holes in the same stud bay and the job stays straightforward.
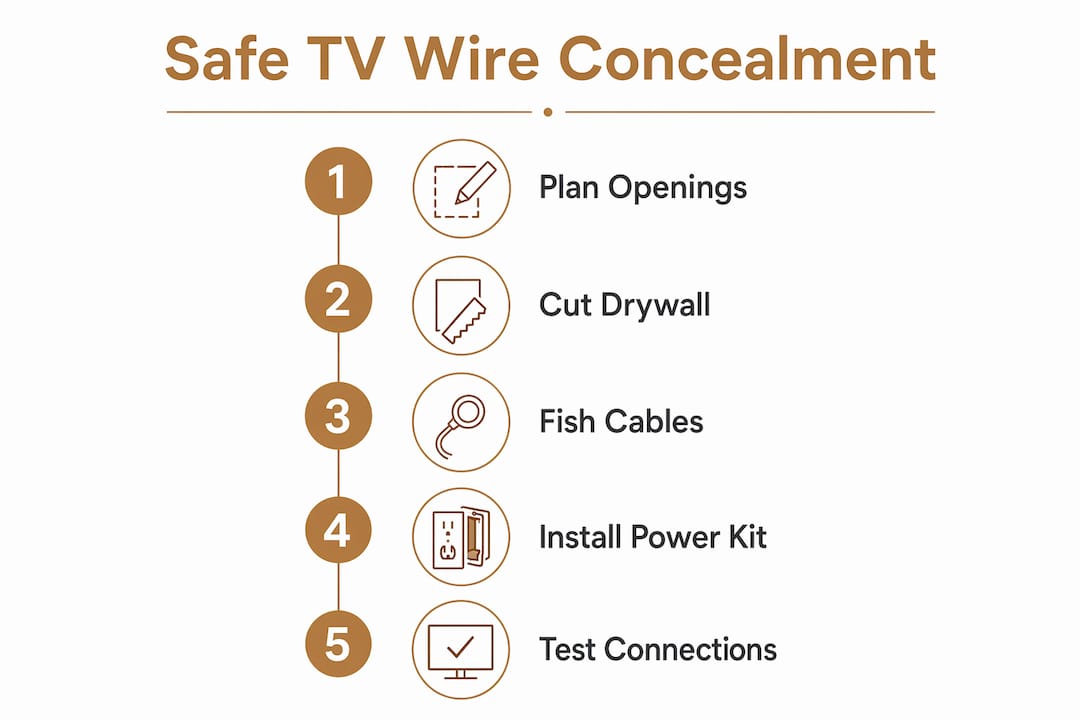
Step-by-step: cutting, fishing cables, and installing the power kit
This is where the project comes together. Work through each step in order and do not skip the testing phase at the end.
-
Cut the upper opening. Use the template included with your low-voltage mounting bracket. Score the drywall with a utility knife first, then cut with your jab saw. Keep the cut clean and sized to the bracket.
-
Cut the lower opening. Repeat the same process at the lower mark. Both holes should align vertically in the same stud bay.
-
Install the low-voltage mounting brackets. Snap or screw the brackets into both openings. These hold your wall plates and give the installation a finished look.
-
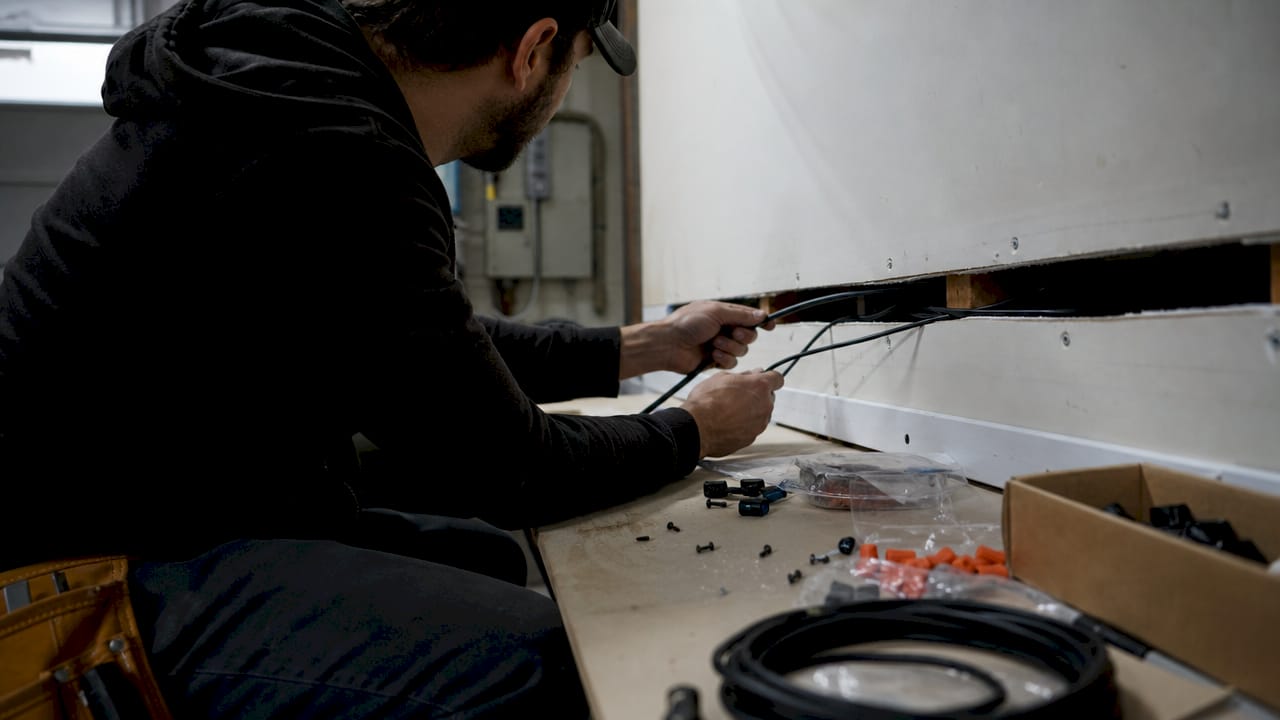
Feed the fish tape. Insert fish tape from the upper hole and guide it down to the lower hole. This takes patience. Wiggle the tape gently if it catches on insulation or a fire block.
-
Attach and pull your cables. Tape your CL2/CL3 HDMI cable and the in-wall power kit wiring to the fish tape hook. Pull them through from the lower hole upward. Fish tape reduces cable damage risk and makes this step manageable for one person.
-
Connect the power relocation kit. Plug the lower module into your existing outlet. Connect the upper module to the wiring you pulled through. Follow the kit instructions exactly. The kit creates a code-compliant power source directly behind your TV.
-
Mount the TV. Hang your TV bracket, then mount the TV. Route all cables through the upper wall plate into the TV's ports.
-
Test everything. Power on the TV and check picture quality. Confirm the power relocation kit indicator light shows a proper connection.
Pro Tip: Before securing the wall plates, test every cable connection. Fixing a loose HDMI connection is easy now. It is much harder after the plates are screwed in.
| Step | Key Action | Common Error |
|---|---|---|
| Cut openings | Use bracket template | Cutting on a stud |
| Fish cables | Attach tape to fish tape | Forcing tape and kinking cable |
| Install power kit | Follow kit wiring diagram | Using a standard extension cord |
| Mount TV | Route cables through upper plate | Leaving no slack for movement |
| Test | Check power and signal | Skipping test before securing plates |
Proper cable slack matters especially with full-motion mounts. Test the full range of arm movement before you close up the wall plates.
What mistakes should you avoid when concealing TV wires?
Most installation errors fall into two categories: code violations and mechanical mistakes. Both are avoidable with the right information.
Never do these things:
- Run a standard TV power cord inside the wall. This violates NEC fire codes and creates a genuine fire hazard.
- Use a standard extension cord inside the wall cavity for the same reason.
- Route cables horizontally across studs without proper drilling equipment.
- Make sharp 90-degree bends in HDMI or ethernet cables. Maintaining cable bend radius prevents signal loss and extends cable life.
- Skip the stud and pipe scan before cutting.
Running a flexible TV power cord inside a wall is a code violation and a fire hazard. Only an NEC-listed in-wall power relocation kit provides the approved wiring needed to safely deliver power behind a wall-mounted TV. No workaround substitutes for the correct component.
Call a licensed electrician when you have no existing outlet near the TV location, when your home has balloon framing (common in pre-1950s construction), or when your scan reveals unexpected wiring in the planned cable path. These situations go beyond standard DIY scope. The code-compliant approach protects your home and keeps your installation insurable.
Key Takeaways
Hiding TV wires in the wall safely requires NEC-compliant materials, vertical cable routing, and an in-wall power relocation kit. No shortcut replaces these three elements.
| Point | Details |
|---|---|
| Use approved cables only | CL2 or CL3 rated cables are required by NEC for all in-wall runs. |
| Plan openings precisely | Upper hole behind TV, lower hole 12–18 inches from floor, both between studs. |
| Power requires a relocation kit | Standard power cords inside walls violate fire codes; use a listed kit. |
| Fish tape prevents damage | Use fish tape to pull cables cleanly and maintain proper bend radius. |
| DIY saves real money | A $50 kit and 30 minutes of work replaces a $300-plus professional service call. |
Why the planning stage matters more than the installation itself
Most homeowners focus on the cutting and fishing steps. The planning stage is actually where the project succeeds or fails.
I have seen installs where the homeowner skipped the stud scan and cut directly into a live wire. The repair cost more than a professional installation would have. A $20 multi-mode detector eliminates that risk entirely.
The other thing people underestimate is cable selection. Buying a standard HDMI cable from a discount bin and running it inside a wall is not just a code violation. It is a fire risk that your home insurance may not cover if something goes wrong. CL2 and CL3 ratings exist because these cables use materials that resist ignition inside enclosed spaces. That rating is not marketing language. It is a fire safety specification.
My honest recommendation: if your home was built before 1960, have an electrician look at the wall cavity before you cut. Older homes often have unexpected wiring paths, fire blocks at odd heights, and in some cases, knob-and-tube wiring that changes everything about how you approach this project. The cable management accessories available today make the finished result look genuinely professional, but the foundation has to be safe first.
The $50 DIY kit works. The 30-minute timeline is realistic for a straightforward install. Give yourself an extra hour for planning and scanning, and the whole project stays well within a Saturday morning.
— Jake
Clean installs start with the right kit
A clean, cable-free wall is one of the most satisfying upgrades you can make to a living room. The result looks like a custom installation, and with the right components, it takes a single afternoon.

Themediawallstore carries DIY media wall kits designed specifically for homeowners who want professional results without hiring a contractor. Each kit is pre-cut and pre-labeled, so you spend your time installing, not measuring and guessing. The store also stocks cable management accessories including mounting brackets, recessed power solutions, and everything needed to finish the job cleanly. Over 1,000 homeowners have used these kits to build media walls that look custom-built. Risk-free returns and expert support mean you are not on your own if a question comes up mid-install.
FAQ
What cables are safe to run inside a wall?
Only CL2 or CL3 rated cables meet NEC requirements for in-wall use. Standard HDMI cables and power cords are prohibited because they lack the fire-resistant jacket required for enclosed spaces.
Can I run a power cord through the wall to my TV?
No. Running a standard flexible power cord inside a wall violates NEC fire safety codes. Use a listed in-wall power relocation kit, which provides code-compliant wiring and a recessed outlet behind the TV.
How much does it cost to hide TV wires in the wall yourself?
A DIY in-wall concealment kit costs around $50 and takes about 30 minutes to install. Professional installation typically exceeds $300, making the DIY approach about 80% cheaper.
Do I need to hire an electrician?
Most standard installs do not require an electrician if an existing outlet is nearby and the wall cavity is clear. Call a licensed electrician when there is no nearby outlet, when the home has older wiring, or when your stud scan reveals unexpected obstructions.
How do I keep cables from showing with a full-motion TV mount?
Leave extra cable slack inside the wall cavity before closing the wall plates. Test the full range of arm movement before securing anything, and use cable ties to keep the slack organized without tight bends.