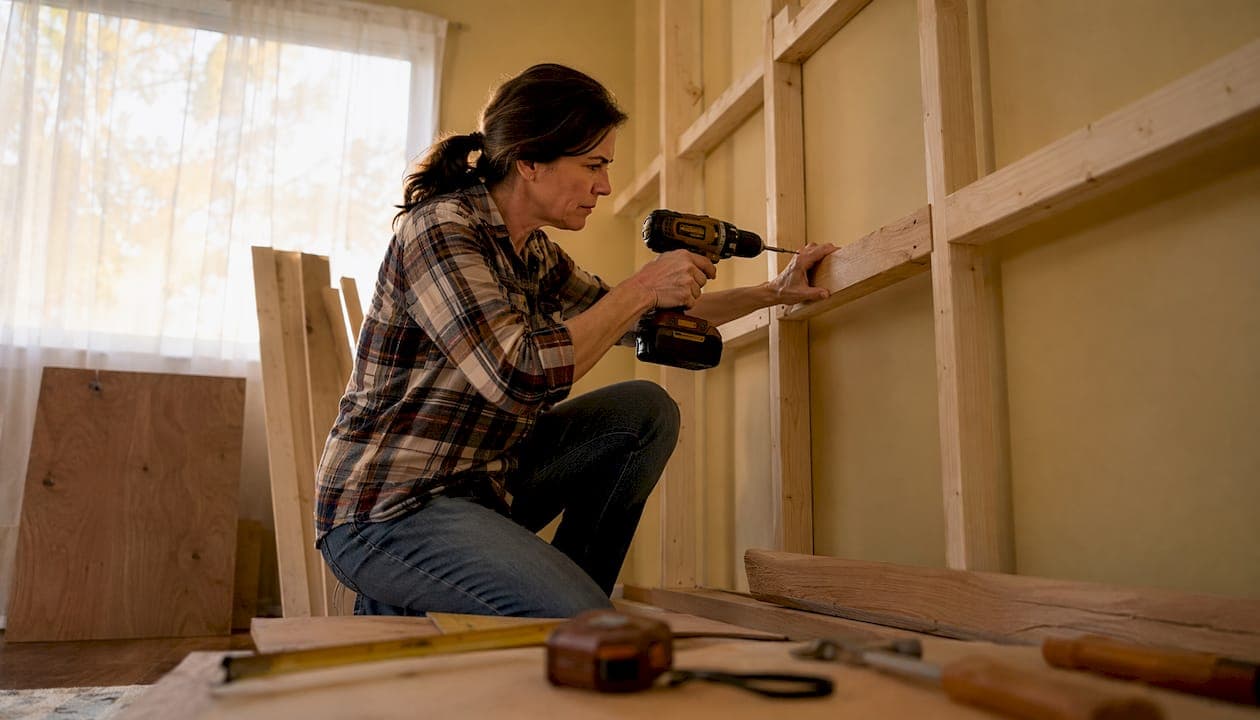
Yes, you can build a safe, attractive media wall yourself. A homeowner with basic carpentry skills can frame, back, and finish a media wall in a weekend of framing plus several days of finishing work. Budget a moderate amount for materials on a straightforward build, varying with wall width and finish choices. The biggest savings versus hiring a contractor come from doing your own framing and painting. The non-negotiable exception: if you need a new electrical circuit or want to relocate an outlet inside the wall, hire a licensed electrician. Every other step is genuinely DIY-able.
The fastest correct route is a timber-framed substructure with 3/4" plywood backing behind the TV zone, plasterboard or pre-finished panels on the face, and a VESA-compatible mount anchored into solid blocking. Leave a few inches of ventilation clearance around any electronics. If you want to skip the cutting and finishing entirely, Themediawallstore's pre-cut, pre-labeled kits are designed for exactly this kind of weekend install.
Table of Contents
- What should you plan before building a DIY media wall?
- What tools and materials do you need?
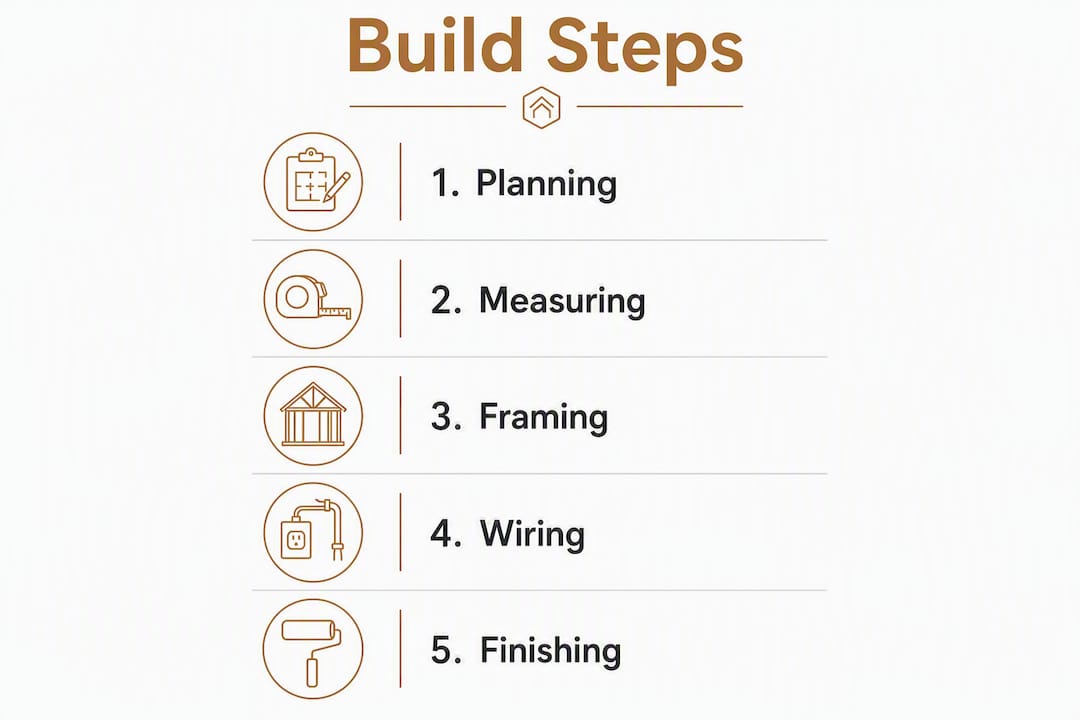
- How do you build a media wall step by step?
- How should you handle electrical, cables, and ventilation?
- Which backing material gives you the most structural support?
- What are the most common DIY media wall mistakes?
- What does a media wall cost, and how long will it take?
- Pre-cut media wall kits: a faster path to a premium finish
- Key Takeaways
- Why plywood backing is the one thing I'd never skip
- The faster route to a high-end media wall
- Useful sources
- FAQ
What should you plan before building a DIY media wall?
Good planning prevents the most expensive rework. Before you cut a single stud, lock down five measurements: your TV's width, height, depth, and VESA pattern; your couch-to-wall distance; your fireplace dimensions and clearances if you're adding one; and your existing stud locations.
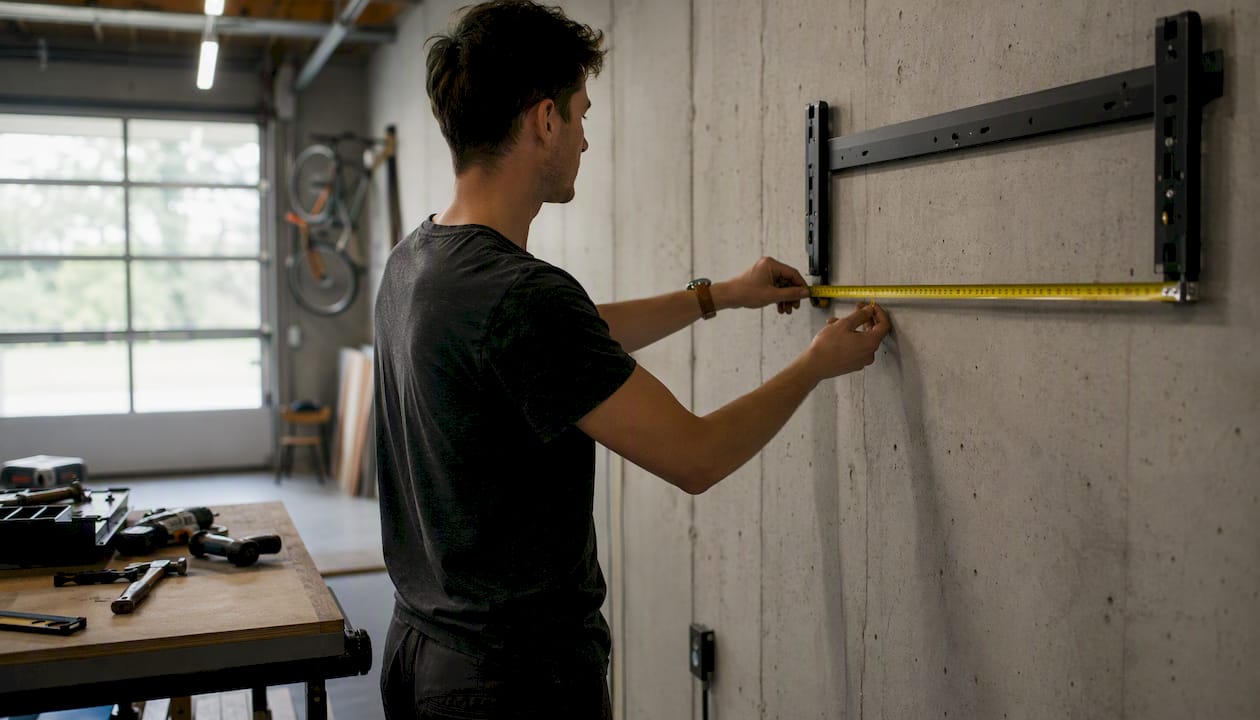
Sightline math is simple. Seated eye height typically falls within the range common for most adults from the floor. Position the center of your TV screen at that height, then work outward. A quick cardboard mockup taped to the wall takes ten minutes and saves hours of regret.
For layout, three templates cover most living rooms: a single central TV with flanking built-in shelves, a recessed TV niche, and a TV mounted above an electric fireplace. The fireplace option adds depth requirements. TV-plus-fireplace builds typically run over a foot deep once you account for framing, drywall, and cable clearance. Plan around your stud positions and power access first; designing strictly by aesthetics leads to major rework mid-build.
Pro Tip: Tape a horizontal line at your planned TV centerline height and a vertical line at the wall center. Live with it for a day before committing. Lighting and furniture placement look different when you're actually sitting down.
Lighting deserves a mention here too. Aim for balanced ambient light around the screen rather than spotlighting it directly. Moderate vertical illuminance on the wall helps reduce eye strain and glare without washing out the picture.
- Measure TV width, height, depth, and VESA pattern
- Record couch-to-wall distance and seated eye height (42–48 in)
- Note stud locations with a stud finder before designing
- Confirm fireplace dimensions and required clearances
- Sketch an elevation drawing with cable paths marked
What tools and materials do you need?
Materials checklist
- Kiln-dried 2x4 studs (buy straight stock; twisted lumber telegraphs through paint)
- 3/4" plywood for backing behind the TV zone
- 12.5mm plasterboard or pre-finished MDF panels for the face
- Wood screws and drywall screws (appropriate lengths for each layer)
- Plywood pattress cut to cover the full VESA zone
- Skirting board and trim to match your room
- Joint compound and mesh tape if plastering yourself
- Primer and paint (budget for three coats minimum)
Tool checklist
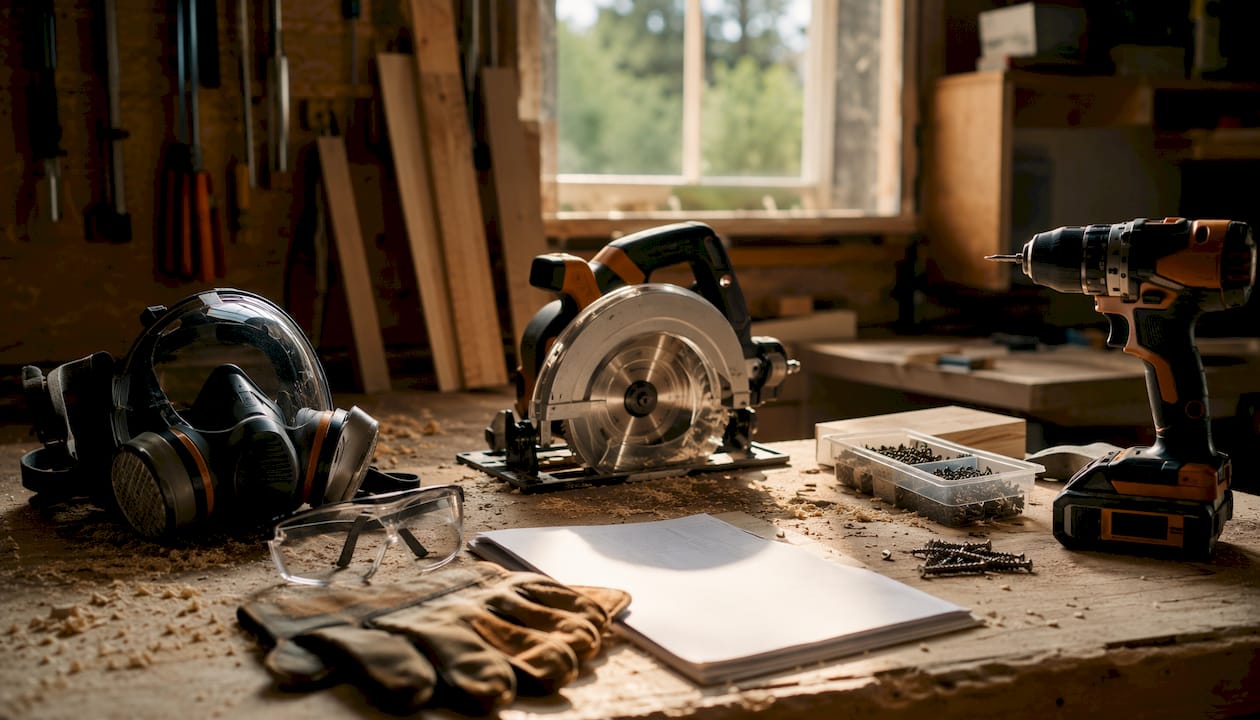
- Circular saw or miter saw (rent a miter saw for a day if you don't own one)
- Cordless drill and impact driver
- Stud finder
- 4-foot level and tape measure
- Utility knife
- Drywall lifter or a second person for hanging sheets
- Respirator, safety glasses, and work gloves
Safety note: Wear a respirator when cutting MDF or plasterboard. Both produce fine dust that irritates lungs. Use a stable ladder rated for your weight plus tools, and keep the work area clear of trip hazards. For any new electrical circuit or in-wall outlet relocation, stop and call a licensed electrician. This is not optional.
A professional finish comes from plasterboard with a skim coat, not MDF joints. If plastering isn't your skill, budget to hire a plasterer for that one step while doing everything else yourself.
How do you build a media wall step by step?
Follow this sequence. Skipping steps, especially the subfloor anchor and the plywood backing, is where most DIY builds fail.
- Remove skirting board along the wall where the frame will sit.
- Cut back carpet or vinyl to expose the subfloor. Anchor your base plate directly to the subfloor or joists. Anchoring to carpet padding creates a flimsy base that cracks joints within months.
- Mark your TV centerline on the wall and floor. Snap a chalk line.
- Build floor and ceiling plates from 2x4 stock. Fasten the base plate to the subfloor with structural screws or concrete anchors as appropriate.
- Install vertical studs at 16" centers. Check plumb on every stud before fastening.
- Add horizontal noggins across the full width of the TV zone. Use suitably sized timber spaced to catch mount fixings regardless of exact VESA position.
- Install 3/4" plywood backing over the entire TV zone, fastened to the noggins and studs. This is your mount anchor layer.
- Run conduit for cables before closing the wall. Use 3/4" conduit and leave a pull string inside.
- Hang plasterboard or panels. Start from the center and work outward. Use a drywall lifter for ceiling-height sheets.
- Finish, tape, and paint. Three coats of paint with proper drying time between each.
- Fit the TV bracket using lag bolts or coach screws into the plywood backing. Never use drywall anchors for a TV mount.
- Mount the TV and dress cables through the conduit.
Safety checkpoint before closing the wall: photograph the open frame showing stud positions, noggin locations, and conduit runs. This as-built record is invaluable if you ever need to add a mount or trace a cable later.
Fastener spec: Use lag bolts or coach screws into timber backing for any TV mount. Design your VESA backing to extend beyond the outer VESA dimensions on every side by a comfortable margin, and treat a full-motion arm as carrying several times the static TV weight when sizing your noggins.
How should you handle electrical, cables, and ventilation?
This is where DIY media walls most often go wrong, and where the safety stakes are highest.
Electrical rules first:
- Hire a licensed electrician for any new circuit, relocated outlet, or hardwired fireplace. No exceptions.
- Use UL-rated in-wall power relocation kits for moving an existing outlet behind the TV. These are code-compliant; bare extension cords inside a wall are not.
- Install a recessed outlet box behind the TV position so the power cord disappears cleanly.
- Keep high-voltage (power) and low-voltage (HDMI, speaker, ethernet) cables in completely separate chases. Label both ends of every run before closing the wall.
Ventilation:
- Leave a few inches of passive airflow around all electronics in enclosed niches.
- Add perforated panels or vent slots at the bottom and top of any closed cabinet section to create a convection path.
- Never fully seal a niche that houses a receiver, streaming box, or soundbar.
Cable routing tips:
- Run a 3/4" conduit even if you only need one cable today. Future upgrades are free when the conduit is already there.
- Use brush plates at entry and exit points to keep the opening clean.
- Maintain generous bend radii on HDMI cables; sharp bends degrade signal over time.
- For a lower-impact option before committing to in-wall routing, surface-mount cable channels are a clean interim solution.
Which backing material gives you the most structural support?
The short answer: 3/4" plywood for the TV zone, plasterboard for the face, and MDF only for decorative surfaces where it carries no load.
| Backing Type | Best Use | Load-Bearing? | Notes |
|---|---|---|---|
| 3/4" plywood pattress | TV mount zone, full VESA area | Yes | Distributes load; future-proof for TV upgrades |
| — | Smaller screens, known stud alignment | Yes | Requires precise VESA alignment |
| 12.5mm plasterboard | Face layer over framing | No | Finish surface only; never mount directly |
| MDF panels | Decorative cladding, shelving faces | No | Workable, paintable; hides joints poorly |
| 22mm MDF core panel | Large TVs when full-panel approach used | Limited | Acceptable only when bonded to studwork |
For TVs over roughly 75 inches or above approximately 45 kg, a solid 22mm core or full-width plywood backing bonded to the studwork is the right call. Standard noggins alone are insufficient at that size and weight because you can't guarantee the VESA holes will land on solid timber.
MDF is cheaper and easier to cut cleanly, which makes it useful for shelf faces, panel cladding, and decorative trim. What it should never do is carry the weight of a large TV mount. Plywood pattress or heavy-duty timber noggins prevent the slow ovalization of fixings under load that eventually causes a mount to work loose.
Pro Tip: Install continuous plywood across the entire TV zone, not just behind the current VESA pattern. When you upgrade to a larger TV in three years, you'll mount it anywhere without opening the wall.
What are the most common DIY media wall mistakes?
Most failures trace back to three decisions made early in the build.
- Drywall anchors for the TV mount. They work fine for pictures. A 65" TV on a full-motion arm is a different load entirely. Always use lag bolts into solid timber or plywood backing.
- No subfloor anchor. Anchoring the base plate to carpet padding instead of the subfloor produces a wall that rocks slightly. That movement cracks joints and loosens mounts over time.
- Insufficient ventilation. Sealing electronics into a tight niche without airflow shortens their lifespan. The 2–3 inch clearance rule applies to every device, not just the TV.
- MDF as structural backing. MDF is fine for decorative panels. It should not be the layer your mount screws into.
- Skipping the as-built photo. Once the wall is closed, you're guessing where the noggins are. Photograph the open frame before you hang plasterboard.
Quick fixes when something goes wrong:
If the mount feels loose after install, cut an access panel behind the bracket zone, add a plywood pattress, and re-fasten. It's a half-day fix versus a full rebuild. For ventilation problems, retrofit perforated vent panels at the top and bottom of the niche. For cable routing issues, fish new conduit through the existing frame rather than cutting finished surfaces.
Stop and call a licensed electrician if the fireplace requires hardwiring or if you discover the circuit is undersized. Electrical work inside a wall is not a troubleshooting situation.
For broader project planning, the same principle applies across home renovation work: common DIY mistakes almost always stem from skipping the planning phase, not from lack of skill.
What does a media wall cost, and how long will it take?
Cost ranges
Timeline by stage
| Stage | Typical Time |
|---|---|
| Planning and measuring | 2–4 hours |
| Framing and blocking | 1 day |
| Electrical (licensed electrician) | Half day to 1 day |
| Plastering or panel hanging | 1–2 days |
| Paint (3 coats with drying) | 1–2 days |
| TV mount and cable dress | 2–4 hours |
The hybrid approach saves the most money without requiring every skill: DIY the framing and painting, hire a plasterer for the skim coat. Plastering is the step most experienced DIYers still outsource.
Where cost overruns happen:
- Electrical surprises (undersized circuit, outlet in the wrong location)
- Fireplace selection and clearance requirements
- Custom finishes and trim that require additional materials and time
- Buying twisted lumber that needs replacing mid-build
Buying straight kiln-dried studs upfront and ordering pre-cut plywood panels where available prevents two of those four problems before the build starts.
Pre-cut media wall kits: a faster path to a premium finish
If the cutting, measuring, and plastering steps are the friction points, a pre-cut kit removes most of them. Themediawallstore's kits are designed specifically for this: every panel arrives pre-cut and pre-labeled, so the build sequence becomes assembly rather than fabrication.
A typical Themediawallstore kit includes:
- Pre-cut, pre-labeled panels in your chosen finish
- Integrated wire management channels
- Optional LED lighting strips
- Trim and edge pieces
- Mounting hardware and a cut list
- Access to customer support and risk-free returns
Who should choose a kit: homeowners who want a weekend install with a high-end result, anyone uncomfortable with precise cutting or plastering, and anyone who wants a consistent finish without hiring multiple trades. The kits also work well for people who've done the framing themselves and want a clean, pre-finished face layer rather than dealing with MDF joints or skim coats.
Themediawallstore also offers custom design and white-glove installation services in the San Francisco Bay Area for homeowners who want the result without any of the build. Over 1,000 customers have used the kits and services, and the company backs purchases with risk-free returns.
For fireplace integration, the electric fireplace options are sized to fit standard media wall niches, which removes the guesswork on clearance dimensions.
Key Takeaways
A successful DIY media wall comes down to three decisions made before you cut anything: proper subfloor anchoring, 3/4" plywood backing behind the TV zone, and a licensed electrician for any new circuits.
| Point | Details |
|---|---|
| Anchor to the subfloor | Cut back carpet and fasten the base plate directly to the subfloor, not to padding. |
| Use plywood backing | Install 3/4" plywood across the full TV zone so any future mount lands on solid material. |
| Hire for electrical | Any new circuit, outlet relocation, or hardwired fireplace requires a licensed electrician. |
| Budget realistically | Material costs range widely depending on build level; the hybrid DIY-plus-plasterer approach saves the most. |
| Consider a pre-cut kit | Themediawallstore kits arrive pre-cut and pre-labeled, cutting install time to a weekend with a premium finish. |
Why plywood backing is the one thing I'd never skip
The conventional wisdom on media walls focuses on aesthetics: slat panels, LED lighting, fireplace inserts. All of that matters. But the single decision that separates a wall that holds up for ten years from one that needs remediation in two is what's behind the face.
Drywall anchors fail slowly. You won't notice the first week, or the first month. But a full-motion arm on a 65" TV creates leverage that works on those fixings every time someone adjusts the angle. Plywood backing distributes that load across the entire panel rather than concentrating it on two or four anchor points. It also means the next TV, whatever size it is, mounts anywhere without opening the wall.
MDF has its place. For shelf faces, decorative cladding, and panel surfaces, it's workable and takes paint well. The mistake is treating it as structural. It isn't. Moisture makes it swell, repeated load makes fixings work loose, and the density that makes it feel solid doesn't translate to long-term holding power under a dynamic load.
Pre-cut kits solve a real problem, but they don't change the framing underneath. Whether you build from scratch or use a kit, the timber frame and plywood backing are still your job. Get those right, and everything else is finishing work.
The faster route to a high-end media wall
Skip the cutting, skip the plastering, and still get a wall that looks custom-built. Themediawallstore's pre-cut kits ship with every panel labeled and ready to assemble, integrated wire management built in, and finish options that match a professionally installed wall. The difference versus a full custom build isn't just cost. It's the weekend timeline.

Kits include mounting hardware, trim, and access to support if anything doesn't fit as expected. Returns are risk-free. For homeowners in the San Francisco Bay Area, local custom installation is also available. Browse the full range of DIY media wall kits or add LED lighting, slat panels, and fireplace inserts from the accessories catalog to complete your build.
Useful sources
- How to Build a Media Wall with TV and Fireplace, Wood Create — depth and dimension guidance for TV-plus-fireplace builds
- DIY Media Wall Build Guide, Stewart Milne Homes — framing, finishing, and hybrid workflow advice
- Stud-Work vs MDF Substructure for TV Mounting, Berkshire Bespoke Carpentry — structural backing specifications and noggin sizing
- Media Wall Framing, Boards & Fasteners, Stewart Milne Homes — fastener specs and VESA backing design
- Cable Management Guide, Materials Market — in-wall cable routing and UL-rated kit guidance
- VESA Mounting Interface Standard — official VESA pattern specifications for TV mounts
- For permit requirements on hardwired fireplaces or new circuits, contact your local building department. Requirements vary by jurisdiction.
- Themediawallstore shop and support — kit ordering, customization options, and installation services
FAQ
What is the cheapest way to build a media wall?
Frame it yourself with kiln-dried 2x4 studs and 3/4" plywood backing, then hire a plasterer only for the skim coat. Material costs for a basic build start at a moderate level, and the hybrid approach preserves most of the DIY savings while delivering a cleaner finish than MDF alone.
Is it hard to build a DIY media wall?
Framing and mounting are within reach for anyone comfortable with a drill and circular saw. The hardest steps are plastering and finishing; outsourcing the skim coat to a professional makes the rest of the build manageable for a capable weekend DIYer.
What are the most common media wall mistakes?
The three most frequent are using drywall anchors instead of lag bolts into solid backing, failing to anchor the base plate to the subfloor, and sealing electronics into a niche without the 2–3 inches of ventilation clearance they need.
What wood should I use to build a media wall?
Use kiln-dried 2x4 studs for the frame and 3/4" plywood for the TV backing zone. Avoid twisted or wet lumber; it warps after install and telegraphs through painted finishes. MDF works for decorative panel faces but should never serve as the structural anchor layer for a TV mount.
Can Themediawallstore kits replace the framing step?
The kits handle the face panels, wire management, and finish layer. The timber frame and plywood backing are still required underneath. Themediawallstore's pre-cut panels are designed to install over a properly built frame, cutting total build time to a weekend without sacrificing the structural foundation.