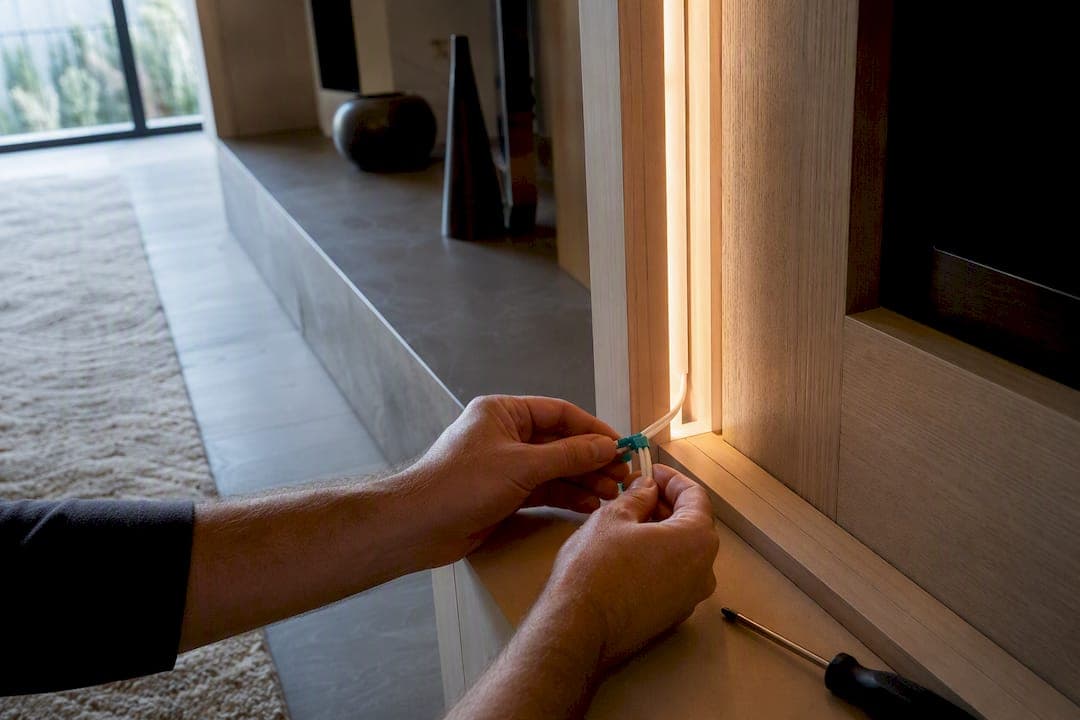
Integrated lighting controls are the built-in LED accent lighting and the simple, on-board switches, remotes, or app connections that come pre-wired into a luxury DIY media wall kit. Most quality kits arrive with plug-and-play strips, pre-cut channels, and at least one control method already sorted out. Before you buy, confirm which control type is included (remote, dimmer, or basic smart pairing) and whether the kit runs on a 12V or 24V driver.
TL;DR:
- Remote controllers are easiest for casual use, while app control offers more customization for scenes and brightness adjustments.
- Confirm whether the kit’s driver is 12V or 24V and ensure proper ventilation to extend LED lifespan and prevent early failure.
- Pre-cut channels, labeled wiring, and support options make installation possible in a weekend without professional help.
- Upgrading to smart home systems later is simple by adding a Wi-Fi controller or smart hub, which is less costly than rewiring.
- Quality components and support reduce maintenance needs and improve energy efficiency compared to cheaper, lower-grade kits.
Table of Contents
- Control Types and Features Included With Media Wall Kits
- How Do You Choose the Right Lighting Controls for Your Kit?
- Installation Basics: Wiring, Power, and Ventilation
- Smart-Home Compatibility and Simple Automation
- Energy Use, Lifespan, and Maintenance
- Why Built-In Controls Matter for The Media Wall Store Kits
- Where to Find Kits and Accessories With Integrated Lighting
- Sources
- FAQ
Control Types and Features Included With Media Wall Kits
Not every media wall kit handles lighting the same way, and the control method you get changes how the whole feature feels day to day. Understanding the options up front saves you from buying a kit whose lighting setup doesn't match how your household actually uses the room.
- Remote controllers (IR/RF): the simplest option. No app, no hub, no Wi-Fi password to remember. Point and click, and the lights respond. They are great for living rooms where guests or kids need to operate things without instructions.
- In-line dimmers and wall-switch integration: for homeowners who want a physical switch on the wall, not a remote that disappears into the couch cushions. These wire in near the driver and let you fade brightness with a twist or slide.
- App control via Bluetooth or Wi-Fi: lets you set brightness and color from your phone without buying a separate smart-home hub. This differs from hub-required platforms, which need a bridge device to talk to your router before anything works.
- RGB versus tunable white: RGB is the choice for color-changing accent moods (movie night blue, party mode). Tunable white, which shifts between warm and cool tones, suits everyday viewing where you want a clean, consistent glow rather than a light show.
Many plug-and-play kits on the market already bundle pre-cut channels and remote or app-based color control as standard, so this decision is often made for you at the point of purchase, not after.
How Do You Choose the Right Lighting Controls for Your Kit?
The right control method depends less on the technology and more on how your household actually behaves in the room. A remote that's perfect for a quiet reading nook can be the wrong call for a family room full of guests who need something obvious to press.
- Match the control to your habits. If you want simplicity, a remote wins. If you like customizing scenes for movie nights, app control pulls ahead. If guests use the room often, a wall switch beats a lost remote every time.
- Confirm power requirements first. Check where your nearest outlet sits and whether the kit's driver (typically 12V or 24V) needs to mount inside the cabinet or behind an access panel.
- Prioritize sealed aluminum channels with diffusers. This detail separates a premium build from a DIY project that looks like one. Frosted diffusers spread light evenly and hide the individual LED dots that give away a cheap install.
- Check warranty and replacement support. Drivers and strips are the parts most likely to need swapping down the line. A kit backed by real support means you're not stuck sourcing an obscure connector five years from now.
Pro Tip: If you're torn between two control types, buy the kit with the simpler option and add a smart plug or Wi-Fi controller later through the accessories page. It's a lot easier to upgrade than to downgrade.
Installation Basics: Wiring, Power, and Ventilation
Most luxury DIY kits are built so a weekend project doesn't turn into an electrician's invoice. Pre-cut channels mean the LED strip has an exact home to sit in, and pre-labeled wiring means you're matching color-coded connectors, not guessing which wire goes where.
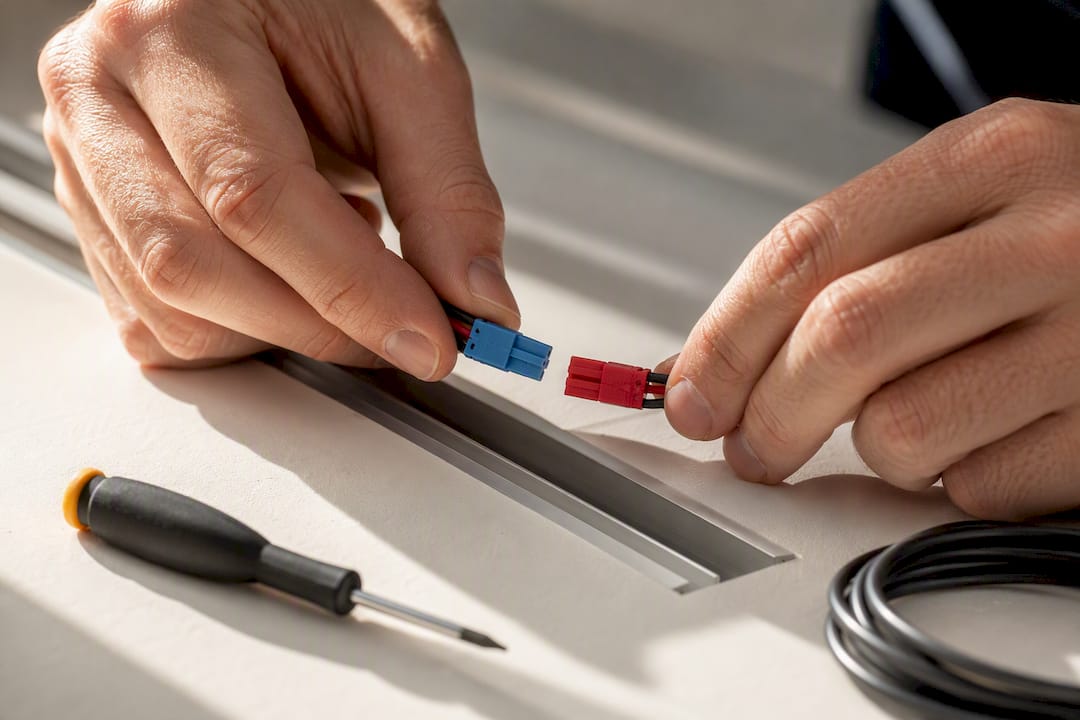
A typical setup includes an LED strip, a 12V or 24V power supply, an aluminum channel with a diffuser cover, and either snap connectors or a small soldering job, plus a switch or dimmer to finish the circuit. That's the same basic parts list most DIY lighting guides walk through, and it's why these kits can be assembled without hiring anyone.
A few things to watch before you tighten the last screw:
- Mount the driver somewhere with airflow, not sealed behind solid wood with zero clearance.
- Leave a gap or vent if the cabinet fully encloses the electronics.
- Use strain-relief clips on wire runs so nothing pulls loose when the unit gets moved or cleaned.
- Test the full run of lighting before you close up the cabinet, not after.
Here's the part people skip: enclosing LEDs and drivers without adequate ventilation shortens their lifespan and can cause premature failure well before the rated hours run out. A media wall that looks finished but traps heat behind the panel is a callback waiting to happen. Give the driver room to breathe, even if that means a slightly larger access panel than you'd planned.
Smart-Home Compatibility and Simple Automation
You don't need a full smart-home network to get real value out of automated lighting. Most homeowners are happy with two or three simple routines, not a dashboard full of settings they'll never touch.
Native app control over Bluetooth or Wi-Fi is the low-friction path. You pair the strip directly to your phone with no bridge device required. Hub-based systems, which usually run on Zigbee or Z-Wave, add more reliability at scale and let you group lighting with other smart devices, but they require buying and setting up a separate hub, which is more setup than most single media walls need.
A few automation examples worth the extra ten minutes of setup:
- An evening scene that dims the accent lighting the moment your TV turns on.
- A motion sensor that lights the open shelving when you walk past at night.
- A scheduled dim/brighten cycle so the wall glows softly at dusk without you touching anything.
If your kit's remote already covers what you want, skip the extra hardware. Reach for a small Wi-Fi controller or hub only when you're chasing scheduling or voice control that the included remote can't do. Newer LED systems increasingly connect to smart platforms out of the box, so check the spec sheet before assuming you need to buy anything extra.
Energy Use, Lifespan, and Maintenance
Quality integrated LED lighting typically outlasts incandescent fixtures by a wide margin, and higher-grade components run with less flicker and fewer early failures. Kits with lower upfront costs can save you money at checkout, but premium components generally reduce maintenance calls over time, which matters more once the wall is built into your living room and hard to access.
On running costs, integrated LED lighting uses substantially less power than incandescent equivalents, which shows up on your electric bill even for lighting that only runs a few hours a night.
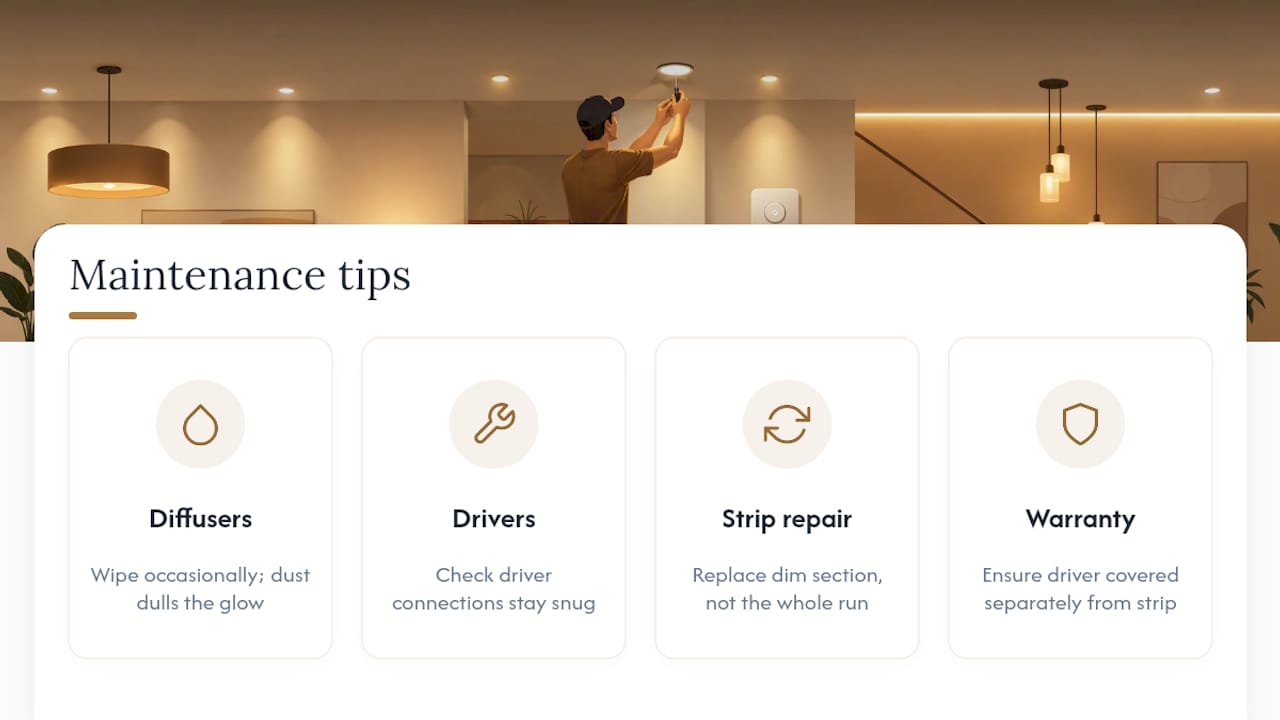
Maintenance is minimal but not zero. Wipe diffusers occasionally so dust doesn't dull the glow, check that driver connections stay snug, and replace strips individually rather than the whole run if one section dims unevenly. Look for a warranty that covers the driver separately from the strip, since those two parts tend to fail on different timelines.
Why Built-In Controls Matter for The Media Wall Store Kits
Kits are designed so that lighting isn't the hard part of a weekend install. Panels arrive pre-cut and pre-labeled, with wiring and channel routing figured out before opening the box. This preparation often allows installs to finish in a weekend rather than requiring contractors.
Thousands of customers have installed similar kits themselves at a fraction of custom-build pricing, often with expert support available if questions arise mid-project. If unsure which control type fits your space, many teams can provide guidance before purchase, and some kits come with risk-free return policies.
Where to Find Kits and Accessories With Integrated Lighting
Ready to see it in person? Browse our full shop of DIY media wall kits to compare which builds come with lighting already wired in, or check the lighting accessories page if you already own a kit and want to add a control upgrade.

One product worth a look: the Oslo Lux LED floating shelf comes with built-in LED lighting already channeled and ready to connect, which makes it a solid add-on if you want extra glow beyond the main wall unit. For readers weighing app control or a small smart hub, our smart tech accessories page covers compatible controllers that pair with most kit wiring.
Orders typically come with a promise of weekend installation and a risk-free return window. For questions about wiring, driver sizing, or choosing control styles, it is advisable to contact support before placing an order. Start by browsing the shop and filtering for kits with lighting already included.
Sources
- GLLEDUS — slim flat aluminum channel with diffuser (product page)
- Bees Lighting — LED aluminum channels (product collection)
- LumazLife — Under-cabinet lighting longevity and safety (blog)
FAQ
Do All Media Wall Kits Include Lighting Controls?
Not all of them. Some kits are lighting-ready but sold without a driver or remote, so always check the product listing for what's included before assuming controls come standard.
Can I Add App or Smart Control Later?
Yes. Most kits with a standard remote can be upgraded with a small Wi-Fi controller or hub, like the options on our smart tech accessories page, without rewiring the whole strip.
What's the Difference Between 12V and 24V Systems?
Both are low-voltage and safe for home use, but 24V systems generally handle longer strip runs with less voltage drop, which matters more on larger media walls.
How Long Do Integrated LED Strips Typically Last?
Quality LED strips with proper ventilation and driver sizing tend to run for years with minimal dimming, while poorly ventilated setups risk premature failure well before that point.
Do I Need an Electrician to Install Integrated Lighting Controls?
Most DIY kits are designed for plug-and-play assembly without an electrician, though you should involve one if you're wiring a new outlet or tying into your home's existing circuits.