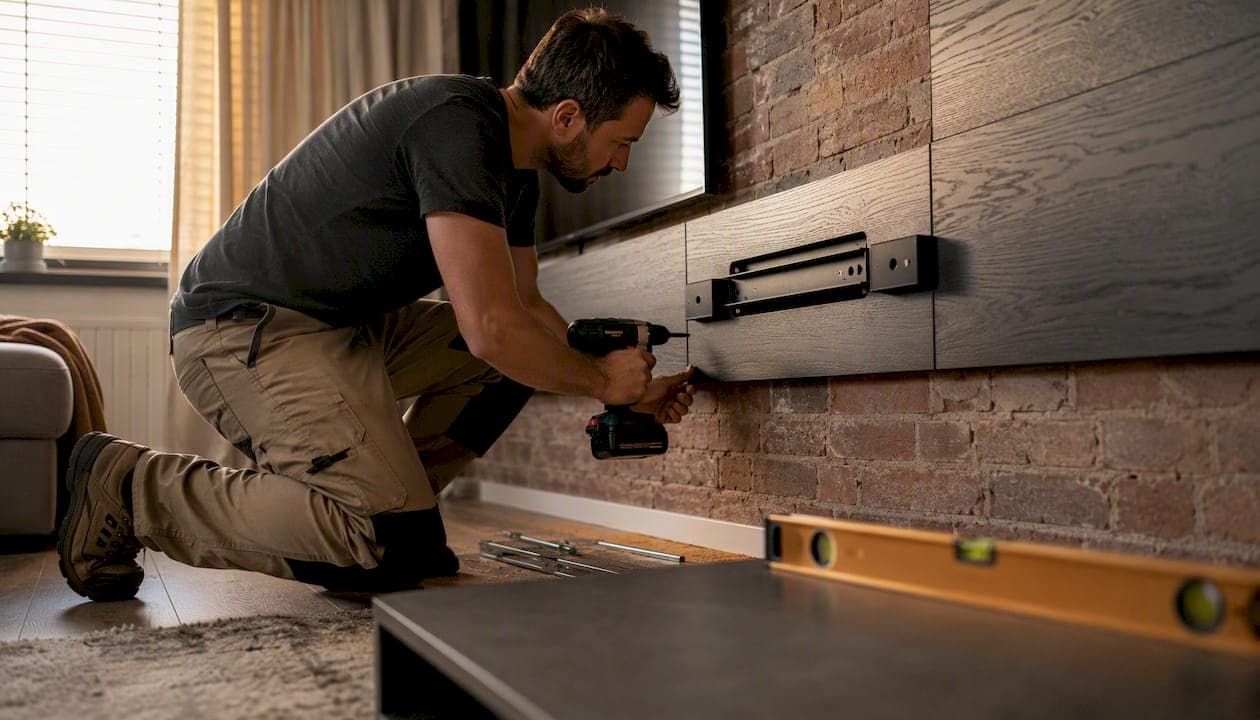
For most homeowners, a pre-cut DIY modular media wall kit is the fastest, most affordable way to get a built-in look with hidden wiring, integrated storage, and a TV mounting solution that actually fits the wall. Themediawallstore's kits ship pre-cut and pre-labeled, install over a weekend without a contractor, and cost significantly less than a custom build while delivering the same high-end aesthetic.
Here's why that recommendation holds for most buyers:
- Themediawallstore offers luxury DIY kits with pre-cut panels, integrated cable channels, floating cabinetry, and optional LED lighting, backed by over 1,000 satisfied customers and risk-free returns.
- Pre-cut, pre-labeled kits reduce site surprises and shorten the time from order to finished wall compared to custom millwork or contractor-built solutions.
- Floating panel systems with rear cable slots are also a practical option for renters who need a reversible install.
Start by measuring your wall width and ceiling height, then browse the kit catalog or book a free consultation to get a design matched to your room.
Key Takeaways
A pre-cut DIY modular media wall kit from Themediawallstore is the fastest, most cost-effective way for most homeowners to achieve a custom built-in look with integrated storage, hidden wiring, and TV mounting in a single weekend.
| Point | Details |
|---|---|
| Measure before you order | Confirm wall width, ceiling height, stud locations, and outlet positions before choosing a kit configuration. |
| DIY kits install in a weekend | Pre-cut, pre-labeled panels eliminate the need for a contractor in most standard living rooms. |
| Budget for extras | Factor in shipping, LED add-ons, and any drywall or electrical prep work beyond the kit price. |
| Ask about returns and warranty | Confirm the returns policy, restocking fees, and warranty length before committing to any kit. |
| Themediawallstore is the recommended source | Over 1,000 satisfied customers, risk-free returns, and white-glove installation available in the SF Bay Area. |
Table of Contents
- What is a modular media wall, exactly?
- Key features to look for in a modular media wall system
- How to measure and plan your modular media wall layout
- Delivery, assembly, and installation: what to expect
- What does a modular media wall cost?
- How to choose the right modular media wall for your home
- Why Themediawallstore kits solve the problems most buyers run into
- The case for modular over custom: what most buyers underestimate
- Useful sources and links
- FAQ
What is a modular media wall, exactly?
A modular media wall is an entertainment center built from individual pre-cut panels, cabinets, and shelving modules that combine into a single architectural surface. Unlike a freestanding TV stand, it mounts to or spans the wall, integrating TV mounting, storage, cable management, and often lighting into one cohesive unit. The term "modular" means the components can be mixed, matched, and reconfigured rather than arriving as one fixed piece.
Two configurations come up most often:
- Floating low credenza + wall panel: A wall-mounted panel behind the TV with a floating credenza below for media components. Works well in studio apartments or smaller living rooms where floor space matters. Clean, minimal, and renter-friendly when installed with proper wall anchors.
- Floor-to-ceiling full-wall panel with flanking storage: Tall vertical panels run from baseboard to ceiling with open shelving or closed cabinets on either side of the TV zone. This suits a family living room where you need real storage for books, gaming gear, and décor alongside the screen.
Common materials include painted MDF, wood-grain laminate, real-wood veneer, and slat or acoustic panels. Laminate finishes dominate the mid-range because they hold up well and photograph like real wood. Veneer costs more but adds warmth that laminate can't fully replicate. Slat panels, often in walnut or oak tones, have become the go-to accent surface for a textured, architectural look without the price of solid wood.
Key features to look for in a modular media wall system
Not every kit is built the same. These are the features that separate a well-designed modular TV wall system from one you'll regret after assembly.
- TV mounting backplate and VESA compatibility: Confirm the kit includes a mounting backplate rated for your TV's VESA pattern and weight. A 75" TV can weigh 80+ lbs; the backplate and wall anchors need to match.
- Module types: Look for a mix of full-height panels, low credenzas, open shelves, and tower cabinets. Modular sets that ship as separate components can be rearranged or expanded later, which matters if your room layout changes.
- Storage variety: Drawers, soft-close cabinets, and adjustable shelves each serve different needs. Drawers for remotes and cables; closed cabinets for routers and consoles; open shelves for décor.
- Cable management channels: Concealed wiring channels routed through the panel carcass keep the wall looking clean. Some systems route cables through a rear slot; others use a dedicated chase built into the panel itself.
- Integrated LED lighting: Backlit LED strips behind the TV panel reduce eye strain and add depth. Accent lighting inside open shelves elevates the look considerably. Themediawallstore offers LED lighting and slat panel add-ons that upgrade a base kit without a full remodel.
- Fireplace inserts: Electric fireplace inserts drop into a dedicated cabinet opening and add both ambiance and supplemental heat. The 70" distressed white fireplace TV stand is one example of how a fireplace integrates cleanly into a media wall footprint.
- Floating vs. floor-standing units: Floating modules mount directly to wall studs and leave the floor clear, which makes the room feel larger. Floor-standing units are more stable for heavy loads but require baseboard clearance planning.
- Finish options: Fluted or ribbed panels, high-gloss acrylic, and wood-grain laminates all read differently at a distance. Ribbed panels and integrated LED backlighting, as seen in compositions like the Infinity modular wall, create an architectural focal point that looks custom-built.
Pro Tip: Before choosing your module depth, measure your AV receiver, gaming console, and router side by side. Standard closed cabinets run 14–18 inches deep, but some AV receivers need 16+ inches plus airflow clearance. Specify device depth before you order, not after.
Materials matter for longevity too. Moisture-resistant carcass boards prevent warping in rooms with humidity swings. Veneer doors look premium but scratch more easily than laminate in high-traffic homes with kids or pets.
How to measure and plan your modular media wall layout
Get the measurements wrong and the kit won't fit. Get them right and assembly goes smoothly. Work through this checklist before contacting any seller.
- Measure wall width from corner to corner (or to the nearest obstruction), then note any windows, doors, or trim that interrupt the run.
- Measure ceiling height at multiple points — older homes often have uneven ceilings that affect full-height panel fits.
- Mark outlet and switch locations on a rough sketch. Electrical outlets need to remain accessible or be relocated before install.
- Locate wall studs and note their spacing (typically 16" or 24" on center in US residential construction). Floating panels anchor to studs; knowing their position early avoids surprises.
- Measure your TV — width, height, weight, and VESA mounting pattern (found on the back of the TV or in the manual).
- Calculate viewing distance. A general rule: seat-to-screen distance of 1.5–2.5 times the TV's diagonal for a comfortable viewing angle.
- Check baseboard and floor finish. Floating units need clearance above the baseboard; floor-standing units may need the baseboard scribed or removed.
- Plan your cable chase. Mark where your power outlet and cable/HDMI runs will enter the panel. Planning this before ordering avoids drywall cuts after the kit arrives.
Common layout footprints:
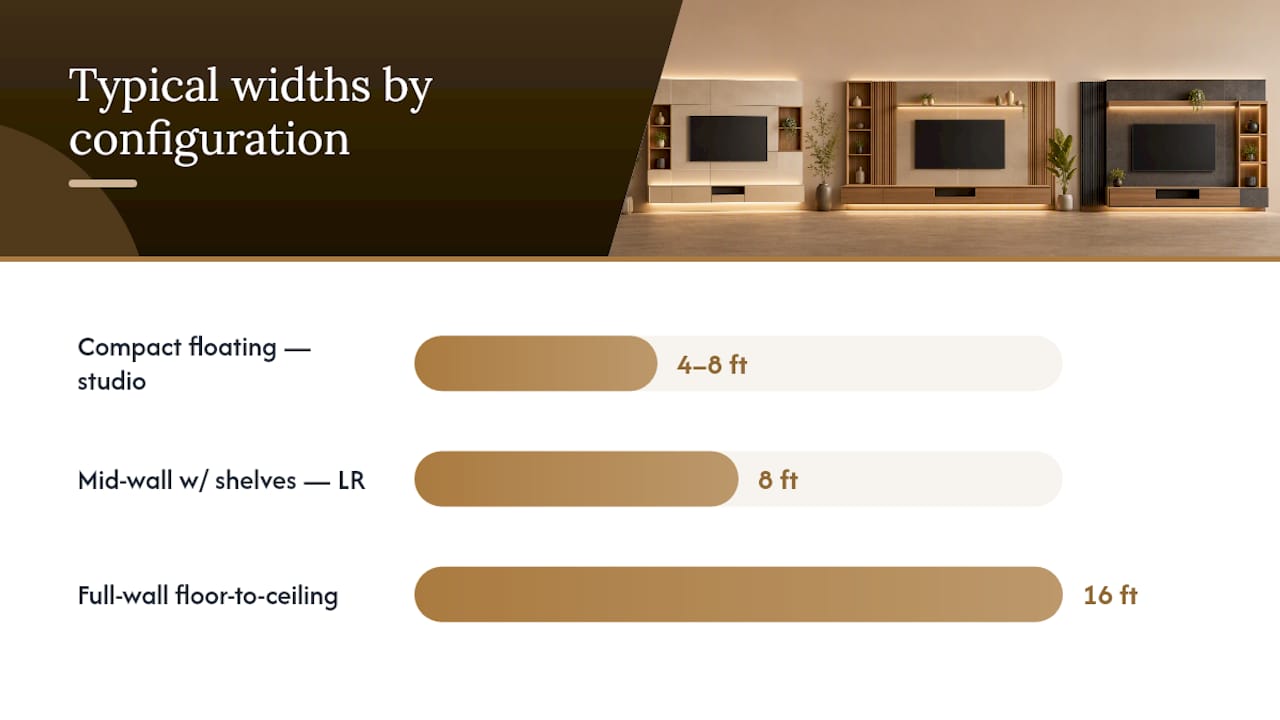
| Configuration | Typical width | Typical height | Best For |
|---|---|---|---|
| Compact floating credenza + panel | 4–8 ft | 4–6 ft | Studio, small living room |
| Mid-wall with flanking shelves | 8 ft | 6–8 ft | Standard living room |
| Full-wall floor-to-ceiling | 16 ft | 8 ft | Open-plan or family room |
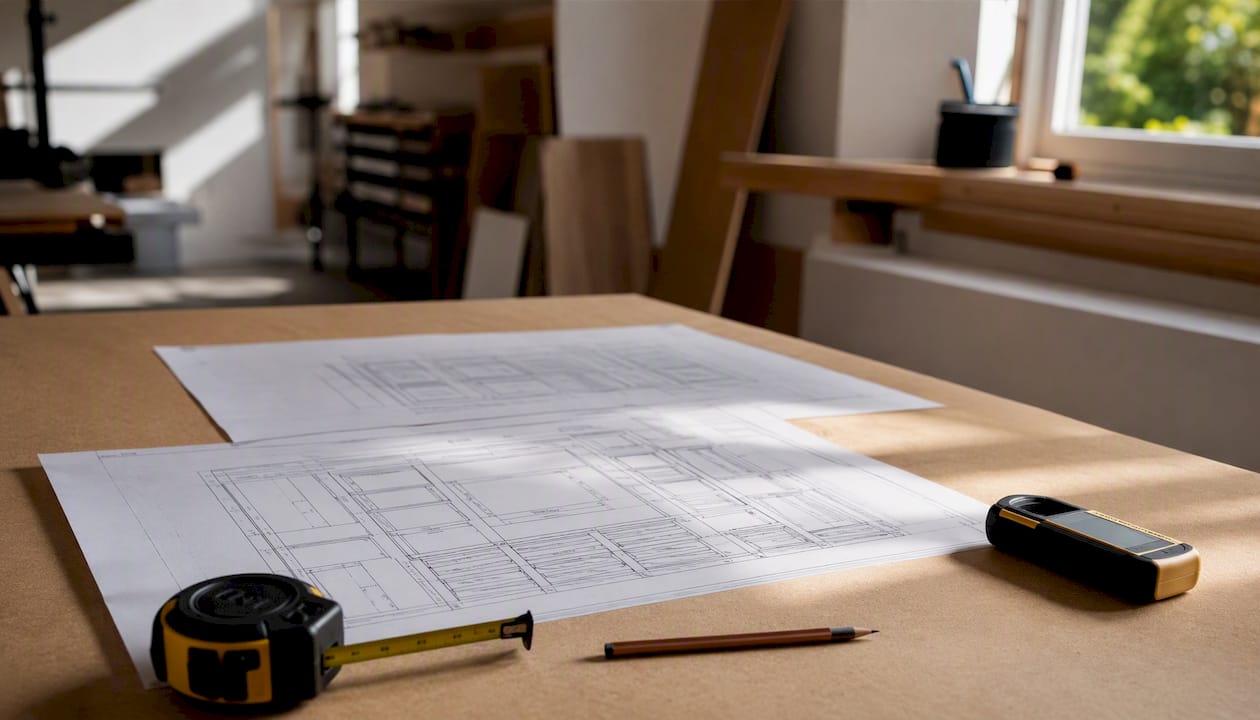
For ventilation, allow at least 4–6 inches of depth behind closed cabinet doors for AV equipment airflow. A router or gaming console in a sealed cabinet without airflow will overheat. When planning a recessed TV niche (where the TV sits inside the wall plane rather than in front of it), you'll need to confirm wall cavity depth and whether any structural work is required before ordering panels sized to that opening.
Delivery, assembly, and installation: what to expect
Three realistic paths exist, and the right one depends on your comfort with tools and your timeline.
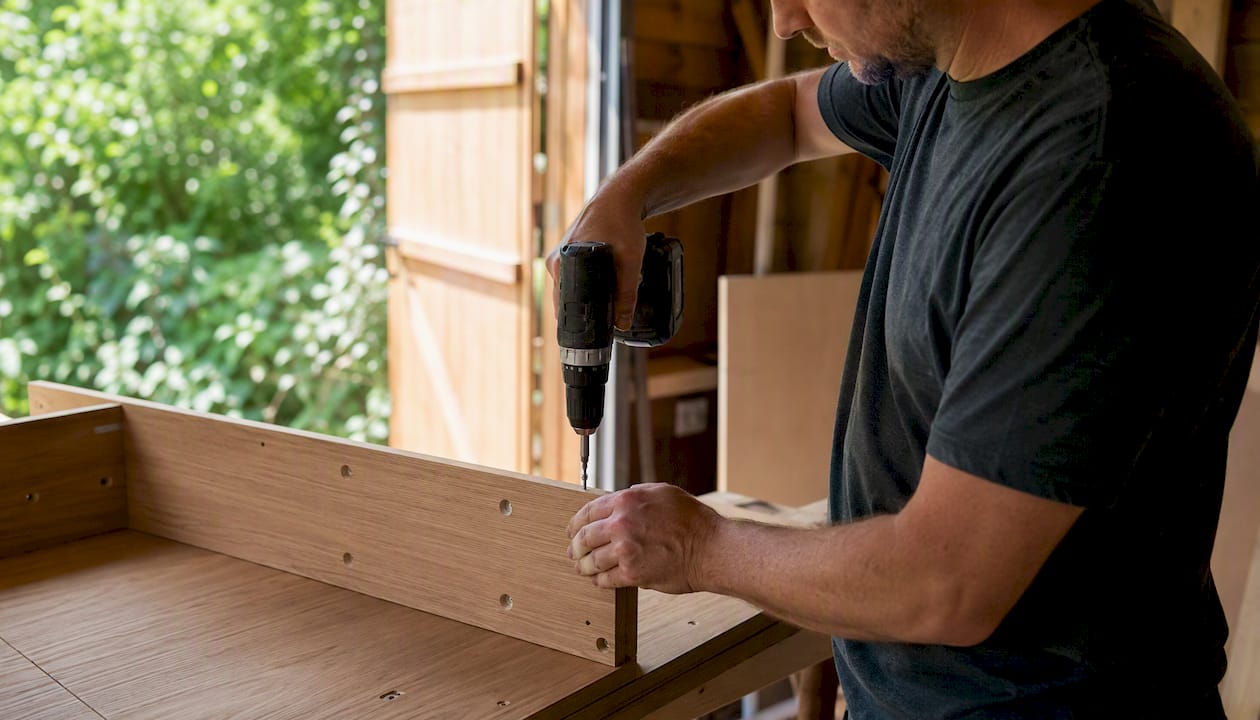
Path 1: Self-assemble DIY kit Best for homeowners comfortable with basic carpentry. Pre-cut, pre-labeled kits from Themediawallstore are designed for a weekend install with standard household tools. No contractor required.
Path 2: White-glove delivery and installation The kit ships to your home and a professional crew handles assembly and mounting. Themediawallstore offers this service for customers in the San Francisco Bay Area. Typical site install runs one to two days.
Path 3: Hire a local contractor For custom configurations or rooms that need drywall patching, stud reinforcement, or a cable chase cut into the wall, a local contractor handles site prep before the kit goes up. Tasks like anchoring, patching, and running a cable chase are standard drywall installation work that intersects directly with media wall installs. Budget one to three additional weeks if this path is needed.
DIY assembly skill checklist:
- Ability to locate and drill into wall studs
- Comfort using a level, drill, and screwdriver
- Basic understanding of drywall anchors vs. stud mounting
- Ability to follow labeled assembly instructions
- A second person available for panel lifting and alignment
What a pre-cut kit typically includes: pre-cut and pre-labeled panels, mounting hardware, LED wiring notes, and assembly instructions. What you supply: the drill, level, stud finder, and any field wiring or electrical work.
If your wall needs patching, outlet relocation, or stud reinforcement before the kit goes up, schedule that work first. Electrical rough-in and drywall finishing need to be complete and dry before panels mount.
Timeline summary:
- DIY kit order to delivery: varies by region and lead time
- DIY assembly: one weekend (one to two days)
- White-glove install: one to two days on-site
- Custom or contractor-assisted: add one to three weeks for site prep
What does a modular media wall cost?
Price varies widely based on size, finish, and how much of the work you do yourself.
- Entry-level modular sets (basic assembled units, minimal storage): low hundreds to around $1,200. These are typically freestanding coordinated pieces, not wall-mounted systems.
- Mid-range DIY kits (coordinated 4–6 piece modular sets with mixed storage): roughly $1,000–$2,500 for the kit itself. This is where most homeowners land when they want a real built-in look without a custom build.
- Premium and custom builds: substantially higher, often several times the cost of a DIY kit, once you factor in custom millwork, contractor labor, and finishing.
Costs that buyers commonly overlook:
- Shipping and freight fees for large panel kits
- White-glove delivery and installation fees (where offered)
- Electrical work for outlet relocation or dedicated LED circuits
- Drywall patching or stud reinforcement before install
- Mounting hardware upgrades (heavier TV mounts, articulating arms)
- Accessory add-ons: LED strips, slat accent panels, trim pieces (browse available accessories to budget these separately)
- Returns or restocking fees if dimensions don't fit
To save money without sacrificing style: choose laminate over veneer finishes, limit integrated lighting to one or two zones rather than the full wall, and reuse your existing AV rack or media components inside the new cabinetry. The Oslo floating slat wall kit is one example of a style-forward option that delivers a high-end look at a mid-range price point.
How to choose the right modular media wall for your home
Work through these priorities in order before you contact a seller.
- Permanence vs. portability. Renters need reversible installs. Floating panels with rear cable slots and wall anchors (rather than floor penetrations) keep the install reversible. Homeowners can go floor-to-ceiling without that constraint.
- Budget. Set a total project budget including shipping, accessories, and any site prep work, not just the kit price.
- Finish and style. Request physical finish samples before ordering. Photos on a screen don't capture texture or sheen accurately.
- Storage needs. Count your devices, cable boxes, gaming consoles, and routers before choosing module types. A beautiful wall with nowhere to put the router is a problem.
- TV size. Confirm the kit's TV mounting zone accommodates your screen's width and VESA pattern.
- Lighting. Decide whether you want integrated LED backlighting before ordering — adding it after assembly is harder than specifying it upfront.
Questions to ask any seller before you buy:
- What is the current lead time from order to delivery?
- What exactly is included in the kit (panels, hardware, LED wiring)?
- What are the VESA mounting specs and maximum TV weight?
- What is the returns policy and restocking fee, if any?
- How long is the warranty, and what does it cover?
- Can I see physical finish samples before committing?
- Is the LED lighting UL-listed, and how is wiring supplied?
Red flags to watch for:
- Vague or missing panel dimensions in the product listing
- No specification for cable management or wiring channels
- Assembly instructions not available to review before purchase
- No clear returns or warranty policy stated on the product page
- Finish photos that look inconsistent across product images
Why Themediawallstore kits solve the problems most buyers run into
Most homeowners hit the same wall (literally): they want a custom built-in look, but custom millwork takes months and costs far more than the furniture budget allows. Themediawallstore's approach is to close that gap with pre-cut, pre-labeled kits that deliver the aesthetics of a custom build at a fraction of the price.
What's included in a Themediawallstore kit:
- Pre-cut and pre-labeled panels ready for assembly
- Integrated cable management channels
- Floating cabinetry with soft-close hardware
- Optional LED lighting (add-on)
- Multiple finish options (wood grain, slat panels, high-gloss, painted)
- Mounting hardware and assembly instructions
The kits are designed to install in a weekend, which means you're not living in a construction zone for weeks. For buyers in the San Francisco Bay Area, white-glove installation is available as a premium service. For everyone else, the DIY path is the primary route, and the pre-labeled system is specifically designed to make that manageable without professional carpentry skills.
Over 1,000 customers have completed installs, and the brand backs every purchase with expert support and risk-free returns. If the kit doesn't work for your space, you're not stuck with it.
Themediawallstore's kits are built around one core insight: the biggest barrier to a great media wall isn't budget or taste — it's the gap between wanting a custom look and being able to execute it without a contractor. Pre-cut, pre-labeled panels close that gap. The result is a wall that looks like it was built into the house, assembled over a weekend by the homeowner.
[Insert case studies or detailed testimonials authored by customers here.]
[Insert author Jake's professional background or credentials relevant to media walls or home improvement here.]
For buyers who want to see how the kits organize by region and service availability, the media wall kits by state page shows design options and local install availability in one place.
The case for modular over custom: what most buyers underestimate
The conventional wisdom says custom is always better. Spend more, get exactly what you want, done right the first time. That logic breaks down the moment you factor in lead time, contractor availability, and the reality that most custom millwork shops are booked out months in advance.
What buyers consistently underestimate is how much of the "custom" look comes from finish quality and proportion, not from bespoke construction. A pre-cut kit with a well-chosen wood-grain laminate, slat accent panels, and integrated LED backlighting reads as custom to anyone who walks into the room. The difference between a $4,000 custom build and a well-executed DIY kit often lives entirely in the installation story, not the finished product.
The one area where custom genuinely wins is unusual room geometry: angled ceilings, structural columns mid-wall, or non-standard ceiling heights that modular panels can't accommodate cleanly. For a standard rectangular living room wall, a modular kit handles the job at a fraction of the cost and a fraction of the wait.
Renters often dismiss media walls entirely, assuming they require permanent modifications. Floating panel systems with rear cable slots and reversible wall anchors change that equation. The install is real, the look is real, and the wall goes back to its original state when you move out.
Useful sources and links
- Media Wall Kits by State — browse designs and check white-glove installation availability in your region.
- Media Wall Accessories & Add-Ons — LED lighting, slat panels, trim, and mounting hardware upgrades.
- Media Wall Ideas for 2026 — design inspiration and budget-friendly configuration ideas.
- Drywall installation guidance — practical overview of site-prep tasks (anchoring, patching, cable chase) that intersect with media wall installs.
FAQ
What is a modular media wall?
A modular media wall is an entertainment center built from individual panels, cabinets, and shelving modules that mount to or span a wall, integrating TV mounting, storage, cable management, and often LED lighting into one cohesive unit.
How long does a modular media wall take to install?
A pre-cut DIY kit typically installs over one weekend. White-glove professional installation runs one to two days on-site; contractor-assisted installs that require drywall or electrical work add one to three weeks.
How much does a modular media wall cost?
Entry-level modular sets start in the low hundreds to around $1,200. Coordinated 4–6 piece DIY kits typically run $1,000–$2,500. Premium or fully custom builds cost substantially more, often several times the price of a DIY kit.
Can renters install a modular media wall?
Yes. Floating panel systems with rear cable slots and reversible wall anchors are designed for renters because they avoid floor penetrations and can be removed without major wall damage.
Where can I buy a modular media wall kit in the US?
Themediawallstore sells pre-cut, pre-labeled DIY media wall kits with multiple finish options and optional white-glove installation in the San Francisco Bay Area. Browse the full selection at themediawallstore.com/shop.