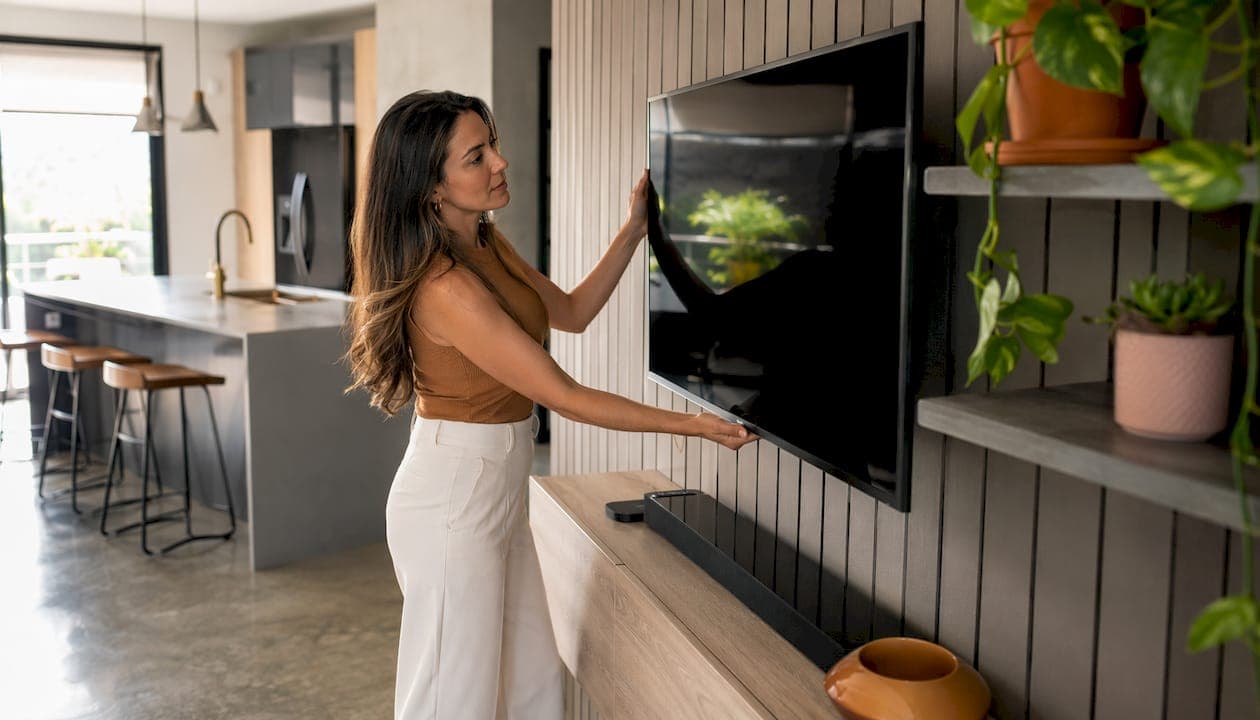
The fastest path to a finished, stylish media wall is to pick your style first, then choose your build route: a weekend DIY kit if you want it done by Sunday, or a minimal custom build if your room has quirks a flat-pack can't solve. Cable management planned before you touch a drill saves more money than any other single decision.
Quick budget map:
- Under $1,500: Materials-only DIY using painted MDF panels or a pre-cut kit. A basic MDF panel build with paint can start in the low hundreds, and a pre-cut kit from Themediawallstore ships ready to assemble over a weekend.
- $1,500–$5,000: Kit plus a day of trade labor for electrical work, or a mid-range custom build with wood paneling and integrated storage.
- $5,000+: Bespoke joinery with integrated fireplace, full-height built-ins, and custom finishes. Expect several thousand dollars at the top end.
Themediawallstore's pre-cut, pre-labeled kits sit squarely in that first band, with over 1,000 completed installs backing the weekend-assembly claim.
Table of Contents
- What media wall ideas actually work in a real living room?
- Which materials and finishes hold up best?
- How do you plan TV placement and hide all the wires?
- How much does a media wall cost, and should you DIY or hire a pro?
- What are the top media wall trends for 2026?
- What are the most common media wall mistakes?
- Why pre-cut kits are often the smarter starting point
- Key Takeaways
- The one thing most media wall guides skip
- Themediawallstore makes the weekend install real
- Useful sources and further reading
- FAQ
What media wall ideas actually work in a real living room?
Style is where most people start, and rightly so. Here are ten distinct directions, each with a budget-friendly angle and a note on where it fits best.
Modern floating panel
A single dark-stained or white panel spans the wall behind the TV, with the screen appearing to float above a slim console. LED backlighting behind the panel creates the floating effect without any structural work. Works in any room size. Budget swap: use painted MDF instead of solid timber for the panel.
Acoustic slat wall
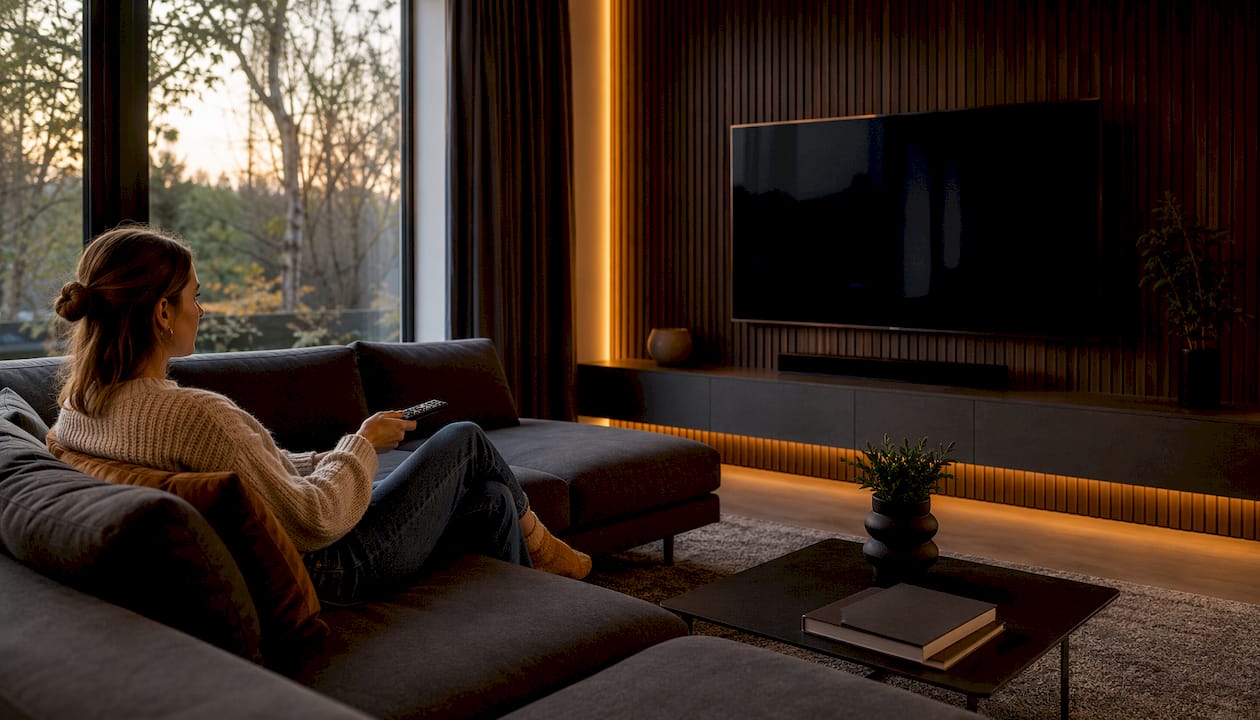
Narrow vertical timber battens run floor to ceiling, hiding cable runs inside the gaps while adding serious texture. Slatted panels often improve acoustic performance when paired with an absorptive backing. Best for open-plan spaces where echo is an issue. Themediawallstore's Oslo slat wall kit delivers this look without custom carpentry.
Fireplace-integrated wall
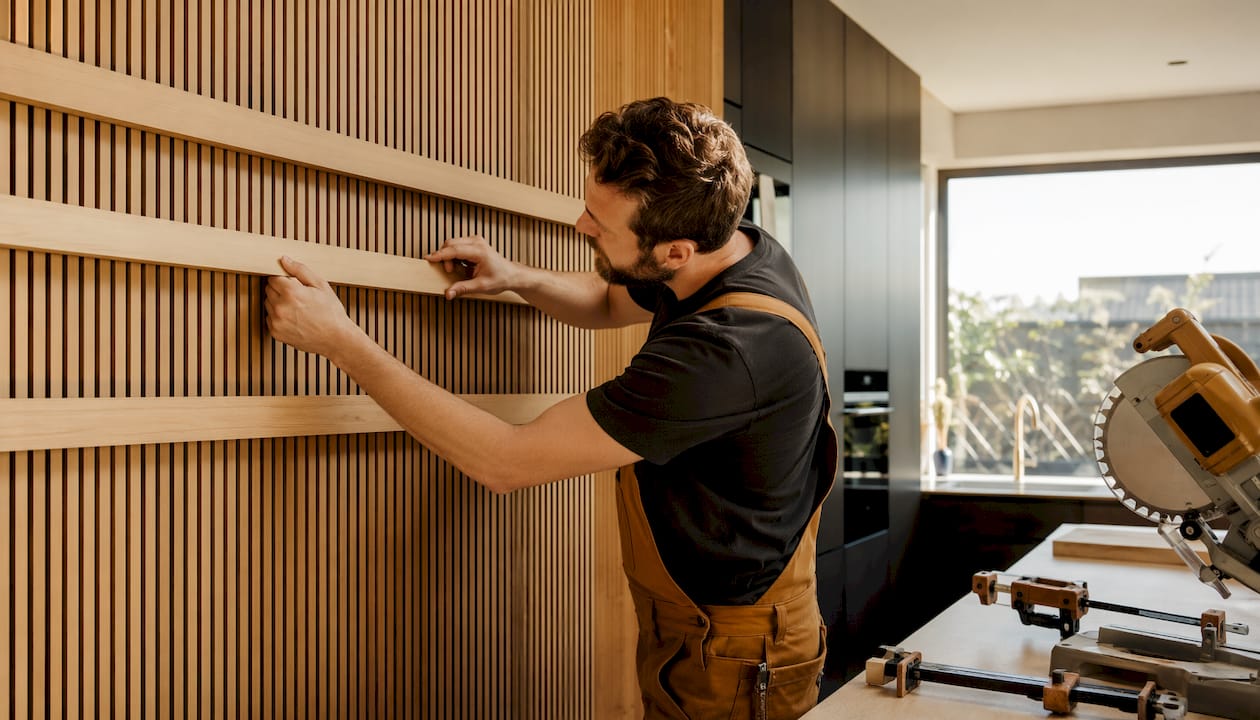
The TV sits above a linear electric insert, with the fireplace and screen sharing a single symmetrical panel. Electric inserts fit into media wall designs without a flue, making them a practical retrofit. Best for living rooms where a gas line isn't an option. Budget swap: a freestanding electric insert slid into a framed recess costs far less than a built-in gas unit.
Shiplap farmhouse
Horizontal white or gray shiplap boards cover the full wall behind the TV, with open floating shelves on either side. The look reads warm and casual. Pairs well with a wood mantel and simple black hardware. Budget swap: peel-and-stick shiplap panels skip the framing entirely.
Mid-century modern
A low, wide credenza anchors the TV at a natural seated eye level, with the wall behind kept simple, maybe a single art piece or a thin floating shelf. No built-ins needed. If your room has an original mid-century fireplace, use the top ledge as display space to balance the screen rather than competing with it.
Stone or brick veneer
Thin stone or brick veneer panels give a textured, industrial feel without the weight of real masonry. Great for basement media rooms or loft-style spaces. Budget swap: faux stone wallpaper achieves a similar effect at a fraction of the cost and zero structural work.
Built-in bookshelf wall
Floor-to-ceiling shelving flanks the TV on both sides, with the screen set into a central cubby. Designers recommend surrounding the TV with artwork and shelving so the screen doesn't dominate when it's off. Best for larger rooms where the wall can carry the visual weight.
Minimalist floating panel with hidden TV
A Samsung Frame TV or similar art-mode screen sits flush against a painted panel. When off, it displays artwork. The panel itself can be as simple as a single painted drywall accent in a contrasting color. Zero carpentry required.
Dark moody feature wall
Full-height dark gray or charcoal paneling, recessed alcoves with built-in spotlights, and black acoustic slat inserts. Bold, dramatic, and surprisingly achievable with off-the-shelf panels. Best for rooms where you can control the light, such as a dedicated home theater or a room with blackout shades.
Micro-cement or plaster finish
A smooth, seamless micro-cement or Venetian plaster finish across the entire wall gives a high-end, gallery-like backdrop. No panels, no joints. The TV mounts directly to the surface. Best for minimalist or contemporary interiors. Requires a skilled applicator, but the material cost is moderate.
Pro Tip: For small rooms under roughly 150 square feet, shallow-depth units of 200–300 mm and light paint finishes keep the space from feeling closed in. Go dark only if you have strong natural light or a room you're deliberately making into a cinema.
Which materials and finishes hold up best?
Material choice drives both the look and the long-term maintenance bill. Here's a plain-language breakdown.
Wood paneling (MDF or solid timber) Affordable, easy to paint, and widely available. MDF takes paint beautifully but dents if knocked hard. Solid timber costs more and moves slightly with humidity. DIY difficulty: low to moderate. Best for painted or stained feature walls.
Acoustic slat panels Narrow timber battens over an MDF substrate. Adding a thin backer panel with a 20–40 mm cavity behind the slats improves low-frequency sound absorption without adding bulk. DIY difficulty: moderate. Visual effect: high texture, warm, contemporary.
Painted drywall The lowest-cost option. A single accent color or a dark paint finish transforms a plain wall into a feature. No structural work, no materials beyond paint and primer. DIY difficulty: very low. Limitation: no built-in storage or cable hiding.
Veneer and stone panels Thin stone or wood veneer sheets bond to a substrate wall. Heavier than MDF, so wall anchoring matters. Durable and scratch-resistant once installed. DIY difficulty: moderate to high depending on weight.
Micro-cement and plaster Seamless, no joints, very durable. Requires professional application for a clean result. Not a DIY material for most homeowners.
- Fireplace safety note: Any cladding within 6 inches of a heat source must be rated for that proximity. Electric inserts are the safest retrofit option since they produce no combustion gases, but always plan separate ventilation and avoid enclosing electronics in airtight cabinets. Leave a 25–50 mm gap behind equipment and route vents to the outer face.
- Shiplap and peel-and-stick panels: Great for renters or anyone who wants a reversible install. Adhesive panels won't damage drywall if removed carefully.
- Laminate and vinyl wrap: Budget-friendly finish for MDF frames. Looks sharp at a distance, less convincing up close.
Pro Tip: When acoustic performance matters, choose slat panels with an absorptive backing rather than solid panels. The slats handle mid-to-high frequencies; the cavity behind handles the bass. Themediawallstore's acoustic slat panel ships with the backing pre-attached.
How do you plan TV placement and hide all the wires?
Get the placement right before you build anything. Moving a TV mount after cabinetry is in place is expensive and annoying.
Pre-install checklist:
- Locate studs with a stud finder and mark them before framing begins.
- Measure your primary seating distance. For a 65-inch screen, the ideal viewing distance is roughly 8–10 feet; for a 75-inch screen, 10–12 feet.
- Identify your cable access point: where does power currently run, and where will HDMI, ethernet, and speaker cables need to go?
- Confirm whether new electrical work is needed. If it is, consult a licensed electrician before framing closes the wall.
TV mounting height
| Screen size | Recommended center-of-screen height (seated eye level ~42") |
|---|---|
| — | 42–48" from floor |
These are starting points. Adjust up slightly if your seating is higher than standard sofa height.
Wiring options:
- In-wall power kit: A recessed outlet behind the TV with a low-voltage cable channel runs power and HDMI through the wall cavity. No new wiring, no electrician required in most states for a straight run between existing outlets.
- Surface cable channel: Paintable PVC raceway sticks to the wall and hides cables without opening drywall. Fastest option, slightly visible.
- Conduit in new framing: If you're building a stud-frame media wall from scratch, run conduit before closing the frame. Future-proof for cable upgrades.
For fireplace-integrated walls, establish the TV location and resolve power and cable needs before committing to cabinetry. Retrofitting wiring after the joinery is in costs significantly more.
Ventilation reminder: Enclosed AV cabinets need at least one ventilated shelf or a rear vent panel. Electronics running in a sealed box overheat. For electric fireplace inserts, always follow the manufacturer's clearance requirements and never block the heat exhaust.
How much does a media wall cost, and should you DIY or hire a pro?
Realistic numbers matter more than aspirational ones. Here's how the three main routes compare.
| Build route | Typical cost range | Typical timeline | Best for |
|---|---|---|---|
| DIY kit (materials only) | — | 1–2 days (weekend) | Confident DIYers, budget-conscious buyers |
| Kit + trade labor (electrical) | $1,500–$4,000 | 2–5 days | Most homeowners, clean finish without full custom |
| Mid-range custom build | — | 1–3 weeks | Specific room constraints, integrated fireplace |
| Bespoke joinery (full custom) | $8,000–$20,000+ | 4–8+ weeks | Structural alterations, permanent fireplace, high-end finish |
Modular kit systems create a built-in appearance but remain non-permanent and install faster than custom joinery. That's the core appeal of a pre-cut kit: you get the visual result of bespoke work at a fraction of the lead time and cost.
Decision checklist:
- Do you have a chimney breast, gas line, or structural wall that needs alteration? If yes, hire a pro for at least that phase.
- Are you comfortable using a drill, level, and stud finder? If yes, a kit install is within reach.
- Do you need new electrical circuits or outlets moved? Always hire a licensed electrician for that work regardless of your skill level.
- Is your finish expectation "looks great" or "indistinguishable from bespoke joinery"? Kits cover the first; custom joinery covers the second.
- What's your timeline? A weekend kit beats a 6-week joinery lead time if you want it done before the holidays.
Questions to ask before you start:
- Does your local jurisdiction require a permit for wall framing or electrical work? Check with your city or county building department.
- Is the wall load-bearing? If you're cutting into it, get a structural assessment.
- What's the maximum TV weight your chosen mount can handle?
What are the top media wall trends for 2026?
Media walls in 2026 are planned as complete architectural systems, combining storage, shelving, lighting, and proportion so the TV becomes one element of a larger composition rather than the focal point.
Top trends this year:
- Full-height built-ins: Floor-to-ceiling panels that make the wall feel intentional rather than added-on. The TV sits within the system, not on top of it.
- Backlit panels and LED integration: Indirect LED lighting behind panels or inside alcoves creates depth and warmth. Floating TV panels with LED backlighting remain one of the most searched ideas, and the look has only gotten more refined.
- Integrated electric fireplaces: The TV-above-fireplace combination is now a design standard, not a novelty. Cleaner linear inserts are replacing the chunky traditional surround.
- Dark, moody palettes: Charcoal, deep navy, and forest green are replacing the all-white media wall as the default choice for feature walls.
- Slatted acoustic features: Vertical timber slats in natural oak, walnut, or painted black are showing up in everything from Scandinavian-minimal to industrial-modern rooms.
- Hidden AV and clean cable management: Visible cables are the single fastest way to date a media wall. Recessed conduit and in-wall power kits are now considered baseline, not a premium upgrade.
Budget-friendly adaptations:
- Full-height built-ins on a budget: use floor-to-ceiling painted MDF panels with simple molding rather than custom cabinetry.
- Dark palette without the cost: a single wall painted in a deep color with a floating console achieves the moody look for under $200 in materials.
- Slatted look on a budget: peel-and-stick slat panels are now widely available and install in an afternoon.
Pro Tip: When choosing your TV recess or panel width, size it for a screen one step larger than you currently own. A 65-inch TV in a recess built for a 75-inch looks intentional; a 65-inch TV crammed into a 66-inch recess looks like a mistake. Future-proofing costs nothing at the planning stage.
What are the most common media wall mistakes?
Most expensive media wall problems are preventable. Here's what goes wrong most often and how to avoid it.
- Wrong proportions: A media wall that's too shallow looks like furniture pushed against a wall. Too deep in a small room and it eats the floor plan. For rooms under roughly 150 square feet, keep unit depth at 200–300 mm and avoid floor-to-ceiling mass on all sides.
- No ventilation for electronics: Enclosed AV cabinets without ventilation cause overheating and shorten equipment life. Add a rear vent panel or a ventilated shelf before closing the cabinet.
- Poor cable planning: Running cables after the wall is built means surface channels or reopening drywall. Plan every cable route before framing starts.
- Overloading shelves: Floating shelves on drywall anchors fail under heavy loads. Always anchor into studs or use a French cleat system rated for the weight.
- Ignoring the TV-off state: A large black rectangle dominates a room when the TV is off. Designers solve this by framing the TV with art, shelving, or painted panels so the screen becomes part of a larger composition.
- Mounting too high: Eye strain from a TV mounted above comfortable eye level is a real problem. The center of the screen should sit at or just above seated eye level (roughly 42–48 inches from the floor for most sofas).
- Skipping a mock-up: Taping out the wall dimensions with painter's tape before building reveals proportion problems that are invisible on paper.
- Underestimating fireplace clearances: Electric inserts are forgiving, but they still require manufacturer-specified clearances. Ignoring them voids the warranty and creates a fire risk.
A quick fix for an existing wall that runs too hot: add a small USB-powered fan inside the cabinet and drill a 2-inch vent hole at the rear top. Not elegant, but it works.
Why pre-cut kits are often the smarter starting point
Custom joinery is the right answer for a room with a chimney breast that needs structural alteration, a permanent gas fireplace, or a finish expectation that requires a master carpenter. For everyone else, a pre-cut kit closes the gap between "I want that look" and "it's done" faster than any other route.
Pre-cut, pre-labeled media wall kits reduce install time and lower labor costs compared with bespoke joinery. The panels arrive cut to size, labeled for assembly order, and paired with hardware. A confident DIYer with a drill and a level can complete a standard install over a weekend. That's not a marketing claim; it's the structural reality of a kit that removes the measuring, cutting, and sequencing decisions that slow down a custom build.
Themediawallstore's kits include options for LED strips, slat panels, and electric fireplace inserts, so the style flexibility is real. The Oslo slat wall kit covers the acoustic-slat trend. The Ambassador Wall handles the full built-in look. Fireplace-ready variants accommodate a linear electric insert without structural work.
When a kit beats custom joinery: your wall is structurally straightforward, you want a finished result within days rather than weeks, and your budget is under $5,000. When custom wins: you have a chimney breast requiring alteration, a permanent gas or wood-burning fireplace, or a room geometry that no modular system can accommodate cleanly.
Customers who want design help before committing can request a free 3D design consultation to see their room with a kit installed before ordering.
Key Takeaways
A pre-cut DIY kit is the fastest, most cost-effective route to a high-end media wall for most homeowners, provided the wall is structurally straightforward and cable planning happens before any framing begins.
| Point | Details |
|---|---|
| Start with TV placement | Lock in screen position and cable routes before framing or ordering any panels. |
| Match depth to room size | Rooms under ~150 sq ft need shallow units (200–300 mm) and light finishes to avoid feeling cramped. |
| Budget by route | DIY kit: budget-friendly materials and kits; kit plus trade labor: mid-range costs; bespoke joinery: higher-end custom builds. |
| Ventilate enclosed cabinets | Always leave a 25–50 mm gap behind electronics and add a rear vent panel to prevent overheating. |
| Themediawallstore kits | Pre-cut, pre-labeled kits with LED, slat, and fireplace options install in a weekend at a fraction of custom joinery cost. |
The one thing most media wall guides skip
The advice you'll find everywhere is "plan your cables first." That's correct, but it's the second step. The first step almost nobody talks about is sitting in your actual sofa and looking at the blank wall for five minutes before you design anything.
Proportion errors, mounting-height mistakes, and units that feel too heavy for the room all come from designing on paper without accounting for how the space actually feels from the seat where you'll watch TV. Tape out the proposed panel width and height with painter's tape. Sit down. Look at it. Adjust. That ten-minute exercise catches more problems than any planning checklist.
From there, the workflow is straightforward: TV placement first, storage needs second, lighting last. Lighting decisions made before storage is fixed almost always get revised anyway. And if you're choosing between a kit and a custom build, measure your wall carefully against the kit dimensions before you decide. Most rooms fit a modular system better than homeowners expect.
Themediawallstore makes the weekend install real
Skip the 6-week joinery lead time. Themediawallstore's DIY media wall kits ship pre-cut and pre-labeled, so you're assembling, not measuring and cutting. Every kit includes hidden wire management built into the panel system, and you can add LED lighting, acoustic slat panels, or an electric fireplace insert from the accessories page to match whichever style you picked above.

The kits work across styles, from the clean-line Essential Modern to full fireplace-integrated builds, and the price sits well below what a carpenter would quote for the same finished look. Over 1,000 homeowners have completed installs, and risk-free returns mean you're not locked in if something doesn't fit. If you'd rather see your room with a kit installed before committing, book a free 3D design consultation and get a rendered view of your actual space.
Useful sources and further reading
These are the primary sources used for design inspiration, trend analysis, and technical guidance throughout this article.
- The Spruce: 34 TV Wall Ideas — Broad visual gallery covering painted, paneled, and built-in TV wall approaches with real designer examples.
- Homedit: 15 Living Room Media Wall Ideas for 2026 — Trend analysis focused on media walls as full architectural systems; useful for 2026 design direction.
- Houzz: Living Room with a Media Wall — Extensive photo gallery of real installed media walls across styles and budgets.
- TIS Ideas: 35 Stunning Media Wall Ideas — Practical cost guidance and material recommendations for DIY and mid-range builds.
- Homespacess: 26 Media Wall Ideas for 2026 — Covers LED backlighting trends and planning workflow recommendations.
- Wood Create: 4 Real Media Wall Designs — Detailed build guidance for four distinct styles including acoustic slat and dark feature walls.
- House Beautiful: 15 TV Wall Ideas — Designer strategies for integrating the TV into a larger wall composition.
- Painted Furniture Co: Media Wall Inspiration — Modular and made-to-measure kit options for a built-in look without permanent structural work.
- Themediawallstore Shop — Pre-cut DIY media wall kits with fireplace, LED, and slat options; primary conversion destination for kit buyers.
- One Day Doors & Closets: Interior Door Trends — Complementary guidance on interior finish trends and focal-point carpentry that pairs with media wall design choices.
FAQ
A basic DIY media wall using painted MDF panels can start in the low hundreds of dollars; a kit-plus-trade install typically runs $1,500–$4,000, and bespoke joinery with integrated features can reach $8,000–$20,000 or more depending on complexity.
What are the downsides of a media wall?
The most common problems are poor cable planning (which is expensive to fix after framing), insufficient ventilation for enclosed electronics, and proportion errors that make a small room feel cramped. Planning cable routes and ventilation before building eliminates most of these issues.
What are the latest trends in media walls for 2026?
Full-height built-in systems, integrated linear electric fireplaces, dark moody palettes, and vertical acoustic slat panels are the dominant directions in 2026, with clean LED backlighting and hidden cable management now considered standard rather than premium.
Is a DIY media wall kit worth it compared to custom joinery?
For structurally straightforward walls, a pre-cut kit delivers a comparable visual result in a weekend at a fraction of the cost and lead time of custom joinery. Custom joinery makes more sense when the wall requires structural alteration, a permanent fireplace, or a highly specific geometry.
How high should a TV be mounted on a media wall?
The center of the screen should sit at roughly seated eye level, which is approximately 42–48 inches from the floor for a standard sofa. Mounting higher than this causes neck strain during extended viewing.