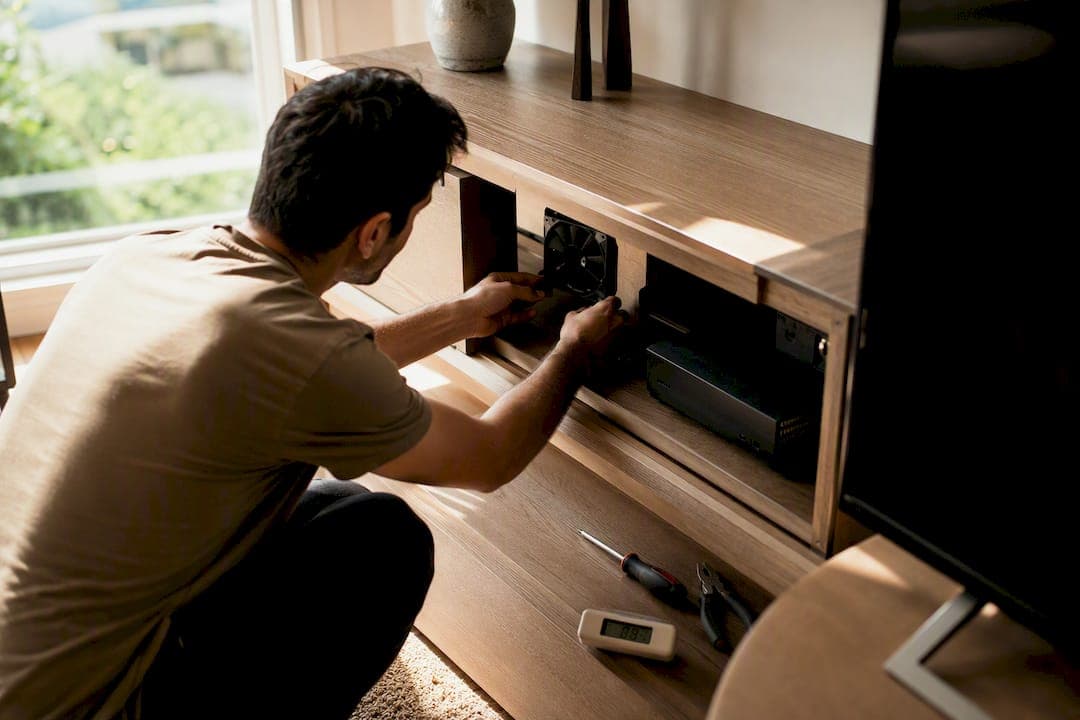
You can keep a TV in a cabinet safely, but only if you hit minimum clearance numbers and build a real airflow path or add fans. Manufacturer guidance from Sony calls for 2 to 6 inches of rear clearance and about 4 inches on the sides, and TVs should never sit in a fully closed space with zero ventilation. The fastest fix: open or vent the back panel, add a low intake and high exhaust path, or drop in a pair of quiet 120mm fans with filters.
Here's what to do in the next 30 minutes:
- Measure the gap behind your TV and behind any AV receiver or game console.
- Pop off or drill vents into a solid back panel if one exists.
- Add a small USB fan near the bottom of the cabinet, angled to push air toward a higher exit point.
That's the baseline. The rest of this guide covers how to make it permanent, quiet, and safe.
Key Takeaways
Safe TV cabinet ventilation depends on meeting manufacturer clearance minimums and creating an unobstructed low-to-high airflow path, whether passive or fan-assisted.
| Point | Details |
|---|---|
| Meet clearance minimums | Keep 2 to 6 inches behind the TV and about 4 inches on the sides, per Sony's guidance. |
| Build a real airflow path | Position intake low and exhaust high rather than relying on fan power alone. |
| Buy quiet, certified fans | Choose dual-ball bearing fans rated past 50,000 hours, under 30 dB, with UL or CE certification. |
| Automate with a thermostat | A thermostatic or PWM controller cuts noise and dust by running fans only when needed. |
| Consider a rebuild for chronic heat problems | Themediawallstore's pre-cut kits include airflow-friendly cabinetry and cable management built in from the start. |
Table of Contents
- Pre-Work Checklist Before You Cut or Buy Anything
- How Does Poor Ventilation Damage a TV?
- What Are the Best Retrofit Options for TV Cabinet Ventilation?
- Which Fans and Filters Should You Buy?
- How Do You Power and Control Cabinet Fans?
- What Tools and Safety Steps Do You Need Before Cutting?
- How Do You Maintain and Troubleshoot Cabinet Ventilation?
- When a Retrofit Isn't Enough
- A Simpler Long-Term Fix: Pre-Cut Media Wall Kits
- Sources
- FAQ
Pre-Work Checklist Before You Cut or Buy Anything
Before you touch a drill, walk through this list. It saves you from buying the wrong fan or cutting a hole in the wrong spot.
- Measure rear and side clearance around the TV and compare it against the manufacturer's spec sheet.
- Check the cabinet's actual depth. A shelf that looked spacious on paper can crowd a 55 inch panel once cables and a soundbar are added.
- Note which components generate the most heat. AV receivers and gaming consoles usually run hotter than the TV itself.
- Confirm your power plan: switched outlet, USB port, or a small 12V adapter for any fans you add.
Skipping this step is how homeowners end up cutting a vent panel in the wrong place, then cutting a second one to fix the first.
How Does Poor Ventilation Damage a TV?
Trapped heat shortens component life, and it doesn't take a sauna to do it. A cabinet running consistently warm can trigger thermal shutdowns, cause pixel darkening on OLED and LED panels, and in rare cases raise fire risk from stressed power supplies.
The physics is simple: warm air rises. That's why intake low and exhaust high beats a single fan bolted anywhere convenient. A clear path matters more than raw fan power, according to guidance on push and pull airflow patterns used in equipment cabinets.
- Manufacturer clearance numbers exist for a reason. Sony's warranty language references them directly.
- Even furniture guidance built for tight spaces, like HGTV's take on flat-screen TVs in kitchen cabinets, sets a hard floor of about 2 inches minimum.
- Ignoring both invites the same outcome: a hot cabinet that shortens the life of everything inside it.
What Are the Best Retrofit Options for TV Cabinet Ventilation?
Start with the cheapest fix and only escalate if temperatures stay high. Here's the order that makes sense for most living rooms.
- Open or vent the back panel. If your cabinet has a solid rear wall, cut it out entirely or drill a grid of holes. A jigsaw and a 1 inch spade bit handle most panels in under an hour.
- Swap in pegboard. Replacing a back panel with pegboard gives you passive airflow across the whole surface instead of a few holes, plus flexible cable routing.
- Add vent grills with brush-plate pass-throughs. These let cables through cleanly while keeping dust and pests out. Expect a 2 to 3 inch hole saw for most brush plates.
- Go hybrid. Keep the doors closed for looks, but fit a filtered vent panel on the back or side, and position hot components like the AVR closest to it.
- Go active. Install a push/pull fan setup: one fan low pulling cool air in, one fan high pushing warm air out. Paired fans beat a single top-mounted fan because they create an actual current instead of just stirring air.
A real-world example: one AVForums build log documents a homeowner adding low intake and high exhaust fans, magnetic dust filters, and brush-plate pass-throughs, all powered from a spare USB port on the TV itself.
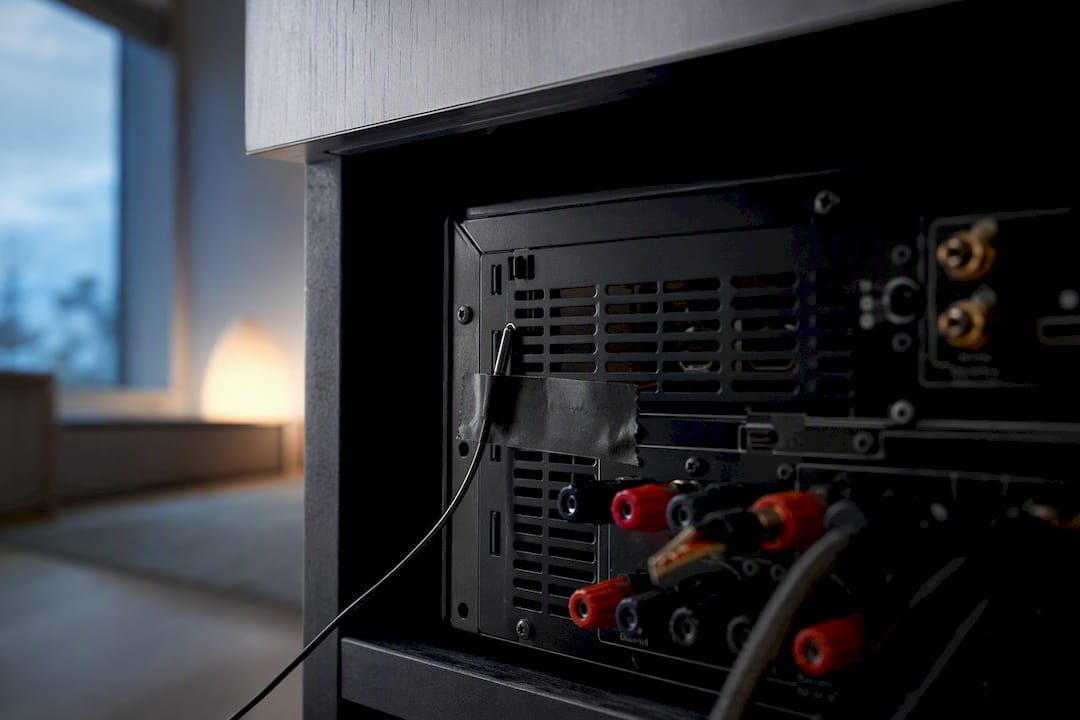
Pro Tip: Buy a $10 digital thermometer with a probe, tape the probe near your AVR, and check the temperature before and after your fix. A 10 to 15 degree drop tells you the airflow path is working. No change means the path is still blocked somewhere.
Which Fans and Filters Should You Buy?
Not all fans belong in a living room. A fan built for a server rack will drive you out of the house.
Look for dual-ball bearing fans rated past 50,000 hours with noise under 30 decibels, and confirm UL or CE safety certification before buying. That noise threshold matters more than most spec sheets suggest. A fan at 35 dB sounds fine in a store aisle and maddening at 2 a.m. during a quiet scene.
- 120mm fans move more air at lower RPM (and lower noise) than 92mm fans, which is why they're the default choice for cabinets.
- Slim 25mm-thick fans fit shallow media consoles; 38mm fans move more air but need more depth.
- AC Infinity and Noctua are the two brands homeowners and AV forums cite most often for quiet, well-built cabinet fans.
- Off-the-shelf vent modules with built-in fans and magnetic filters simplify installation. One commercial cabinet vent example runs a 50mm fan at roughly 13 CFM and 29 dBA, useful as a reference point when comparing specs.
- For cable and power concealment, Mount-It! and Wiremold kits handle the wiring side without an electrician.
Pro Tip: Choose a PWM or thermostatically controlled fan over a fixed-speed one. It only spins up when the cabinet actually gets warm, which means less noise and less dust pulled through the filter.
How Do You Power and Control Cabinet Fans?
You've got four real options: a plug-in 12V adapter, USB power pulled from the TV or a nearby device, a hardwired connection to a switched outlet (electrician required), or a pre-wired in-wall kit.
For control, "always on" works but wastes power and adds needless noise. A switched outlet tied to your AV receiver turns fans on only when the system is running. A thermostatic controller, the approach AC Infinity recommends, triggers fans by temperature instead of by device state, which cuts both noise and dust intake.
- Confirm any powered accessory carries UL or ETL certification.
- Never run mains wiring through an unprotected cabinet opening.
- If you want a permanent hardwired setup, call an electrician rather than improvising.
Pro Tip: A $15 thermostatic controller pays for itself in reduced fan wear within a year, since it stops the fan from running 24/7 for no reason.
What Tools and Safety Steps Do You Need Before Cutting?
Gather a drill with a hole saw kit (2 to 3 inches for most brush plates and small fans), a jigsaw for larger panel cuts, screwdrivers, and magnetic or screw-mount filters.
- Keep rear clearance at 2 to 6 inches and side clearance around 4 inches, matching your TV's own manufacturer spec.
- Leave airflow gaps between shelves; a solid shelf above the TV blocks the exact path you just built.
- Use only certified power supplies, and route cords away from any cut edges or exposed screws.
- Call a licensed electrician for anything involving permanent mains wiring.
How Do You Maintain and Troubleshoot Cabinet Ventilation?
A ventilation fix isn't "set it and forget it." Filters clog, bearings wear, and airflow paths get blocked by whatever gets stacked on the shelf next to the console.
- Clean filters quarterly, more often if you have pets or live somewhere dusty.
- Inspect fans every 6 to 12 months for noise changes or slower spin-up.
- Replace fans once they approach their rated bearing lifespan rather than waiting for failure.
- Noisy fan: check for loose mounting screws or missing rubber isolation grommets.
- Weak airflow: look for a blocked path, not a weak fan. Reorient before you upgrade.
- Temperature swings: add a thermostatic controller instead of running the fan constantly.
If temperatures stay high after all of this, the problem usually isn't the fan. It's the cabinet.
When a Retrofit Isn't Enough
A retrofit makes sense for minor heat issues, shallow fixes, or a setup you know is temporary. Drilling vents, adding a $20 fan, and calling it done is the right call if your cabinet is otherwise a good fit.
But some cabinets are working against you no matter how many fans you add. Not enough depth, three or four heat sources crammed together, or a shelf design that traps air structurally rather than incidentally. At that point you're not solving a ventilation problem, you're compensating for a cabinetry problem. A built-in media wall with proper cable and airflow planning from the start avoids the retrofit cycle entirely, and it tends to last longer than a series of drilled holes and duct-taped fans.
A Simpler Long-Term Fix: Pre-Cut Media Wall Kits
If you're staring down a cabinet that needs three separate vent cuts, a rewired outlet, and a thermostatic controller just to keep your gear cool, it might be time to stop patching and start over. Themediawallstore builds pre-cut, pre-labeled media wall kits with airflow-friendly cabinetry and integrated cable management already designed in, so you're not retrofitting ventilation into furniture that was never built for it.

Every kit ships ready to assemble in a weekend, no contractor and no guesswork about where to drill. If you're weighing a retrofit against a real upgrade, browse the current kit lineup and see which layout fits your TV, your components, and your room. Returns are risk-free if it's not the right fit once it's in your home.
Sources
- How much space is needed around the TV to ensure proper ventilation? | Sony USA
- How to Choose the Right Cabinet Cooling Fan: A Practical Buyer’s Guide - Fans, Thermal Management - DigiKey TechForum - An Electronic Component and Engineering Solution Forum
- Quiet cabinet fans (AC Infinity)
- Push air vs Pull air best practices (industrial cabinet cooling) | IndustrialMonitorDirect
- Cabinet Vent for Cooling & Venting Electronics in a Cabinet or Enclosure
FAQ
How Do You Ventilate a Media Cabinet?
Open or vent the back panel, keep manufacturer clearance minimums, and build a low intake to high exhaust airflow path, adding fans if passive airflow isn't enough.
Can You Put a TV in a Cabinet?
Yes, but only with adequate clearance (2 to 6 inches rear, about 4 inches sides per Sony) or active ventilation. A fully sealed cabinet with no airflow isn't safe for a TV.
Does a TV Need Ventilation?
Yes. Even TVs designed for tight spaces need airflow to avoid thermal shutdowns, shortened component life, and in some cases pixel darkening from sustained heat.
How Do You Keep Electronics Cool in a Cabinet?
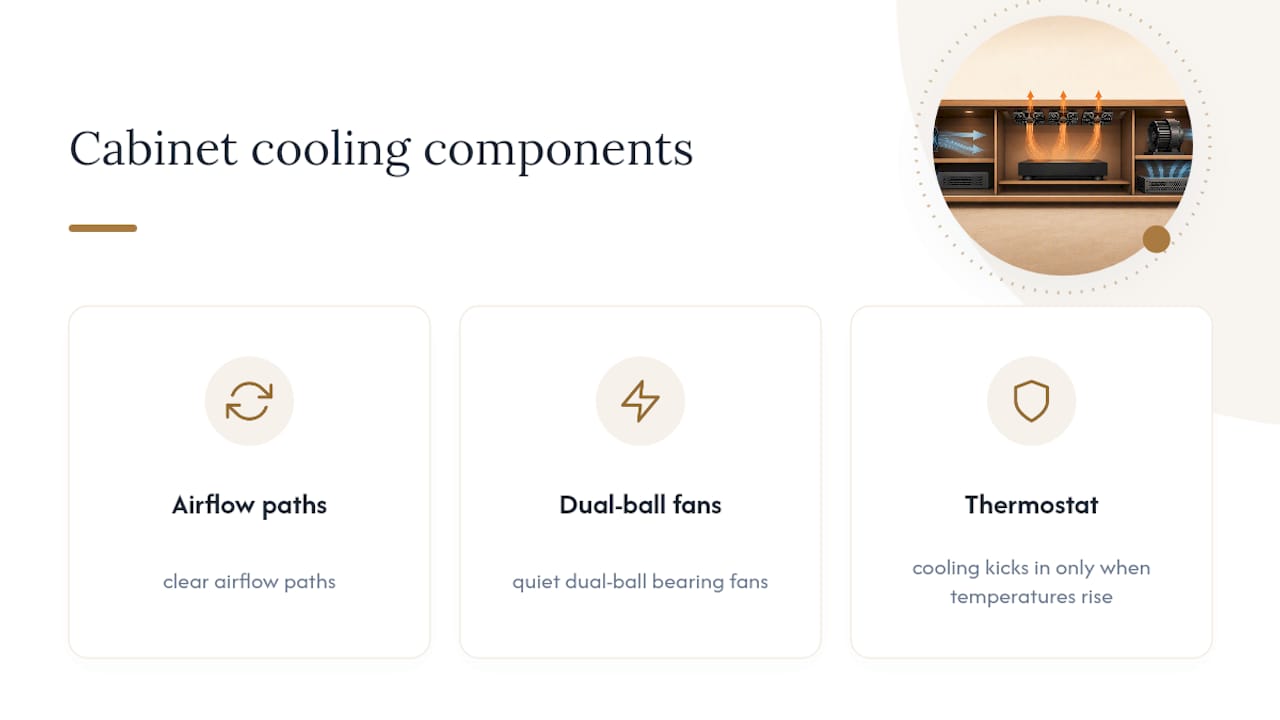
Combine clear airflow paths, quiet dual-ball bearing fans, and a thermostatic controller so cooling kicks in only when temperatures rise, keeping noise and dust intake low.
Is It Better to Retrofit a Cabinet or Buy a New One?
Retrofitting works for minor heat issues in a cabinet with reasonable depth. If the cabinet is too shallow or crowded with multiple heat sources, a pre-cut media wall built with airflow in mind is usually the more durable fix.