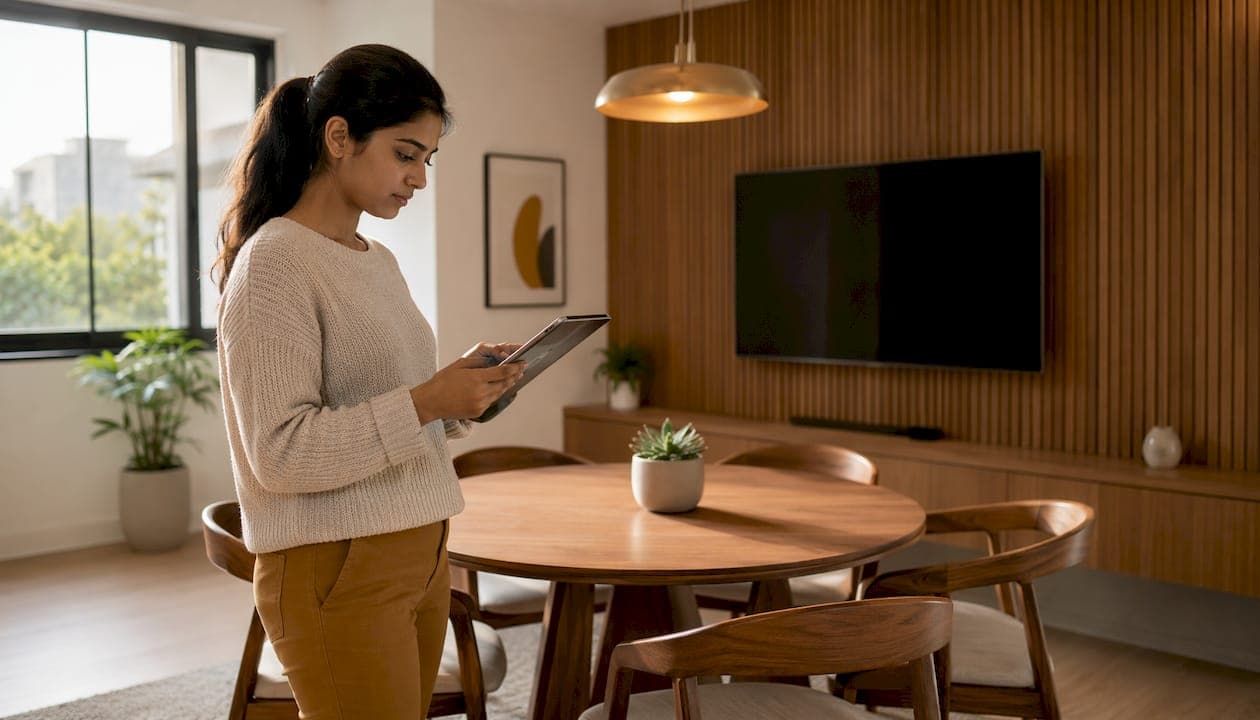
A luxury TV wall is an architectonic composition of premium materials, layered lighting, and fully concealed AV — get all three right and the screen becomes part of the room's architecture rather than a black rectangle on a painted wall.
- Materials: Marble slabs, dark wood veneer, or fluted panels give the wall visual mass and texture
- Lighting: Bias/halo backlighting behind the screen plus accent LEDs in niches and reveals
- Concealment: Recessed flush mount, hidden cable raceways, and ventilated AV cabinetry
Your first decision is style direction — marble statement, dark-modern, Japandi, or Art Deco — followed by whether a DIY kit or a custom pro build fits your timeline and budget. Themediawallstore's pre-cut kits are practical starting points for both paths.
Table of Contents
- What makes a luxury TV wall design work?
- Which materials actually read as high-end?
- How fluted panels and slat walls change the mood
- Layered lighting is what separates good from great
- Getting the proportions right
- Hiding cables and managing acoustics
- Feature elements that make the wall more than a TV stand
- Popular style directions to inspire your wall
- What does a luxury media wall actually cost?
- Designer tips that most guides skip
- Key Takeaways
- The case for treating your media wall as architecture, not furniture
- Get the luxury look faster with Themediawallstore
- FAQ
- Useful sources and further reading
What makes a luxury TV wall design work?
The single rule every good designer follows: don't fight the screen — integrate it. A TV hung on a plain wall reads as an appliance. The same screen set flush into a full-height panel composition reads as architecture. That shift in perception costs nothing extra in hardware; it costs intentionality in planning.
From that principle, four design rules follow:
- Treat the wall as a single field. Materials, panels, and cabinetry should run continuously so the eye reads one composition, not a TV plus some furniture.
- Prioritize visual weight and balance. A 65-inch screen needs enough material mass on either side to feel anchored — floating cabinetry that extends well past the screen width achieves this.
- Use continuous material runs. Seams and joints that stop at the TV edge expose the screen as an afterthought. Carry the finish past the screen by at least 6–12 inches on each side.
- Plan sightlines early. The TV center should land at roughly 42–44 inches above the finished floor for relaxed seated viewing.
Pro Tip: Floating joinery and a recessed TV frame change perceived craftsmanship more than any finish upgrade. Recess the screen flush with the panel face so it sits in plane with the wall — the difference between "mounted TV" and "built-in screen" is that single detail.
Use this checklist when evaluating inspiration photos or contractor proposals:
- Does the material run the full wall height, or does it stop awkwardly?
- Is the TV recessed or flush-mounted, or does it protrude from the surface?
- Are cables and AV gear completely hidden?
- Does the lighting layer bias, accent, and ambient sources, or is it a single ceiling spot?
- Does the wall read as one composition when the screen is off?
Which materials actually read as high-end?
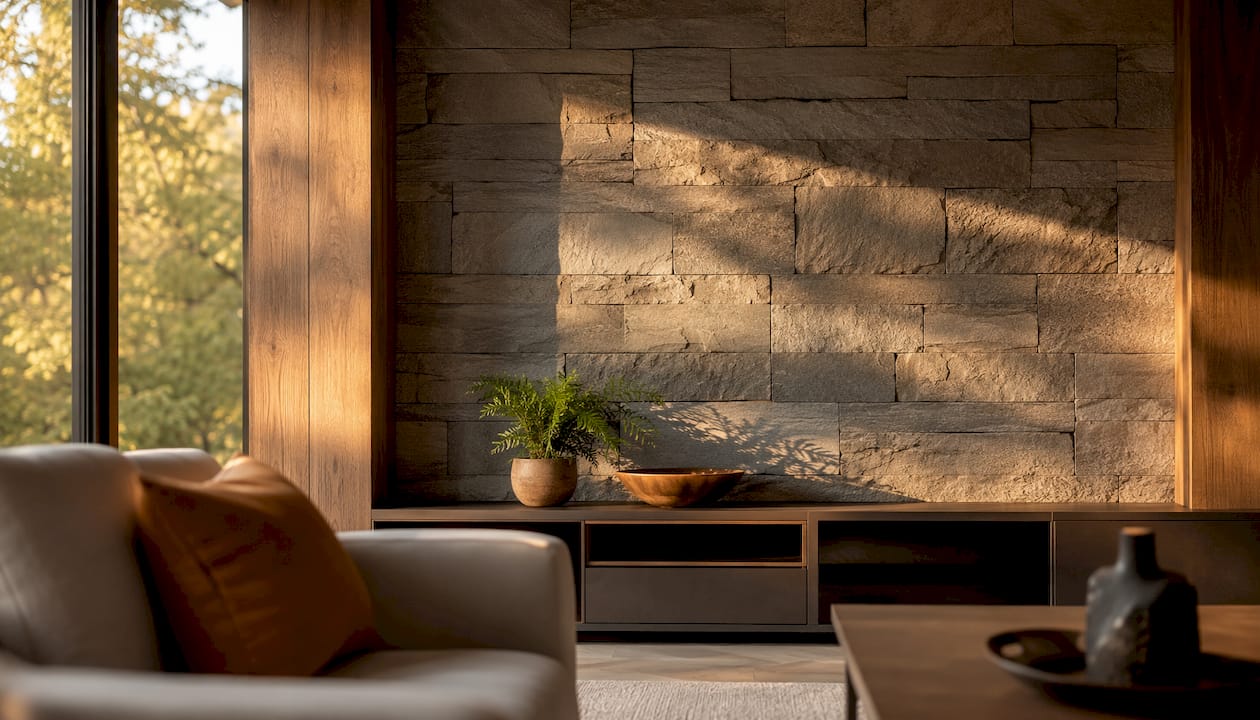
2026 trends point firmly toward natural, sophisticated finishes: marble slabs, dark wood veneers, fluted panels, and integrated LED accent lighting. Each material has a specific use case.
| Material | Best for | Maintenance note | Pairs with |
|---|---|---|---|
| Marble / bookmatched stone | Statement walls, large open-plan rooms | Seal annually; avoid acidic cleaners | Warm wood accents, brass hardware |
| Dark wood veneer | Warm, residential-scale rooms | Wipe with damp cloth; avoid direct sun | Soft ambient lighting, matte black |
| Porcelain slab | High-traffic or humid spaces | Near-zero maintenance | Chrome or brushed nickel |
| High-gloss lacquer | Compact rooms needing depth | Shows fingerprints; buff regularly | Indirect lighting only |
| Mirror / glass | Rooms with limited natural light | Daily dusting; avoid streaks | Minimal furniture, single accent color |
A few pairing rules worth knowing: marble reads warmest under 2700K lighting with wood accents nearby; high-gloss panels demand indirect light sources because a ceiling spot aimed directly at gloss creates harsh reflections that cheapen the look. Fluted panels accumulate dust in the grooves, so a quick vacuum brush attachment weekly keeps them sharp.
For rooms with strong direct sunlight, honed or matte stone finishes outperform polished surfaces. Gloss stone facing a south-facing window will glare badly by mid-morning.
How fluted panels and slat walls change the mood
Vertical slats and fluted panels read as luxurious when their proportions are sized to the wall, not to the TV. A common mistake is choosing slat widths that match the TV bezel — the result looks decorative rather than architectural. Size the rhythm to the room.
Practical guidance:
- Slat width: 1.5–2.5 inches reads refined in most living rooms; narrower than 1 inch can look fussy at scale
- Gap width: Equal to or slightly narrower than the slat itself; wider gaps expose the substrate and reduce the panel's visual density
- Height: Run panels full ceiling height whenever possible — stopping at chair-rail height reads unfinished on a feature wall
- Direction: Vertical slats add height; horizontal runs add width — choose based on the room's proportions, not trend alone
A flat painted wall becomes architectonic the moment a panel rhythm is introduced. The shadow lines between slats create depth that no paint color can replicate. Before committing to a finish, tape horizontal lines on the wall at your intended slat spacing and live with it for a day — the rhythm reads very differently in morning versus evening light.
For maintenance: veneered slats are more stable than solid wood in climate-controlled interiors but need the same care — avoid moisture and direct sun. Solid-wood slats in humid climates can expand and close gaps over time; engineered veneer over MDF is the more predictable choice for most U.S. homes.
Layered lighting is what separates good from great
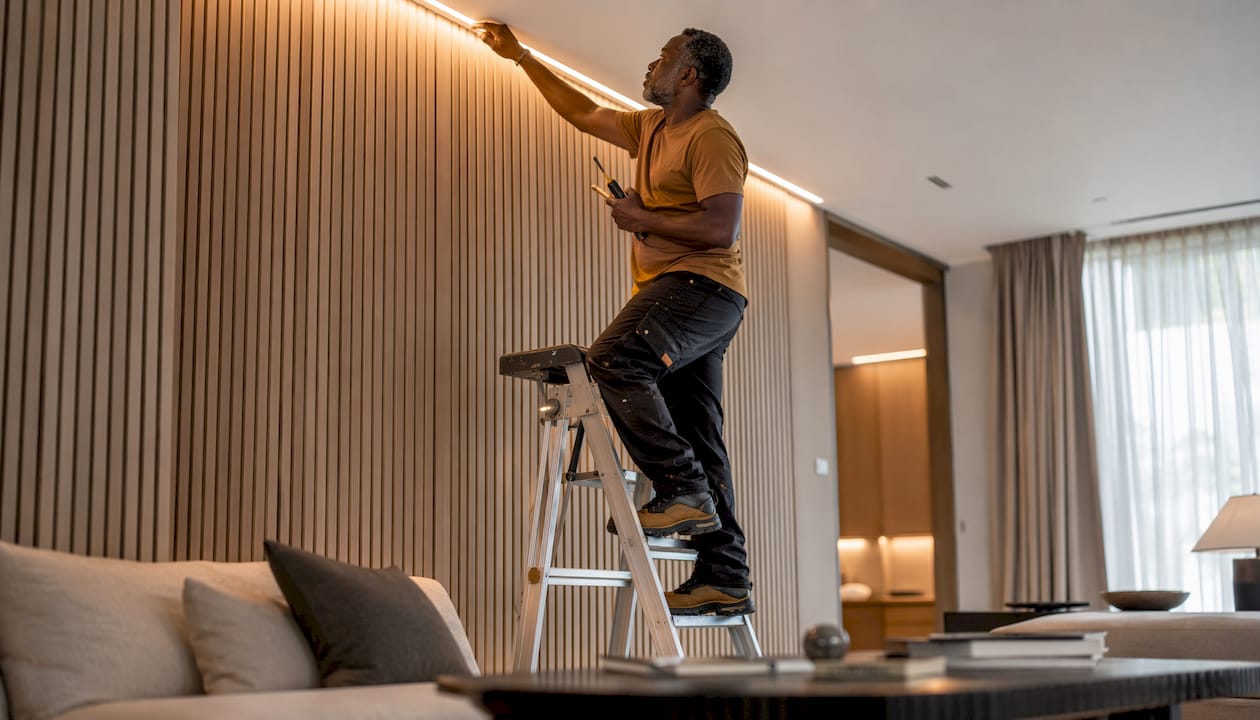
Bias and halo lighting are non-negotiable for a high-end media wall. They balance the screen's brightness against the surrounding wall, reduce eye strain during viewing, and — critically — make the material texture visible after dark when the TV is off.
Recommended specs:
- Color temperature: 2700K for warm materials (wood, natural stone); 3000K for cooler finishes (white marble, metallic, high-gloss)
- CRI: 90 or above — lower CRI washes out veining in stone and grain in wood
- Strip type: COB (chip-on-board) LED for halo runs behind the TV; the continuous phosphor layer eliminates visible dots on high-gloss or marble surfaces
- Dimming: Put every circuit on a dimmer — the difference between a cinema atmosphere and a homework desk is a 40% dim
Placement rules: halo strip goes behind the recessed TV frame, facing the wall; linear accent strips go inside display niches and shelf reveals; downlights and sconces handle ambient layering for the room. Backlit LED accents lift veined stone and textured panels at night in a way that no daytime photo captures.
Pro Tip: COB LED strips look significantly more premium than SMD strips in runs longer than 24 inches. SMD strips show individual dots on reflective surfaces — marble, high-gloss, and mirror all expose them. Conceal the LED channel inside a routed groove or aluminum extrusion so the light source itself is never visible, only the wash.
For integrated LED lighting options that are pre-specced for media walls, Themediawallstore's lighting accessories are sized to work with their panel systems.
Getting the proportions right
Scale the media wall to the room and furniture — treat the wall as a single architectural field. A 65-inch TV on a 12-foot wall needs floating cabinetry that extends well past the screen's edges; a console that matches the TV width exactly makes the wall look like a retail display.
Measurement checklist:
- TV center height: Approximately eye level from a seated position for comfortable viewing
- Floating console height: At a comfortable height typical for media furniture to allow proper viewing and use
- Console width: Extend sufficiently beyond the TV edges to provide visual balance
- Panel margins: Leave visible panel space around the TV to frame and emphasize the screen
- Clearance above console: Maintain appropriate spacing between console surface and TV bottom for aesthetic and functional reasons
A recessed TV niche with flush mount and built-in cabinetry is the gold standard for perceived craftsmanship. The screen sits in plane with the panel face, and the eye reads the whole wall as one surface. Scale the niche so the reveal around the screen is consistent on all four sides — uneven reveals expose the installation as improvised.
Do/don't at a glance: do extend the feature finish well past the TV's edges; don't let a panel seam or material joint intersect a screen corner. Do use full-height panels; don't stop paneling at the TV's top edge and leave bare wall above.
Hiding cables and managing acoustics
Concealment and acoustics deserve as much planning as the finish — both are invisible when done right and glaring when neglected. Plan cable raceways, recessed AV bays, and speaker integration during the framing stage, not after panels go up.
Concealment tactics:
- In-wall recessed power boxes eliminate surface-mounted outlets behind the TV
- Hidden patch panels consolidate HDMI, ethernet, and audio runs to a single ventilated cabinet
- Ventilated cabinetry with passive or active airflow keeps AV receivers and game consoles from overheating inside enclosed joinery
- Pre-planned AV chase channels (2-inch or larger conduit) let you pull new cables years later without reopening walls
For acoustic performance, custom slat walls can hide speakers and ventilation within the panel rhythm while maintaining a strong visual pattern. Absorptive material behind open-slat panels reduces flutter echo; fabric-wrapped pockets inside niches do the same. Left/center/right speaker placement works best when the center channel sits directly below or above the screen and the L/R channels are at ear height from the seated position.
For a practical wire-hiding approach that doesn't require opening walls, the hide wires without cutting walls guide from Themediawallstore covers surface raceway and furniture-routing options. Any in-wall power run must comply with local electrical code — consult a licensed electrician before routing live circuits inside wall cavities.
Feature elements that make the wall more than a TV stand
A linear fireplace or curated shelving gives the wall a second focal point and makes the TV feel intentional rather than dominant. Without a secondary element, the screen is the only thing to look at — which is fine for a home theater but reads as incomplete in a living room.
Layout guidance:
- Linear electric fireplace: Mount 12–18 inches below the screen; modern electric units run flame-only without heat, eliminating clearance concerns for the TV above
- Open shelving: Symmetrical shelving flanking the TV works in formal rooms; asymmetric arrangements read more relaxed and contemporary
- Art niches: Recess niches 4–6 inches deep and light them from above with a small LED strip — the niche becomes a gallery moment when the TV is off
- Display towers: Vertical tower elements flanking the TV add height and give the wall a triptych structure
Safety note: maintain the manufacturer's recommended clearances for electric fireplace inserts and confirm that enclosed AV bays have adequate ventilation — heat buildup inside sealed cabinetry shortens equipment life and can warp adjacent panels.
Popular style directions to inspire your wall
Each capsule below pairs a concept with two material and lighting cues you can take directly to a designer or use to filter kit options.
- Marble statement: Bookmatched white or grey marble slab + warm brass hardware + 2700K halo lighting. The veining does the work; keep furniture minimal.
- Dark-modern: Smoked oak veneer or charcoal fluted panels + matte black hardware + 3000K linear LED reveals. Moody and residential.
- Japandi calm: Light ash or natural oak slats + no hardware + 2700K warm wash. Negative space is the feature; avoid decorative objects.
- Art Deco geometric: High-gloss lacquer panels with brass inlay reveals + symmetrical niches + warm downlights. Formal and graphic.
- Warm minimalist: Burnt terracotta or ochre textured plaster surround + dark book-matched marble insert + brass accents. Rich without being heavy.
- Cinema immersive: Full-height dark fabric or acoustic panel surround + flush-mounted screen + bias lighting only. The room disappears; the screen leads.
- Monochromatic texture: Varying grey tones across microcement, fluted panel, and linen upholstery + brushed gold accents. Cohesion through material layering.
Match your furniture and textiles to the wall's palette before finalizing the finish. A Japandi slat wall paired with a velvet sectional in deep burgundy will fight the calm the wall is trying to create. For styling ideas that translate these directions into specific decor moves, Themediawallstore's blog covers ten practical upgrades.
What does a luxury media wall actually cost?
You can achieve a high-end look across a wide budget range. DIY kits lower costs and compress timelines; bespoke joinery raises both.
| Phase | DIY kit timeline | Custom build timeline |
|---|---|---|
| Design and planning | 1–3 days | 2–6 weeks |
| Materials / fabrication | Ships in 1–2 weeks | 4–12 weeks |
| Installation | 1–2 days (weekend) | 3–5 days on-site |
| Finishing and punch list | 1 day | 1–3 days |
| Total elapsed time | 2–3 weeks | 8–20 weeks |
Cost ranges, based on compiled luxury TV wall project data:
- Entry luxury ($3,000–$8,000): Pre-cut kit with integrated LED, floating console, and slat or veneer panels; homeowner-installed
- Mid-range ($8,000–$20,000): Semi-custom joinery, premium veneer or porcelain, professional installation, integrated AV
- Full bespoke ($20,000+): Bookmatched stone, custom cabinetry, smart home integration, white-glove install
Decision checklist — pick a kit when: you want results in under a month, your wall is standard height, and you're comfortable with basic assembly. Hire a pro when: the design requires structural work, in-wall electrical, or bookmatched stone that must be templated on-site. When interviewing contractors, ask for project photos of completed media walls (not kitchens), a material sample board, and a written AV concealment plan before signing anything.
Designer tips that most guides skip
Designers emphasize planning for sightlines, cable runs, and material transitions before any demolition or installation begins. The tape-out method is the fastest way to validate a layout: use painter's tape on the wall to mark the TV position, panel edges, console height, and niche locations, then sit in your actual seating position and look at it for 24 hours across different lighting conditions.
Installation checklist:
- Confirm stud locations and mark blocking requirements for floating cabinetry
- Rough-in all conduit and junction boxes before any panels go up
- Verify TV center height from the seated eye level, not from a measurement chart
- Mock up panel spacing with tape before cutting anything
- Test all LED circuits before closing up the wall
Common mistakes and fixes:
- Wrong TV scale: The TV width should be roughly two-thirds of the sofa length for balanced visuals — a 75-inch screen on a 6-foot sofa overwhelms the room
- Insufficient AV ventilation: A sealed cabinet with no airflow will overheat a receiver within an hour; add a passive vent or a small inline fan
- Visible seams at screen corners: Never let a panel joint intersect a screen corner — adjust the grid layout before cutting
Simple installation options — floating consoles, recessed niches, and pre-cut slat panels — let homeowners reach a high-end result without a full custom build. Themediawallstore's kits are pre-cut and pre-labeled, which eliminates the measuring and cutting errors that trip up most first-time installs. For a step-by-step safe approach to in-wall wiring, their DIY wiring guide covers the process clearly.
Key Takeaways
A luxury TV wall succeeds when premium materials, layered lighting, and fully concealed AV are planned together from the start — not added in sequence after the screen goes up.
| Point | Details |
|---|---|
| Integrate, don't decorate | Recess the TV flush with panels so the screen reads as architecture, not an appliance on a wall. |
| Layer your lighting | Use bias/halo behind the screen (COB LED, 2700–3000K, CRI 90+) plus accent and ambient sources on separate dimmers. |
| Plan AV before panels go up | Rough-in conduit, junction boxes, and ventilated cabinetry during framing — retrofitting is expensive and visible. |
| Match scale to the room | TV center at 42–44 inches, console extending 12 inches past the screen on each side, panels running full ceiling height. |
| Themediawallstore kits | Pre-cut, pre-labeled kits with integrated LED channels and hidden wire management install in a weekend at a fraction of custom-build cost. |
The case for treating your media wall as architecture, not furniture
Most homeowners approach a TV wall the way they'd buy a sofa: pick a style, order it, place it. That thinking is why so many expensive media walls still look like a TV on a wall. The ones that genuinely impress — the walls you photograph when you visit someone's home — were designed the way an architect designs a fireplace surround: as a fixed element of the room, not a piece of furniture that happens to hold a screen.
What that means practically is that the decisions that matter most happen before you choose a finish. Sightline, scale, and AV routing are structural choices. Get them wrong and no amount of marble or LED lighting recovers the result. Get them right and even a mid-budget veneer kit reads as custom.
The other thing most guides understate: the screen-off state matters as much as the screen-on state. A wall that looks intentional when the TV is dark — because the materials, niches, and lighting carry the composition — is the real measure of a luxury result.
Get the luxury look faster with Themediawallstore
Custom media wall builds deliver extraordinary results, but they also come with 8–20-week lead times and five-figure price tags. Themediawallstore's DIY kits close that gap: pre-cut, pre-labeled panels with integrated LED channels, floating cabinetry options, and hidden wire management ship to your door and install over a weekend.

The kit lineup maps directly to the style directions in this article. The Luxe Marble Glow kit covers the marble statement look; the Monaco kit combines slat wall, floating console, and display tower for a dark-modern or cinema result; the Oslo slat kit handles Japandi and warm-minimalist directions. For Bay Area homeowners who want a full-service option, Themediawallstore also offers white-glove custom installation. Browse the full range and shop DIY media wall kits to find the style that fits your room.
FAQ
What is the best TV height for a luxury media wall?
Mount the TV's center approximately 42–44 inches above the finished floor for relaxed, eye-level viewing from a seated position. Adjust slightly based on your specific sofa height and viewing distance.
How much does a luxury TV wall design cost?
Entry-level luxury kits with integrated LED and floating cabinetry typically run $3,000–$8,000 installed; mid-range semi-custom builds run $8,000–$20,000; full bespoke installations with bookmatched stone and smart home integration start above $20,000.
Can I install a luxury media wall myself?
Yes — pre-cut kits from Themediawallstore are designed for weekend installation without contractors. In-wall electrical work (recessed power boxes, conduit runs) still requires a licensed electrician per local code.
What LED color temperature works best for a media wall?
Use 2700K for warm materials like wood and natural stone, and 3000K for cooler finishes like white marble, high-gloss, or metallic surfaces. CRI 90 or above is the threshold for accurate material color rendering.
How do I hide cables on a luxury TV wall?
The cleanest approach is in-wall conduit roughed in before panels go up, terminating at a recessed power box behind the TV and a ventilated AV cabinet below. For walls already built, surface raceways routed behind cabinetry are the next-best option.
Useful sources and further reading
- TV wall design ideas for a modern luxury living room — The Coolist
- 17 Fool-Proof Design Ideas for Glamming Up Your TV Wall — Elle Decor
- 34 TV Wall Ideas That Are Both Functional and Stylish — The Spruce
- 15 TV Wall Ideas That Are Practical and Stylish — House Beautiful
- 22 Modern Luxury TV Wall Ideas for a High-End Look — DecorBeam
- Custom TV wall unit for a harmonious home — Hoog Design
- Design tips for a modern fireplace wall with a TV above — Stylish Fireplaces
- The luxury of glass interior doors — One Day Doors & Closets — useful reference on combining premium glazing and reflective surfaces in residential interiors
- Marble — Wikipedia — material properties and sealing guidance
- Porcelain — Wikipedia — durability and maintenance reference
This article is general design and planning information, not professional electrical, structural, or legal advice. Confirm local building codes and consult a licensed electrician for any in-wall power work before starting your project.