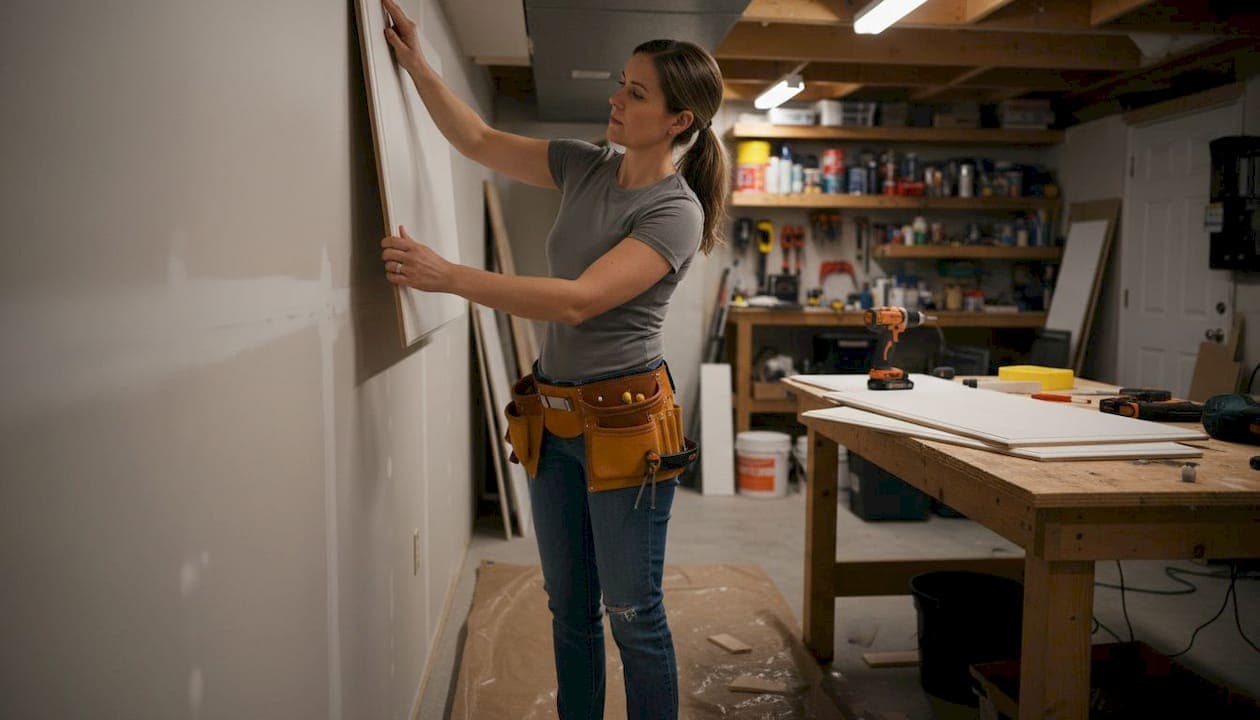
Decorative wall paneling sheets are pre-manufactured panels designed to add texture, color, and architectural interest to interior walls without major construction. They come in materials like MDF, SPC, PVC, and wood veneer, each suited to different rooms and budgets. Whether you want a cozy board-and-batten bedroom or a bold 3D accent wall in your living room, these interior wall sheets deliver a high-end look at a fraction of custom build costs. Themediawallstore has helped over 1,000 homeowners achieve exactly that with pre-cut, pre-labeled kits built for weekend installs.
What are the best materials for decorative wall paneling sheets?
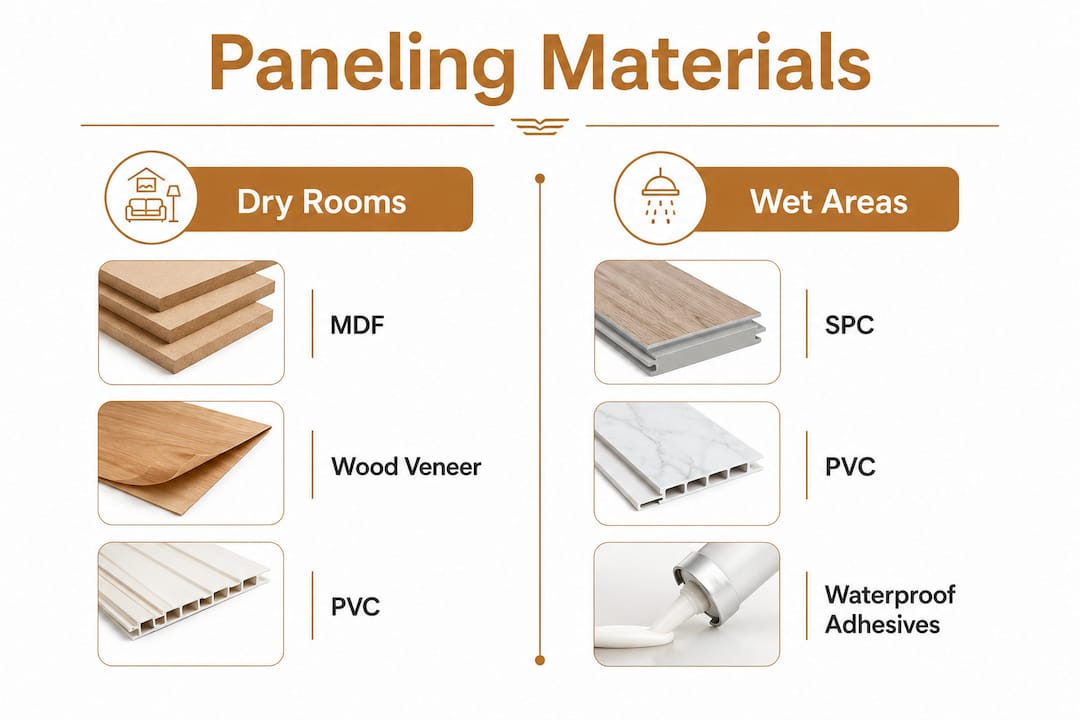
The material you choose determines how long your panels last and how well they hold up in each room. Picking based on looks alone is the most common mistake homeowners make. Match the material to the environment first, then choose your style.
MDF (Medium Density Fiberboard) is the most popular choice for dry rooms. MDF suits accent walls in living rooms and bedrooms because its surface is smooth, takes paint cleanly, and cuts without splintering. Budget board-and-batten MDF panels cost $1–$5 per square foot, making it the most affordable entry point for DIY wall paneling. The trade-off is moisture sensitivity. Keep MDF away from bathrooms and kitchens.
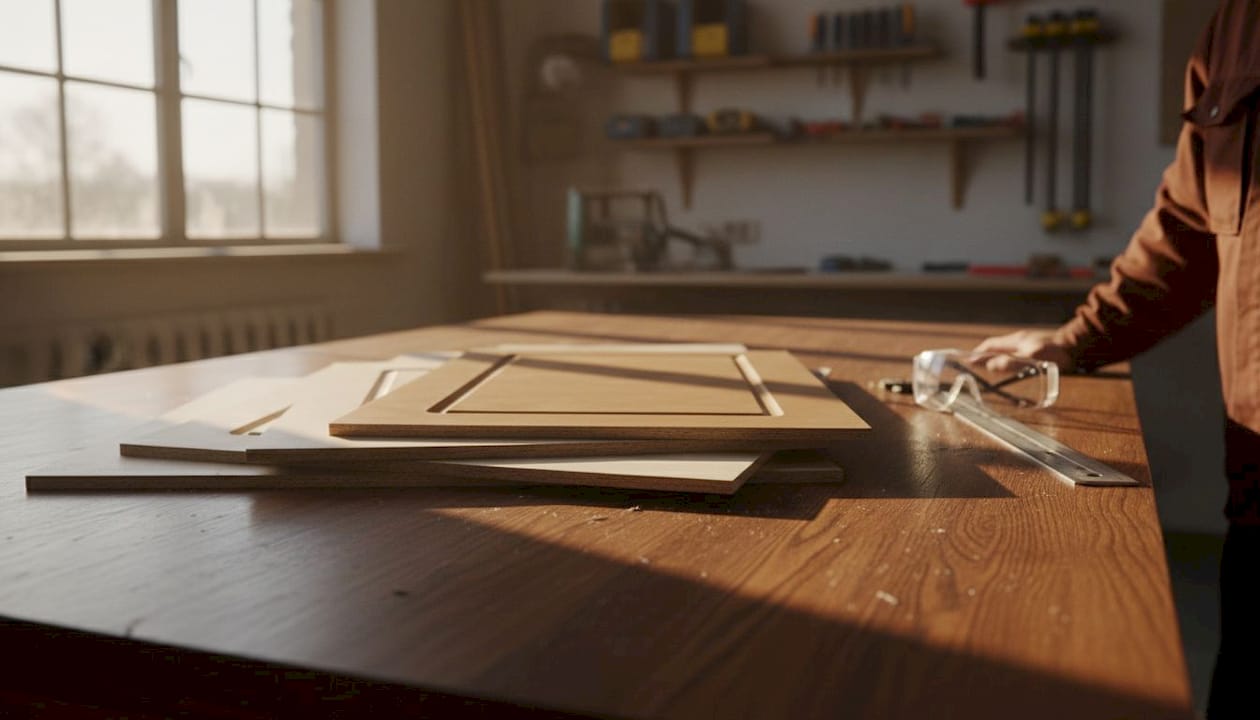
SPC (Stone Plastic Composite) is the right call for wet areas. SPC is 100% waterproof and dimensionally stable because it combines ground limestone with thermoplastic. That means it will not warp, swell, or buckle in a steamy bathroom or near a kitchen sink. It costs more than MDF but far less than a tile job.
PVC panels sit between MDF and SPC on the price scale. They are lightweight, water-resistant, and easy to cut, which makes them a practical option for laundry rooms and utility spaces. Wood veneer panels deliver the warmest look of the group but require dry, climate-controlled environments to prevent cracking.
| Material | Cost per sq. ft. | Moisture resistance | Durability | Ease of install |
|---|---|---|---|---|
| MDF | $1–$5 | Low | Moderate | High |
| Beadboard | $4–$10 | Low to moderate | Moderate | High |
| SPC | $3–$8 | Very high | High | Moderate |
| PVC | $2–$6 | High | Moderate | Very high |
| Wood veneer | $5–$15 | Low | High | Moderate |
Pro Tip: Choose your material based on room humidity, not just aesthetics. SPC in a bathroom will outlast MDF by years, even if MDF looks identical on day one.
How to install decorative wall paneling sheets for a professional look
A clean installation starts before a single panel goes up. Proper wall preparation is the single biggest factor separating a professional result from a DIY disaster. Sand rough spots, remove old hardware, fill holes with spackle, and let everything dry completely. A smooth, clean wall gives adhesive a solid surface to grip.
Follow these steps for a clean, lasting install:
- Mark your layout. Use a laser level or spirit level to draw horizontal and vertical reference lines across the wall. These lines keep your panels straight from the first sheet to the last.
- Cut panels to size. Measure twice, cut once. Apply painter's tape along your cut line before running a saw across MDF. The tape prevents tear-out and keeps edges clean.
- Cut around outlets with a jigsaw. A jigsaw handles interior cuts around electrical boxes far better than a circular saw. The tight radius gives you a precise fit that looks intentional.
- Apply construction adhesive. Run a zigzag bead of adhesive across the back of each panel. Press firmly against the wall and hold for 30–60 seconds. For heavier panels, use temporary support while the adhesive sets.
- Fasten with a brad nailer. On tongue-and-groove panels, drive nails through the overlapping flange so the next panel slides over and hides every fastener. This technique produces a completely nail-free visible surface.
- Check level after every panel. Do not assume the previous panel is your guide. Walls shift and materials flex. Confirm level every time.
- Finish with caulk and paint. Run a thin bead of paintable caulk along all seams and edges. Once dry, prime and paint for a factory-smooth result.
Pro Tip: Never skip priming MDF before painting. Unprimed MDF soaks up paint unevenly and leaves a blotchy finish no matter how many coats you apply.
Common pitfalls include skipping wall prep, using too little adhesive, and ignoring the level after the first few panels. Each one compounds into a result that looks rushed. Take the extra hour upfront and the finished wall will look like a contractor did it.
Which panel styles work best in different rooms?
Panel style shapes how a room feels, not just how it looks. A style that works beautifully in a large open living room can make a small bedroom feel like a closet. 3D wall panels add visual depth but can overwhelm compact spaces and make them feel cluttered. Evaluate room size and natural light before committing to a heavy texture.
Here is a quick breakdown of the most popular styles and where they perform best:
- Board and batten. Vertical strips over a flat base create a classic, structured look. Works in living rooms, entryways, and bedrooms. Scales well in both small and large rooms because the vertical lines draw the eye upward.
- Beadboard. Narrow vertical grooves give a cottage or farmhouse feel. Best in kitchens, bathrooms (with moisture-resistant material), and dining rooms. Avoid floor-to-ceiling beadboard in tiny rooms since the pattern can feel busy.
- Slat panels. Horizontal or vertical wood slats deliver a modern, warm look. Acoustic slat panels also reduce echo, which makes them a strong choice for living rooms and home offices. Check out living room accent wall ideas for inspiration on how slat panels transform a space.
- 3D textured panels. Bold geometric or wave patterns create a dramatic focal point. Reserve these for a single accent wall in a room with strong natural light. Avoid them in hallways or rooms under 120 square feet.
- Flat panel (shaker style). Clean rectangular frames suit contemporary and transitional interiors. The most versatile option across room types and sizes.
Accent walls outperform full-wall paneling in most residential settings. One paneled wall creates a focal point without shrinking the room visually. Full-wall paneling works in large rooms with high ceilings where the added texture fills space rather than compresses it. For a broader look at premium paneling alternatives, the range of styles available in 2026 has expanded significantly.
How much does decorative wall paneling cost?
Budget planning prevents the most common DIY regret: running out of money mid-project. Material costs are just the starting point. Finishing supplies, tools, and your time all factor into the real number.
Material costs vary widely by type. MDF board-and-batten runs $1–$5 per square foot, while beadboard costs $4–$10 per square foot. SPC panels typically fall in the $3–$8 range. A standard 12x12-foot living room accent wall covers roughly 144 square feet, putting material costs between $144 and $1,440 depending on your choice.
Finishing supplies add $50–$150 per room. That covers primer, paint, caulk, spackle, and sandpaper. Do not skip these. Cutting corners on finishing is what separates a wall that looks great in photos from one that looks great in person.
Tools are a one-time investment. A brad nailer runs $60–$200, a miter saw $100–$300, and a laser level $30–$100. If you plan more than one paneling project, buying tools pays off quickly. For a single room, renting from a local hardware store cuts costs significantly.
| Cost category | Typical range |
|---|---|
| MDF panels (per sq. ft.) | $1–$5 |
| Beadboard (per sq. ft.) | $4–$10 |
| SPC panels (per sq. ft.) | $3–$8 |
| Finishing supplies (per room) | $50–$150 |
| Brad nailer | $60–$200 |
| Miter saw | $100–$300 |
| Laser level | $30–$100 |
The smartest budget move is to buy 10–15% more material than your measurements require. Cuts go wrong. Panels crack. Having extra on hand prevents a second trip to the store and the frustration of a mismatched dye lot.
Key Takeaways
Decorative wall paneling sheets deliver the biggest visual return of any DIY home project when you match material to room conditions and prepare the wall surface before installing a single panel.
| Point | Details |
|---|---|
| Match material to environment | Use SPC in wet areas and MDF in dry rooms to maximize durability and lifespan. |
| Prep the wall first | Sand, fill, and prime before installing panels to ensure adhesive bonds and panels sit level. |
| Use the flange nailing technique | Drive brad nails through tongue-and-groove flanges so the next panel hides every fastener. |
| Budget beyond materials | Add $50–$150 per room for finishing supplies and factor in tool costs before starting. |
| Scale style to room size | Reserve 3D and heavy-texture panels for large rooms or single accent walls to avoid a cluttered look. |
Why wall prep is the part everyone skips (and regrets)
I have seen a lot of paneling projects, and the pattern is consistent. Homeowners spend hours choosing the perfect style and material, then rush through wall preparation because it feels like the boring part. That is where most projects fall apart.
A panel installed over a lumpy, dirty, or unprimed wall will never sit flat. Adhesive fails on dusty surfaces. Paint bleeds unevenly on unprimed MDF. The panel itself might look fine for a week, then start peeling at the edges. The fix always costs more time than the prep would have.
My honest advice: treat wall prep as 40% of the project, not an afterthought. Sand every rough spot. Fill every hole. Wipe the wall clean before applying adhesive. Use a laser level for your layout lines, not a tape measure and a pencil guess. These steps feel slow in the moment and invisible in the finished result. That invisibility is the point.
The other thing I see homeowners underestimate is scale. A 3D panel that looks stunning in a showroom can feel suffocating in a 10x10 bedroom. Always assess the room with its furniture in place before choosing a heavy texture. A single accent wall in a bold style almost always reads better than four walls of the same pattern. Start with one wall, live with it for a week, then decide if you want more.
— Jake
Ready to take your wall project further?
Paneling a wall yourself is one of the most satisfying home upgrades you can do on a weekend. Themediawallstore makes the process even more straightforward with pre-cut, pre-labeled DIY media wall kits that arrive ready to install.

Every kit from Themediawallstore is designed for homeowners who want a high-end result without hiring a contractor. The kits include everything you need for a clean, professional finish, and the team offers expert support if you hit a snag. With over 1,000 satisfied customers and risk-free returns, the confidence is built in. Browse the full range of DIY media wall kits to find the style and size that fits your space, or explore wall accessories and finishing add-ons to complete your project from start to finish.
FAQ
What are decorative wall paneling sheets made of?
Decorative wall paneling sheets are made from materials including MDF, SPC, PVC, and wood veneer. Each material suits different rooms based on moisture levels, budget, and desired finish.
Which material is best for bathroom wall panels?
SPC is the best material for bathroom wall panels because it is 100% waterproof and dimensionally stable. MDF and wood veneer will warp or swell in high-humidity environments.
Can I install wall paneling sheets myself?
Yes. Most decorative wall panels are designed for DIY installation using construction adhesive, a brad nailer, and basic cutting tools. Proper wall preparation is the most critical step for a lasting result.
How much does a DIY wall paneling project cost?
Material costs range from $1–$10 per square foot depending on panel type, with finishing supplies adding $50–$150 per room. Optional tools like a brad nailer and miter saw add $60–$300 as a one-time investment.
Do 3D wall panels work in small rooms?
3D wall panels can make small rooms feel cluttered and visually busy. Use them on a single accent wall in a well-lit room, and choose flatter styles like board and batten or shaker panels for compact spaces.