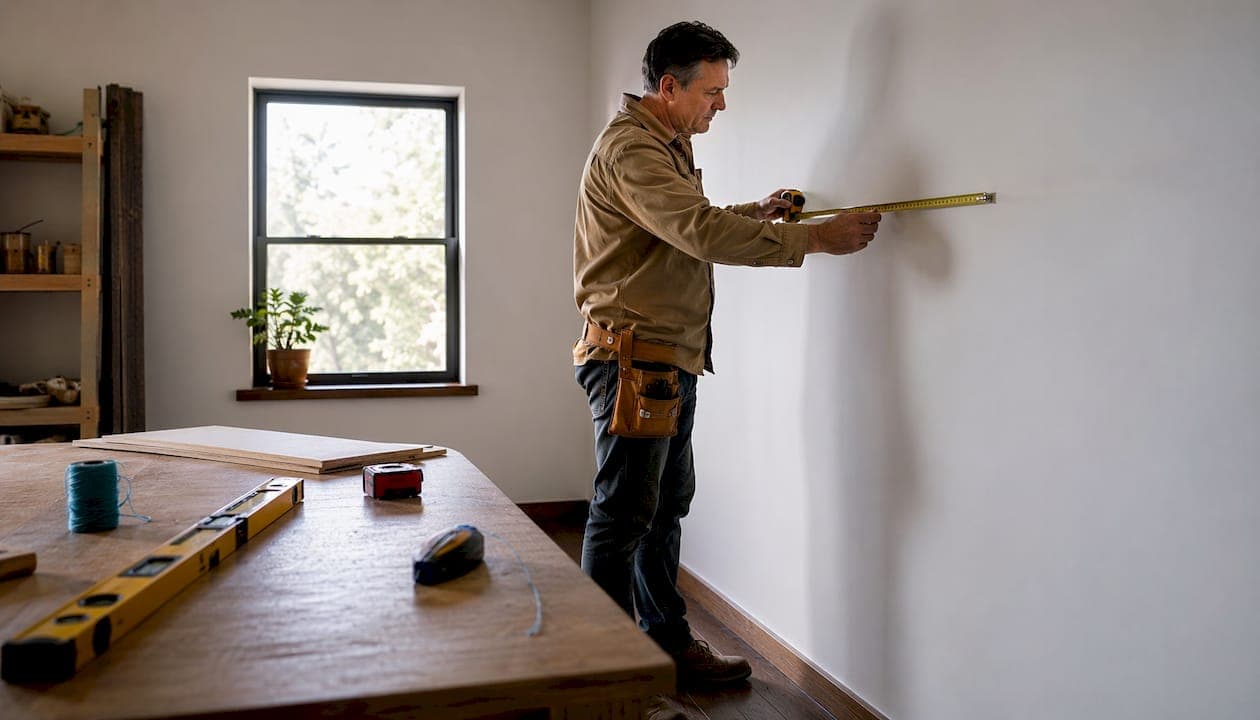
Wall panel installation is a manageable DIY project that transforms any room with a polished, high-end finish when you follow the right preparation and technique. Whether you want to know how to install wall panels for a living room accent wall, a media wall behind your TV, or a full feature wall, the process follows the same core principles. Proper preparation, accurate layout, and the right adhesive method separate a professional result from a frustrating one. This guide covers every stage, from tools and surface prep to finishing touches, so you can complete the project with confidence.
What tools and materials do you need for wall panel installation?
Gathering every tool before you start is the single most effective way to cut errors and project time. Proper preparation reduces installation errors by 35% and cuts project time by 30%. That number reflects a simple truth: stopping mid-install to find a missing tool breaks your workflow and invites mistakes.
Essential tools
- Spirit level or laser level
- Tape measure and pencil
- Notched trowel (for adhesive spreading)
- Caulk gun
- Jigsaw or circular saw
- Miter saw (for clean angle cuts)
- Drill and drill bits
- Sanding block or orbital sander
- Stud finder
- Safety glasses and dust mask
Panel types and adhesives
Panel material determines which adhesive and fastener you need. Wood and MDF panels suit interior accent walls and media walls. PVC panels work well in kitchens and bathrooms where moisture is a factor. Composite panels offer durability in high-traffic areas.
For adhesive, C2TE-rated products are the industry standard for wall panels. Coverage matters: adhesive contact must cover 95% of the panel's back face per industry standards. Spacers, panel pins, and finishing nails round out your fastener kit.
Pro Tip: Lay out every tool and material the night before. A complete setup at the start means you spend your time installing, not searching.
How do you prepare your wall for panel installation?
Wall preparation is the most important stage of any paneling project. Checking wall flatness with a laser level and shimming the substrate is the single most critical step for a professional result. Walls are rarely perfectly flat or plumb, and skipping this check leads to gaps, uneven joints, and panels that bow.
Follow these steps before a single panel goes up:
- Check flatness. Run a laser level across the wall. Mark any high or low spots with a pencil.
- Fix the substrate. Sand down high spots. Fill low spots with a skim coat or shim. For walls with significant variation, install a plywood substrate to create a flat, plumb surface. This is especially important for installations using hidden clips or fine joinery.
- Clean the surface. Remove dust, grease, and loose paint. Adhesive bonds to clean surfaces only.
- Repair damage. Fill cracks and holes with filler. Sand smooth once dry.
- Mark your reference lines. Find the true center of the wall and snap a vertical chalk line. Starting layout from the center ensures symmetrical panel widths at both ends. Starting from a corner almost always produces an awkward narrow strip on one side.
- Handle obstacles. Measure and mark the exact position of outlets, switches, and windows on your panels before cutting.
- Install outlet extenders. Adding panel thickness to a wall pushes electrical boxes back from the surface. Most electrical codes require box extenders when wall thickness increases. Skipping this step creates a fire hazard and a code violation.
Measuring twice and marking your center line before touching the adhesive is the difference between a balanced, intentional wall and one that looks like an afterthought. Every professional installer starts from the center. Every frustrated DIYer starts from the corner.
Pro Tip: Acclimatize SPC or wood panels for 24 hours in the room before installation. This prevents joint failure caused by expansion or contraction after the panels are fixed.
What is the step-by-step process to install wall panels?
With a flat, clean, marked wall, you are ready to fit the panels. This is where layout planning pays off. Experienced DIYers who acclimatize panels properly can install 6 square meters in under two hours. Rushing the adhesive or skipping alignment checks costs far more time in corrections.
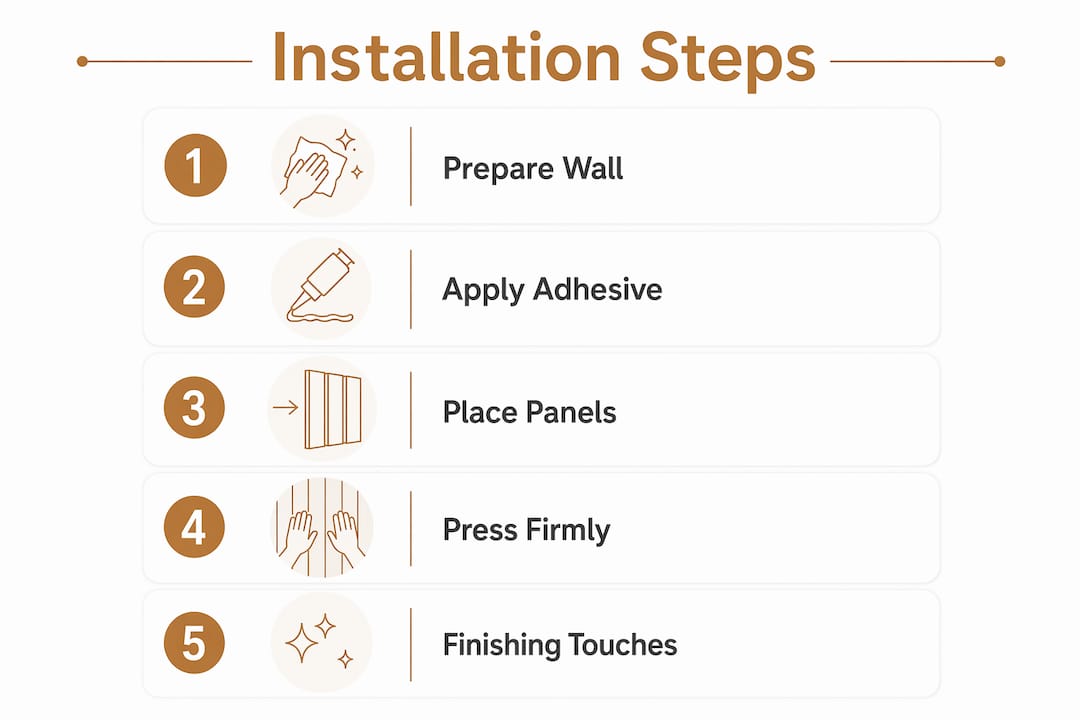
Step-by-step installation
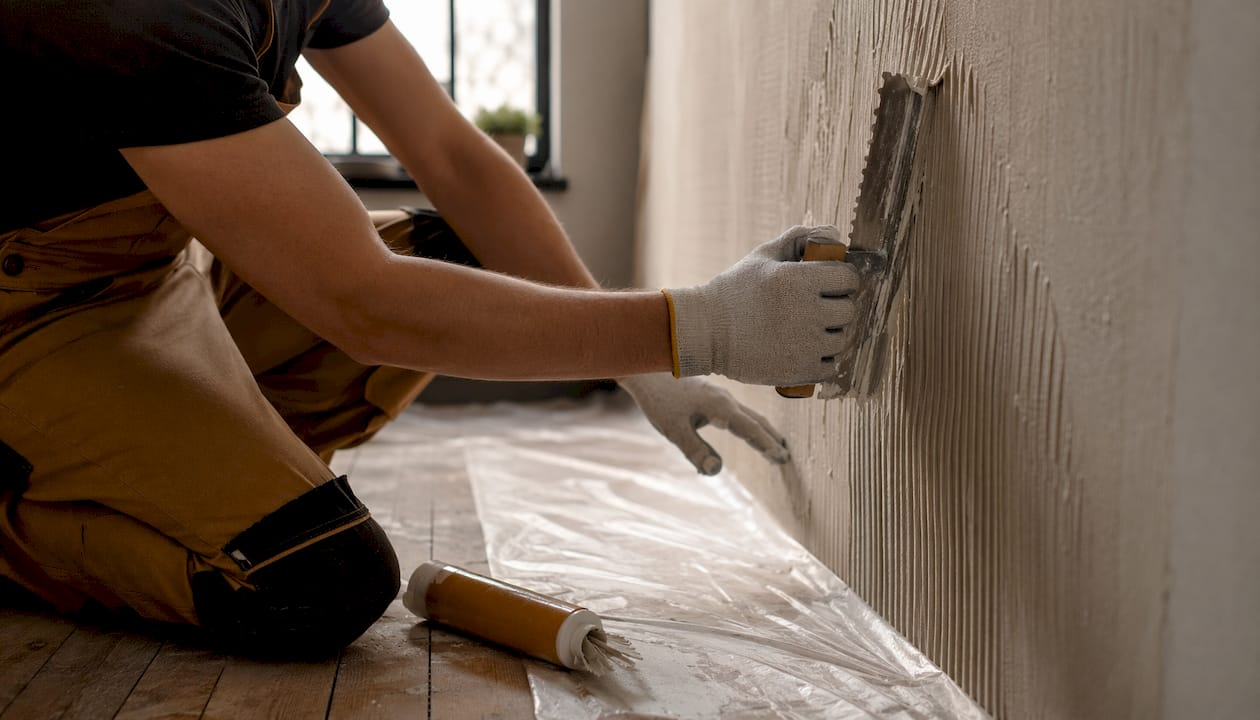
- Apply adhesive. Load your caulk gun and apply adhesive to the panel back in a serpentine or dot pattern. Cover the full surface. For a 2.5-meter media wall, plan about 1 adhesive cartridge per 1.5 panels.
- Position the first panel. Place it on your center plumb line, not in a corner. Press firmly and hold for the time specified on the adhesive packaging.
- Check level immediately. Use your spirit level on both the vertical and horizontal edges before the adhesive sets.
- Insert spacers. Place spacers at panel joints to maintain consistent gap width. This creates clean, even lines across the wall.
- Install subsequent panels. Work outward from the center in both directions. Press each panel firmly and check level after every placement.
- Secure with mechanical fasteners. On uneven substrates or for heavier panels, combine adhesive with screws or nails. For a 2.5-meter installation, plan approximately 15 screws per panel into hard substrates. Mechanical fastening is also the right choice if you ever want the panels to be removable.
- Cut around outlets and corners. Use a jigsaw for outlet cutouts. Measure the outlet position on the panel, mark it clearly, and cut just inside the line for a tight fit.
- Verify alignment frequently. Check level every two or three panels. Catching a drift early saves you from re-doing an entire section.
Adhesive vs. mechanical fastening at a glance
| Situation | Recommended method |
|---|---|
| Smooth, flat wall | Adhesive alone |
| Uneven or textured substrate | Adhesive plus screws |
| Removable panel installation | Mechanical fastening only |
| Heavy or oversized panels | Adhesive plus nails and screws |
Pro Tip: Press each panel firmly for a full 30 seconds after placement. Adhesive needs initial contact pressure to bond correctly. A quick press and release is one of the most common causes of panels lifting at the edges.
For accent wall layout ideas before you commit to a pattern, the living room accent wall guide from Themediawallstore covers planning methods worth reviewing.
How do you troubleshoot and finish wall panel installation?
Even careful installations run into small problems. Knowing how to fix them quickly keeps the project moving and the result looking sharp.
Common issues and fixes:
- Misaligned panels. If you catch a drift within the first two panels, remove and reposition before the adhesive cures. After curing, scribing the edge with a sharp knife and re-caulking the joint is the cleanest fix.
- Insufficient adhesive coverage. Panels that flex or sound hollow when tapped did not get full adhesive contact. Add panel pins along the edges to pull them flat while the adhesive cures.
- Uneven joints. Sand proud edges lightly with a sanding block. Fill recessed joints with flexible decorator's caulk, smooth with a wet finger, and allow to dry before painting.
- Nail holes and surface blemishes. Fill with wood filler, sand flush, prime, and paint. Always prime MDF edges before painting. MDF absorbs paint heavily on cut edges and will look uneven without a primer coat.
Mounting a TV on a paneled wall
Decorative panels cannot carry heavy loads. TV brackets must anchor through the panels into the structural wall behind. The wall must carry five times the combined weight of the TV and bracket for safety. Use a stud finder to locate studs or masonry anchors for solid walls. Drive long bolts through the panel and into the structure. Never rely on the panel surface alone.
The panel is a finish layer. It is not a structural element. Treat it like drywall: anything heavy goes through it, not into it.
Pro Tip: Allow the adhesive to cure for the full time listed on the packaging before mounting anything on the wall or applying stress to the panels. Most adhesives reach handling strength in 24 hours but full cure in 48–72 hours.
Cable management behind panels is worth planning before the last panel goes up. Leave a channel or conduit run for TV and audio cables. Retrofitting cable runs through finished panels is difficult and damages the surface.
For a full overview of panel types and finishing options, the decorative wall panels guide from Themediawallstore covers material choices in depth.
Key Takeaways
Successful wall panel installation depends on flat substrates, center-line layout, and combining adhesive with mechanical fastening for lasting results.
| Point | Details |
|---|---|
| Prepare the substrate first | Check and correct wall flatness with a laser level before applying any adhesive. |
| Start layout from the center | Snap a center plumb line to achieve symmetrical panel widths on both sides. |
| Cover 95% of the panel back | Industry standards require near-full adhesive contact to prevent lifting and hollow spots. |
| Anchor TV brackets into structure | Panels are finish layers only; heavy items must bolt through into studs or masonry. |
| Install outlet extenders | Electrical codes require box extenders when paneling increases wall thickness. |
What I've learned from watching DIYers get this wrong
Most wall panel projects that go sideways fail at the same two points: the substrate check and the starting position. Homeowners skip the laser level because the wall "looks flat." It almost never is. A wall that is 6mm out of flat across 3 meters will produce a wavy panel run that no amount of caulk fixes. The plywood substrate method from Fine Homebuilding is not overkill. It is the professional standard for a reason.
The second mistake is starting from a corner. Starting from a corner feels logical because corners are fixed reference points. The problem is that corner-to-corner measurements almost never divide evenly into panel widths. You end up with a 40mm sliver on one side that looks like an error, because it is one. Starting from the true center of the wall, as professional installers consistently recommend, gives you balanced, intentional cuts on both ends.
The outlet extender issue is the one that surprises people most. Adding 12mm of panel thickness to a wall pushes every outlet and switch plate back from the surface. Without an extender, the outlet sits recessed behind the panel face. That is a code violation in most jurisdictions and a genuine fire risk. It takes ten minutes to install and costs almost nothing.
My honest recommendation: spend 40% of your total project time on preparation and layout. The actual panel placement, when the wall is flat and the lines are marked, goes fast. The DIY media wall kits from Themediawallstore are designed with this reality in mind. Pre-cut, pre-labeled components remove the most error-prone part of the process.
— Jake
Ready-to-install media wall kits from Themediawallstore
If you want the look of a custom media wall without the custom build timeline, Themediawallstore offers DIY media wall kits designed for homeowners at every skill level. Each kit arrives pre-cut and pre-labeled, so you spend your weekend installing rather than measuring and cutting raw panels.

Themediawallstore also carries a full range of wall accessories and finishing products, including trims, fasteners, and cable management solutions that pair with every kit. Over 1,000 homeowners have used these kits to complete their media walls without a contractor. Risk-free returns and expert support mean you are not on your own if a question comes up mid-install.
FAQ
What is the best adhesive for wall panels?
C2TE-rated adhesive is the industry standard for wall panel installation. Apply it in a serpentine or dot pattern covering 95% of the panel's back face for a reliable bond.
Do I need screws as well as adhesive?
On smooth, flat walls, adhesive alone is sufficient. On uneven substrates or for heavy panels, combine adhesive with screws or nails for a stable, long-lasting result.
How do I cut panels around electrical outlets?
Measure the outlet position precisely on the panel face, mark the cutout, and use a jigsaw to cut just inside the line. Install outlet extenders to bring the electrical box flush with the new panel surface.
Can I mount a TV directly onto wall panels?
No. Decorative panels are finish layers and cannot support the weight of a TV. Anchor the TV bracket through the panels into the structural wall, targeting studs or masonry, so the wall carries the load.
How long does wall panel installation take?
A typical media wall installation takes 2–3 hours for an experienced DIYer once the substrate is prepared. Acclimatizing panels for 24 hours before installation and allowing adhesive to cure for 48–72 hours adds time but prevents joint failure.