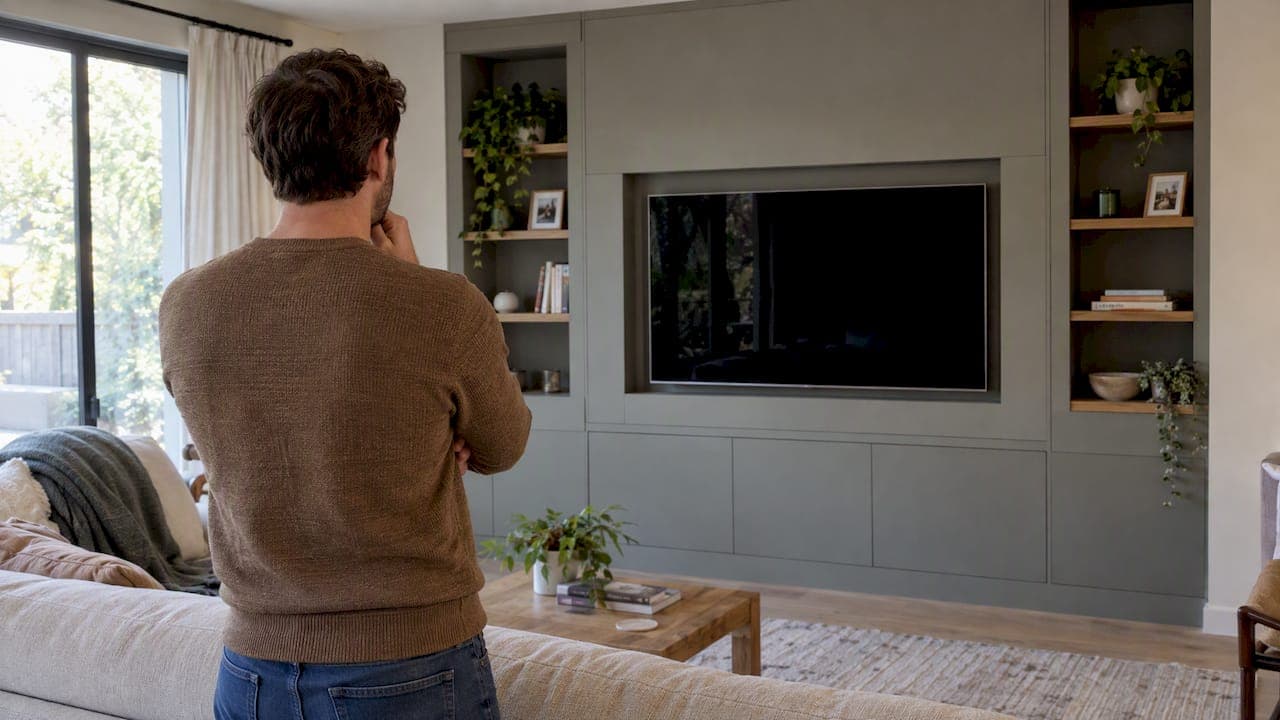
If a scratch on your media wall panel disappears from about 8 feet away, you can likely leave it alone or buff it with a soft cloth. If it's still visible at that distance, match your repair to the material: light abrasion or touch-up paint for laminate and painted panels, wax sticks or careful sanding for veneer, and sculpted filler for slat or textured panels. Always confine any product to the damaged spot and test it somewhere hidden first.
TL;DR:
- Identify the panel before choosing a repair: laminate has a printed pattern, painted MDF looks opaque, and veneer shows real wood grain at its edges.
- On laminate or painted panels, use 240 to 400 grit for surface scuffs; fill color breaks with matched wax or paint in small dabs.
- Sand veneer only when its layer is thick enough; use light passes with 360 to 400 grit paper, because sanding through exposes the substrate.
- Finish in order: repair the physical damage, blend the color, then match the sheen; allow every layer to cure before judging the result.
- Choose professional help for substrate damage, warped panels, or structural distortion, since poor repairs can be difficult to reverse and may require panel replacement.
Table of Contents
- Assess the damage before you touch it
- Choose the repair method that matches your panel material
- Step-by-step: repairing laminate and painted panels
- Step-by-step: repairing wood-veneer panels
- Repairing textured, slatted, or 3D media wall panels
- Finishing: color blending and sheen matching
- Preventing scratches and routine maintenance
- Author perspective from The Media Wall Store
- How we help: repair-aware kits, design, and support
- FAQ
- Sources
Assess the damage before you touch it
Start by stepping back about 8 feet under normal room lighting and checking whether the mark actually registers from a normal viewing distance. Visual inspection threshold guidance (visual inspection threshold) is a standard way to decide whether a scratch is worth repairing at all, since fixing something invisible from across the room risks making it more noticeable, not less.
Once you've confirmed it needs work, classify the damage and confirm what you're working with:
- Surface scratch: affects only the clear coat or topcoat, no color change.
- Coating-penetrating scratch: cuts through color or finish but not the material underneath.
- Substrate-penetrating scratch: reaches into the laminate core, MDF, or wood substrate.
- Material check: laminate has a uniform printed pattern, painted MDF shows a flat opaque surface, and veneer reveals real wood grain at the edges.
Gather a bright light, a magnifier, soft lint-free cloths, denatured alcohol, and painter's tape before starting any repair.
Choose the repair method that matches your panel material
The right fix depends entirely on what the panel is made of. Mixing up these methods, like sanding a thin veneer the way you'd sand solid wood, often does more damage than the original scratch.
- Laminate: clean with a non-abrasive solution, then use wax sticks, touch-up markers, or color-matched touch-up paint.
- Painted MDF: spot-paint the scratch with a fine brush, matching sheen as closely as possible.
- Wood veneer: use wax or fillers for minor marks, or light sanding and re-staining for deeper ones, only if the veneer layer is thick enough.
- Slats or textured panels: rebuild the profile with a sculpted filler, or replace the individual slat.
Substrate-penetrating damage, warping, or structural distortion is a sign to consider panel replacement or professional help rather than a DIY fix.
Step-by-step: repairing laminate and painted panels
Laminate and factory-painted panels respond well to careful, limited intervention. Rushing the process or spreading product beyond the scratch is the most common way these repairs go wrong.
- Clean the area with a mild detergent solution, then test denatured alcohol on a hidden spot before using it near the scratch.
- For surface scuffs only, use 240 to 400 grit sandpaper or a non-abrasive pad, working gently in the direction of the panel's texture, then polish.
- For coating-penetrating scratches, fill small gouges with a laminate paste or wax pencil matched to the panel color.
- For larger voids, apply a one-part polyurethane sealant first, then layer in touch-up paint confined strictly to the scratch itself, as panel repair guidance recommends to avoid visible gloss mismatch.
- Mask off the surrounding area with painter's tape and apply product in small dabs rather than broad strokes.
- Let each layer cure fully before adding the next or testing the result.
A light touch at every stage keeps the repair invisible instead of turning a small scratch into a noticeable patch.
Pro Tip: Apply touch-up paint with a fine art brush or toothpick instead of the cap applicator. It gives you far more control over how much product lands on the panel.

Step-by-step: repairing wood-veneer panels
Veneer repair takes more restraint than laminate because the wood layer is thin and unforgiving. Before doing anything abrasive, confirm the veneer's thickness, since sanding through it exposes the substrate underneath and can't be undone.
- For light surface scratches, rub 0000 steel wool along the grain with a scratch-removing polish, then follow with oil or furniture polish.
- For scratches that break through the finish or stain, blend a wax stick or touch-up pen into the surrounding grain, then seal and adjust sheen to match.
- For deeper damage, sand incrementally with 360 to 400 grit paper, then re-stain the small area or build color with a pigment glaze in thin layers rather than one heavy coat, a method veneer repair specialists recommend for better control.
- Work in small passes and let each stage dry or cure before moving on to sheen work.
- Skip silicone-based polishes and resist the urge to overfill. Both can block future refinishing if a professional ever needs to address the panel later.
Pro Tip: When color-matching veneer, build the stain in thin passes and check it against the grain in natural light between each one. One heavy application almost always reads too dark or too flat.
Repairing textured, slatted, or 3D media wall panels
Slat and textured panels hide scratches differently than flat surfaces because the eye reads the whole groove pattern, not just one spot. Clear out any dust or debris from the grooves before starting so filler bonds properly.
- For shallow marks, a wax stick or touch-up marker matched to the wood tone is usually enough.
- For gouges, use a flexible wood filler or two-part epoxy that stays compatible with movement in the slat material.
- Build the filler slightly proud of the surface, then shape and sand it down to match the surrounding profile before applying a matching topcoat.
- If a single slat is too damaged to blend convincingly, consider swapping in a replacement slat, like those on an acoustic slat wall panel, to keep the overall run uniform.
Finishing: color blending and sheen matching
Getting the color right doesn't finish the job. Sheen is what most people notice first, even before they register a color difference, so the two need to be worked in sequence: fix the physical damage, match the color, then match the sheen, following the order finish repair professionals use for this kind of work.
- Use touch-up markers, diluted paint, or an aerosol satin or matte clear coat to blend the repaired spot into the surrounding finish.
- If the repair reads too glossy, knock it down gently with 0000 steel wool or a light microsanding pass.
- Let each layer cure fully before judging the result or adding another coat.
Check your work from about 8 feet away under normal lighting, since that's the distance at which most scratch repairs either disappear or stand out, and it's a more honest test than close inspection.
Preventing scratches and routine maintenance
A little routine care goes further than any repair. Wipe panels with a soft cloth and a mild detergent solution, and skip abrasive cleaners or bleach on decorative laminates, since harsh products can dull or etch the finish over time, something manufacturer cleaning guidance specifically warns against.
- Add felt pads or bumpers under anything placed near or against a panel.
- Never drag furniture, electronics, or decor across the surface.
- Test any new cleaner on a hidden spot before using it on the full panel.
- Inspect panels periodically and handle small scratches early, before they spread or deepen.
Pro Tip: Keep a labeled touch-up kit (wax stick, marker, small sealant tube) matched to your panel finish right after installation. Having it on hand means small scratches get fixed within minutes instead of sitting there for months.
Author perspective from The Media Wall Store

Kits with pre-cut, pre-labeled panels help reduce handling damage because every panel goes exactly where it's meant to, with less trimming, fitting, and adjusting than a custom build. That said, scratches still happen during moves or daily life, and the repair principles above apply whether your panel is laminate, veneer, or slatted.
When damage reaches the substrate or spans a visible seam, that's when our installation team or white-glove service makes more sense than a DIY fix. If you're unsure which category your scratch falls into, reach out. We'd rather help you get it right than watch a good panel get sanded through.
— Jake
How we help: repair-aware kits, design, and support
We build our media wall kits with finishes chosen to hold up to daily life and to take touch-ups well when something does happen. If you're starting fresh or replacing a damaged section, our design packages, from a Single Concept Design to a Full Design & Quote, help you pick finishes and layouts that are easier to maintain long term.

For larger repairs or full panel swaps, our White-Glove Installation service handles the work for you, and our accessories range covers lighting, cabinetry, and finishes if you want to refresh part of your wall. Kits typically come with expert support and risk-free returns, so you're not left guessing alone. Browse our shop or get in touch if your repair needs a second opinion.
FAQ
How do I know if a panel scratch needs repair?
Stand back about 8 feet under normal lighting and check if the mark is still visible. If it disappears at that distance, most visual inspection guidance suggests it doesn't need fixing.
What's the difference between coating-penetrating and substrate-penetrating scratches?
A coating-penetrating scratch cuts through the color or finish layer but leaves the underlying material intact, while a substrate-penetrating scratch reaches into the laminate core, MDF, or wood itself. Repair professionals classify damage this way because each level calls for a different fix, from simple touch-up to a patch or replacement.
Can I sand a wood veneer panel to remove a scratch?
Only if the veneer layer is thick enough to survive it, since sanding through veneer exposes the substrate underneath. Light passes with fine sandpaper, tested carefully, are safer than aggressive sanding, and veneer repair guidance recommends sanding only when thickness safely allows it.
Why does my touch-up paint look different from the panel?
This usually happens when paint is applied beyond the scratch itself, creating a visible patch of different gloss or color. Keeping touch-up material confined strictly to the damaged area is the standard way to avoid this kind of mismatch.
When should I call a professional instead of doing it myself?
Substrate-penetrating damage, warped panels, or large gouges that need structural patching are usually better handled by a professional, since a poor repair here is hard to reverse. For wall-level patching or drywall damage behind a panel, a drywall repair specialist can address the underlying structure before you reinstall or replace panels.
Sources
These technical bulletins and care guides cover the procedures referenced throughout this article in more depth, including manufacturer-specific recommendations for cleaning, repair, and refinishing.
- ATAS Industries — Visual Inspection Guide
- Metl-Span — Panel repairs technical bulletin
- PRO‑HPL — General recommendations for decorative laminates
- Oakwood Veneer — Stop peeling veneer: maintenance and repair
- Woodworking Network — 'Going by the numbers' to repair finish damage