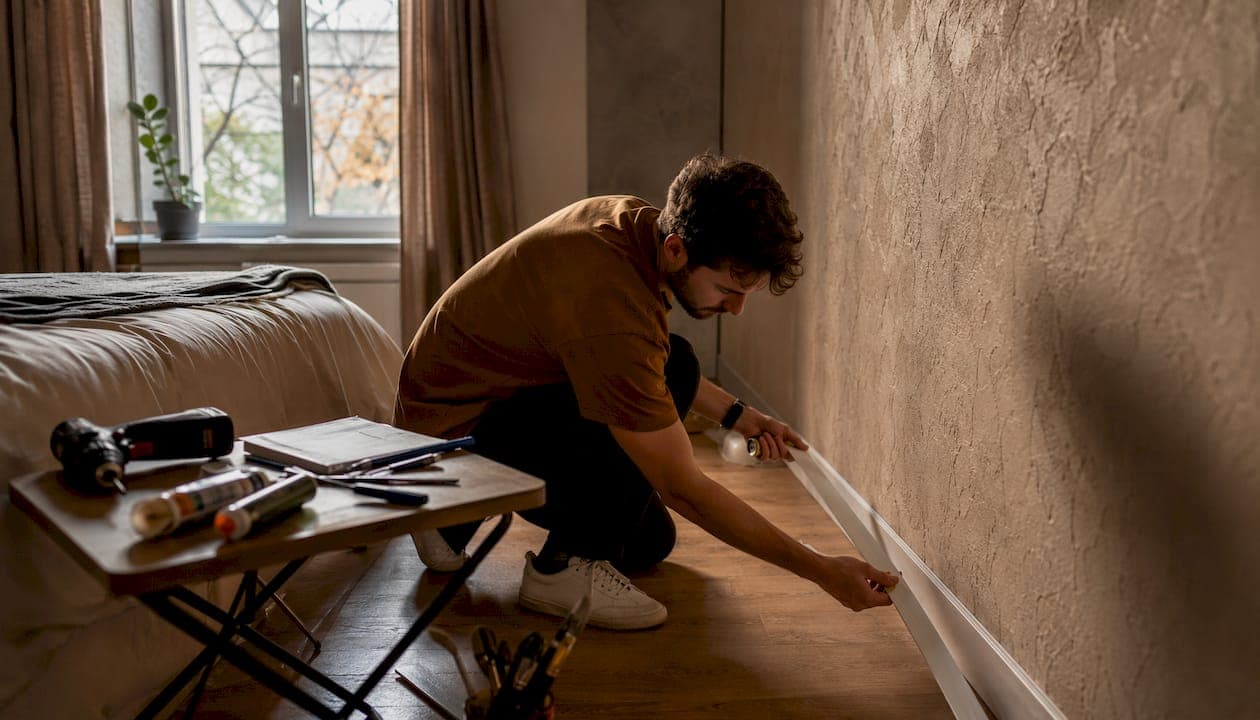
Decorative wall strips are the fastest way to add architectural character to a plain room without hiring a contractor. They go by several names: wall molding, interior wall trim, panel strips, or millwork. All refer to the same idea: shaped lengths of material applied to walls to create frames, borders, texture, or transitions. The best options for most DIY homeowners combine easy installation with a finish that looks custom.
Here is a quick orientation before you choose:
- Materials: wood, MDF, polyurethane, peel-and-stick PVC, and eco-friendly composites
- Installation styles: adhesive backing, construction adhesive with brad nails, glue-only, or mechanical fasteners
- Common uses: wainscoting, picture frame molding, chair rails, geometric accent walls, and LED lighting channels
- Key benefit: a weekend project that reads like a professional renovation
- LED integration: some profiles are designed with channels to conceal LED strip lights, adding both ambiance and function
Trusted product lines in this space include Art3dwallpanels, the Art3d Pre-Cut Wall Molding Set, and the YU LI 3DH Peel and Stick PVC Slat Wall Panel. Themediawallstore also offers pre-cut, pre-labeled kits built around the same principle: high-end results without a contractor.
What materials are decorative wall strips made from?
Material choice drives everything: how long the strips last, how easy they are to install, and how much they cost. The three featured products here represent three distinct material approaches, and each suits a different kind of project.
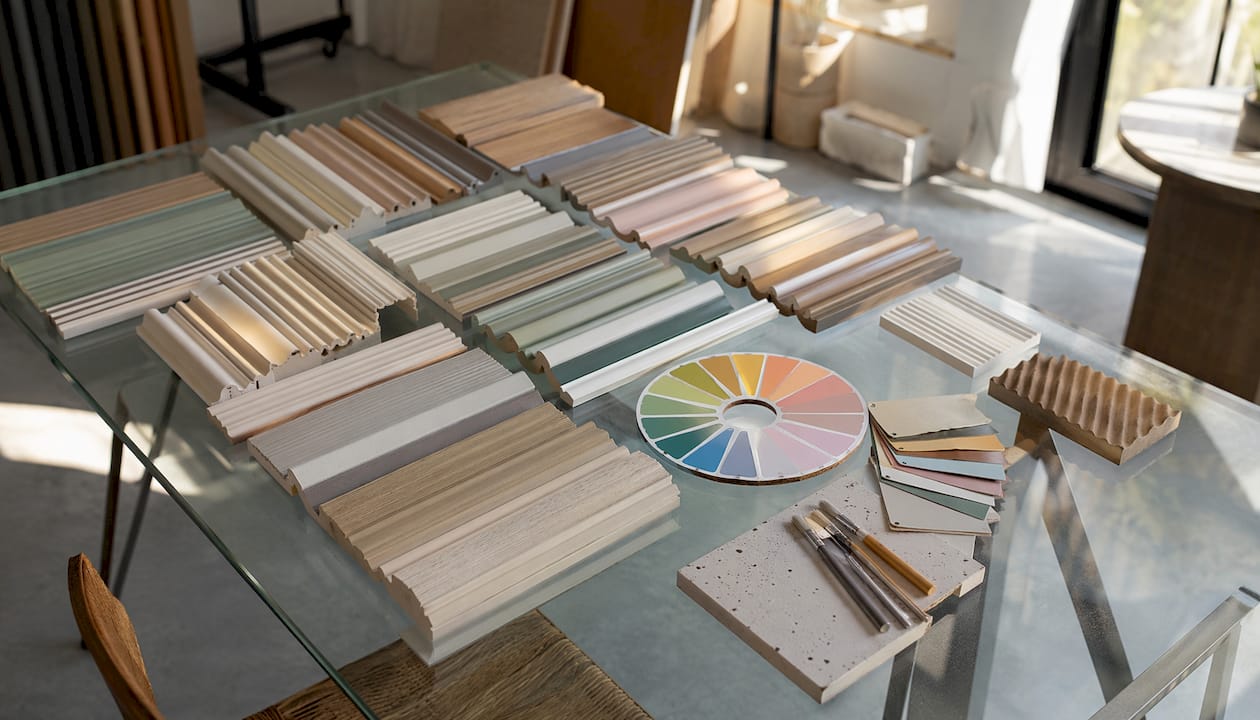
Three of the most common material categories for decorative wall strips, plus the featured products that represent them:
| Product | Material Type | Installation Method | Style / Design | Price Range | Durability | Best For |
|---|---|---|---|---|---|---|
| Art3dwallpanels (Diamond 3D Wall Panel) | Textured composite | Construction adhesive | Geometric 3D accent | $$ | High | Contemporary textured accent walls |
| Art3d Pre-Cut Wall Molding Set | MDF / paintable composite | Adhesive + brad nails | Classic frames, wainscoting | $$ | High | DIYers wanting custom-look molding |
| YU LI 3DH Peel and Stick PVC Slat Wall Panel | PVC | Peel-and-stick adhesive | Modern slat / linear | $ | Moderate | Budget-conscious, no-tool installs |
Wood and MDF are the workhorses of traditional interior wall trim. MDF takes paint exceptionally well, holds crisp profiles, and costs less than solid wood. Chair rail molding typically runs $1–$2 per linear foot in MDF, while crown molding installation can reach $2–$10 per linear foot depending on material and complexity. The Art3d Pre-Cut Wall Molding Set uses this category well: pieces arrive pre-cut, reducing the measurement and cutting time that trips up most first-time installers.
Polyurethane is lighter than wood, moisture-resistant, and holds fine detail without cracking over time. Pre-made polyurethane picture frame squares typically cost between $8 and $25, making them one of the more accessible options for formal rooms. The material is also paintable straight out of the box.
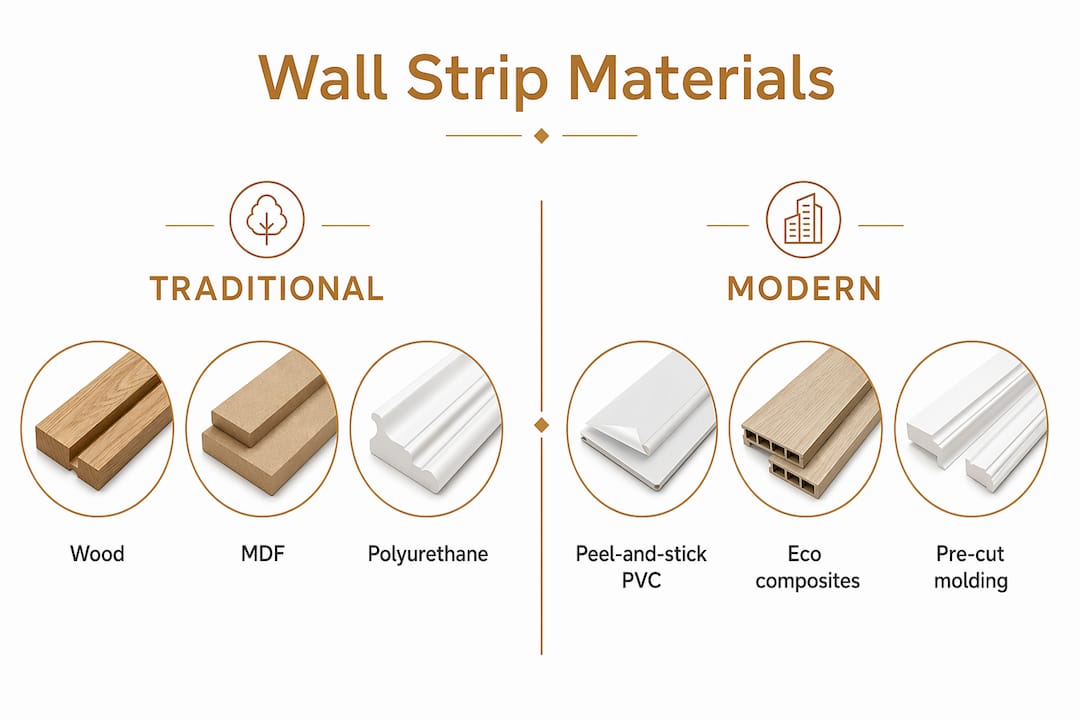
Peel-and-stick PVC, as used in the YU LI 3DH panel, trades long-term durability for speed. Peel-and-stick strips offer instant aesthetic improvement but lack the longevity of mechanically fastened options. For renters, temporary installs, or low-traffic rooms, that trade-off makes sense. For a family room with kids and pets, it does not.
Eco-friendly composites are worth a mention here. Some peel-and-stick molding kits are crafted from recyclable materials, come pre-primed in white, and are impact-resistant and waterproof. They measure approximately 2400 x 40 x 19 mm, which suits most standard wall heights without cutting.
How do you install decorative wall strips?
Installation method matters as much as material. The wrong approach for your wall type or skill level leads to strips that sag, peel, or look crooked within months.
The four main methods, and when to use each:
- Peel-and-stick adhesive: Fastest option. Peel the backing, press firmly to a clean, smooth surface, and you are done. Works well for PVC and lightweight polyurethane strips. Best for accent walls in low-traffic rooms.
- Construction adhesive with brad nails: The most durable DIY method. Apply adhesive to the back of the strip, press to the wall, then secure with a brad nailer. Mechanical fastening offers greater durability for strips in high-traffic or pet and child environments compared to adhesive alone.
- Glue-only: A middle ground. Works for lightweight polyurethane or foam profiles on smooth drywall. Requires clamping or taping while the adhesive cures.
- Mechanical fasteners (screws): Used for heavier wood panels or slat walls. More involved, but the result is permanent and structurally sound.
Surface preparation is non-negotiable. Proper wall prep, including ensuring smooth, clean surfaces and priming, is critical for successful adhesive installation and avoiding sagging or peeling. Wipe the wall with a damp cloth, let it dry completely, and sand down any bumps or texture before applying any adhesive-backed product.
Steps that apply to most installs:
- Measure the wall and mark layout lines lightly in pencil.
- Clean the surface and let it dry fully.
- Cut strips to length at a 45-degree miter for corners.
- Apply adhesive or peel the backing, then press firmly into place.
- Fill gaps at corners and seams with paintable caulk.
- Paint to match or contrast the wall once the adhesive has cured.
Pro Tip: If you do not own a miter saw, use pre-cut corner blocks instead of trying to hand-cut 45-degree joints. They snap into place and look clean without any power tools.
What are the best ways to style decorative wall strips?
Wall strip decor works in every room, but the arrangement and color choices determine whether the result looks intentional or accidental. The most effective installs treat the strips as a system, not individual pieces.
Popular styling applications:
- Picture frame molding: Four strips arranged in a rectangle on a flat wall. Ideal for dining rooms, hallways, and bedrooms. Works with or without artwork inside the frame.
- Wainscoting: Strips covering the lower third of the wall, typically capped with a chair rail. Classic in bathrooms, entryways, and dining rooms.
- Chair rails: A single horizontal strip installed 3–4 feet above the floor. Originally functional, now purely decorative in most homes.
- Geometric accent walls: Modern triangles, diamonds, or grid patterns using the Art3dwallpanels Diamond 3D panel. The raised geometric texture catches light differently throughout the day.
- LED-integrated channels: Strips with a hollow profile designed to conceal LED tape lights. Planning the power supply location and wiring before finishing walls avoids costly retrofitting and produces a clean final look.
Color strategy makes or breaks the result. A monochromatic paint scheme for both the molding and the wall creates a unified, luxurious look that emphasizes texture and shadow rather than the strip itself. For a bolder statement, black molding on a white wall adds graphic contrast without any additional decor. Both approaches work; the choice depends on whether you want the strips to read as architecture or as decoration.
Strips also solve a practical problem: they can disguise uneven walls, cover imperfect paint lines at ceiling transitions, and create visual symmetry in rooms that lack it. For living room accent walls, combining strips with a contrasting paint color behind a TV or fireplace is one of the most cost-effective ways to create a focal point.
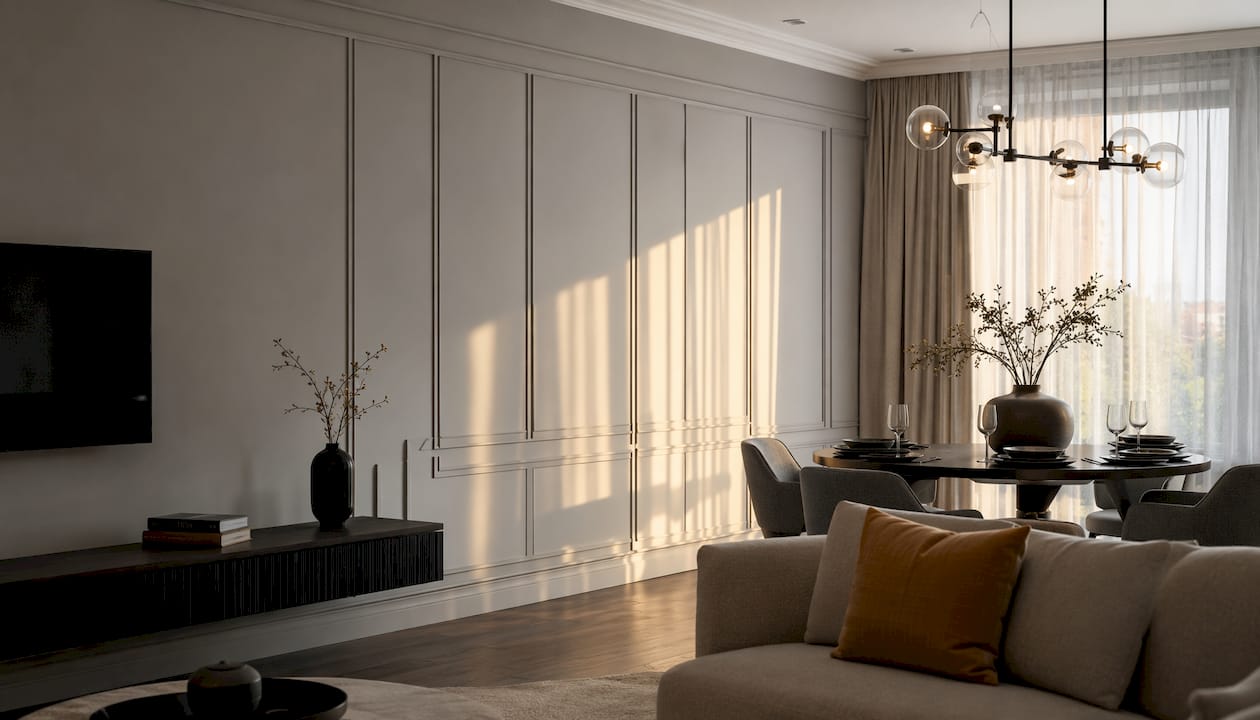
Pro Tip: Scale matters. In rooms with ceilings under 9 feet, keep molding profiles narrow (under 3 inches). Thick, ornate profiles in a low-ceilinged room make the space feel compressed rather than elegant.
How much do decorative wall strips cost?
Budget range for wall strip decor is wide, and the gap between the cheapest and most expensive options reflects real differences in durability and finish quality.
Cost by category:
- Peel-and-stick PVC panels (like the YU LI 3DH): lowest upfront cost, no tools required, and no installation labor. Best for renters or anyone testing a look before committing.
- Pre-cut molding kits (like the Art3d Pre-Cut Wall Molding Set): mid-range price, but the pre-cut format saves hours of measuring and cutting. The accuracy improvement alone justifies the cost for most DIYers.
- Solid wood or MDF with mechanical fastening: higher material cost, but the finish is paintable, repairable, and built to last decades. Chair rail in MDF typically costs $1–$2 per linear foot, while baseboard in MDF starts at approximately $0.60 per linear foot.
- Polyurethane picture frame sets: pre-made squares cost roughly $8–$25 each, making a full accent wall affordable when bought in bulk.
DIY installation saves labor costs, which can otherwise add significantly to the total price of crown molding installation. Doing it yourself with a pre-cut kit from Themediawallstore or a peel-and-stick option cuts that labor cost to zero. For a room with 40 linear feet of molding, that difference is meaningful.
Sales and package deals appear most reliably on Amazon, Home Depot's website, and direct from brands like Art3d. Buying a full-room kit rather than individual strips almost always costs less per linear foot.
Are decorative wall strips an environmentally responsible choice?
The sustainability picture for wall strips is mixed, but improving. Material choice is the biggest variable.
PVC, used in peel-and-stick panels like the YU LI 3DH, is petroleum-based and not biodegradable. It is durable and moisture-resistant, but it does not break down and is rarely recycled through standard municipal programs. For homeowners prioritizing sustainability, PVC is the weakest option in this category.
MDF contains adhesive resins that can off-gas formaldehyde, though most products sold in the U.S. today meet CARB Phase 2 standards, which cap formaldehyde emissions at low levels. Solid wood from certified sources (look for FSC certification) is the most sustainable structural option, especially when it comes from domestic suppliers.
Some peel-and-stick molding kits are made from recyclable materials and marketed as eco-friendly composites. These products are waterproof, impact-resistant, and designed for longevity, which reduces replacement frequency. A strip that lasts 20 years has a lower lifetime environmental footprint than a cheap PVC panel replaced every 3–5 years.
Polyurethane molding sits in the middle. It is a synthetic foam, but its light weight reduces shipping emissions compared to heavy wood or stone alternatives. Some manufacturers now offer polyurethane profiles made with recycled content.
Expert tips for getting a professional finish with DIY wall strips
The gap between a DIY install that looks homemade and one that looks like a designer did it usually comes down to a handful of details, not skill level.
Installation and finishing tips:
- Prime before you paint. Even pre-primed strips benefit from a coat of primer after installation, especially at cut ends and caulked seams.
- Use paintable caulk at every seam. Gaps between the strip and the wall, or at inside corners, are the most visible flaw in a finished install. A thin bead of paintable caulk, smoothed with a wet finger, makes them disappear.
- Match molding scale to ceiling height. Design experts recommend simpler, narrower profiles for modern spaces and reserving ornate patterns for traditional interiors with higher ceilings.
- For LED-integrated strips, plan wiring first. Mark transformer and power supply locations on the wall before any strips go up. Retrofitting wiring after installation is expensive and often visible.
- In high-traffic rooms, use brad nails. Peel-and-stick adhesive alone is not enough in hallways, mudrooms, or anywhere with regular physical contact. Combine adhesive with brad nails for strips that stay put.
- Pre-cut corner blocks beat hand-cut miters for beginners. Professional mitered corner joints are the standard for a seamless finish, but if power tools are unavailable, corner blocks produce a clean result without the precision cutting.
- Test your color scheme on a small section first. Paint a single panel or strip, let it dry, and live with it for a day before committing to the whole room.
Themediawallstore's kits are designed around this exact principle: pre-cut, pre-labeled panels that remove the measuring and cutting variables entirely. For homeowners upgrading a builder-grade space, the combination of a structured kit and these finishing techniques produces results that read as custom work. Check their wall panel guide for finish and profile selection advice specific to different room types.
For a damage-free approach to styling walls, especially in rentals or rooms where you want flexibility, pairing lightweight peel-and-stick strips with removable accessories keeps options open without sacrificing the look.
Themediawallstore takes the DIY media wall further
If decorative wall strips have convinced you that your living room wall deserves more than a coat of paint, Themediawallstore offers the next step up: complete DIY media wall kits that combine slat accent panels, floating cabinetry, integrated LED lighting, and hidden wire management in a single pre-cut, pre-labeled package.

The difference from buying individual strips is the system. Every component is sized and labeled to fit together, so you are not improvising cuts or guessing at spacing. Kits install in a weekend, cost a fraction of a custom build, and come with expert support and risk-free returns. Over 1,000 homeowners have used Themediawallstore kits to turn builder-grade walls into focal points that look like they cost three times the price.
For homeowners in the San Francisco Bay Area, Themediawallstore also offers white-glove custom installation. For everyone else, the kits ship nationwide and the instructions are built for people who have never done this before.
FAQ
What do you call decorative wall panels and strips?
Wall trim, wall molding, and millwork all refer to the same thing: decorative and functional strips of wood, PVC, or MDF applied to walls to cover gaps, add texture, or create architectural detail. Common types include baseboards, chair rails, crown molding, wainscoting, and picture frame molding.
How can I decorate my wall cheaply?
Peel-and-stick molding kits and PVC slat panels are the most affordable entry point, with some options starting around $0.60 per linear foot for MDF baseboard. Pre-cut kits reduce waste and labor time, which lowers the total cost of a DIY project significantly.
How do you put wood strips on a wall?
Measure and mark your layout, then apply construction adhesive to the back of each strip and press firmly to the wall. Secure with brad nails for high-traffic areas, fill seams with paintable caulk, and paint once the adhesive has cured. Surface prep, including cleaning and priming the wall, is the step most DIYers skip and later regret.
What can I put on walls instead of pictures?
Decorative wall strips arranged as picture frame molding, wainscoting, or geometric patterns create visual interest without any artwork. LED-integrated molding channels add ambient lighting. Slat wall panels, like those from Art3dwallpanels or Themediawallstore's media wall kits, work especially well as textured accent walls behind a TV or sofa.
Are peel-and-stick wall strips permanent?
No. Peel-and-stick strips are designed for removal, though how cleanly they come off depends on the wall surface and paint type. Smoother, older painted walls tend to release adhesive products more cleanly than freshly painted or heavily textured drywall. For a permanent install, construction adhesive with brad nails is the more reliable method.
Key Takeaways
Material and installation method together determine whether your wall strip project lasts five years or fifty, so match both to your room's traffic level and your long-term plans before buying.
| Point | Details |
|---|---|
| Material drives durability | MDF and solid wood with mechanical fastening outlast peel-and-stick PVC in high-traffic rooms. |
| Surface prep is the critical step | Clean, smooth, primed walls prevent adhesive strips from sagging or peeling prematurely. |
| Cost range is wide | MDF baseboard starts at about $0.60 per linear foot, and crown molding installation can cost $2–$10 per linear foot depending on materials and complexity. |
| Scale must match ceiling height | Narrow profiles under 3 inches suit rooms with ceilings under 9 feet; ornate profiles need height to breathe. |
| Themediawallstore for full-wall systems | Pre-cut, pre-labeled media wall kits combine slat panels, LED lighting, and cabinetry for a complete focal-wall upgrade. |