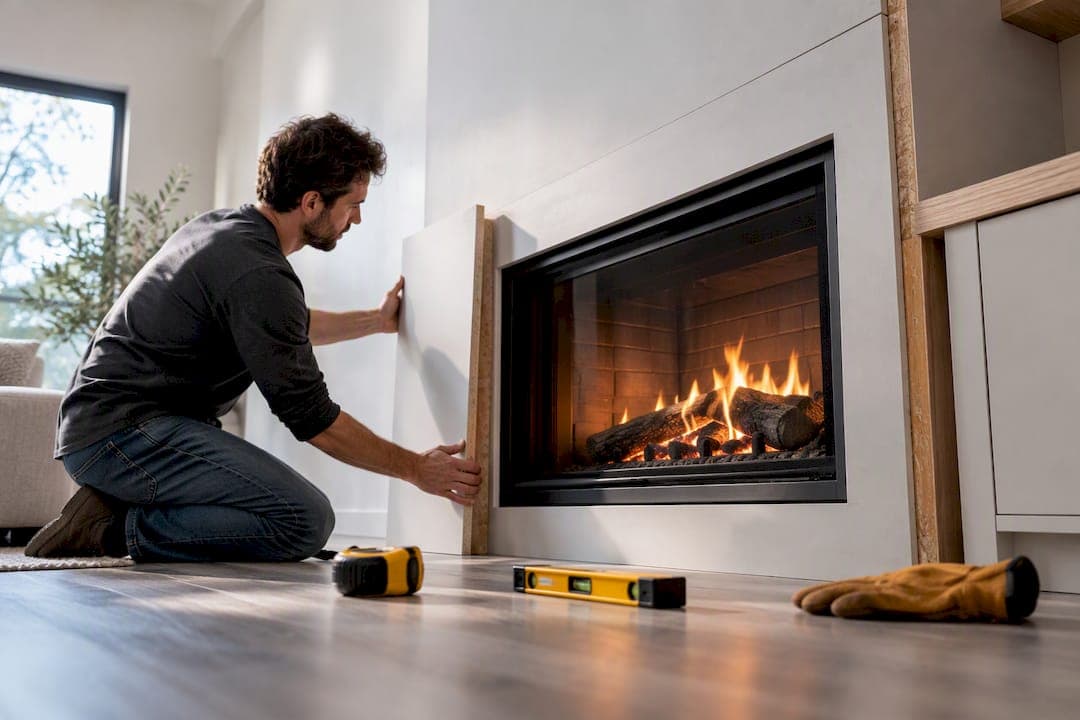
Built-in cabinetry flanking the fireplace is the best way to add concealed storage and boost the wall's overall function, especially where you can afford closed base cabinets topped with open shelving. Floating shelves and shallow cabinets work better where wall depth is limited or the chimney breast juts out. Wood-burning owners need to plan around fixed clearances, while electric-insert setups give the most design flexibility. The sections below cover safety, sizing, and the DIY details that make or break the result.
TL;DR:
- Built-in cabinets on both sides of the fireplace are best for deep walls, while shallow shelves suit limited wall depth or chimney breasts.
- Accurate measurements for cabinet depth, firewood niche sizing, and sightlines are crucial for a balanced, functional design.
- Non-combustible surrounds are necessary around wood-burning fireplaces, whereas electric inserts offer more flexible design options and TV size compatibility.
- DIY projects are feasible for simple shelf and cabinet combinations, but gas or structural modifications require licensed professionals.
- Pre-cut kits streamline assembly, reduce build time to about a weekend, and ensure fireplace and media compatibility.
Table of Contents
- Design ideas for framing your fireplace with storage
- Planning your layout: measurements, sightlines, and depth
- Materials and finishes that hold up around a fireplace
- How fireplace type changes your storage and safety options
- DIY tips and common pitfalls to avoid
- When to DIY and when to hire a pro
- The Media Wall Store: kits built for exactly this project
- Sources
- FAQ
Design ideas for framing your fireplace with storage
Most fireplace walls fall into a handful of storage patterns, and picking the right one starts with your wall depth, your fireplace type, and how much you want to DIY.
Floor-to-ceiling built-ins on both sides of the fireplace remain the classic choice: closed base cabinets hide clutter, open shelving above displays books and decor, and the symmetry reads as custom carpentry even when the boxes are stock cabinets. Design galleries show this combination of closed lower storage and open upper shelving as one of the most common ways to add function without losing display space.
An asymmetrical build, storage on one side only, suits narrower rooms or walls where one side backs onto a doorway or window. This layout also works well for a dedicated firewood niche: a tall, narrow vertical opening keeps split logs handy for a wood-burning fireplace while adding visual texture to the wall, a strategy that shows up often in firewood storage projects.
- Shallow floating shelves and low-profile base cabinets suit chimney breasts or stud walls with limited depth to spare.
- Hidden storage behind flush cabinet doors or concealed AV cabinets keeps electronics and cables out of sight.
- Integrated fireplace and TV media units combine the flame element with mounted or recessed screens for a single cohesive wall.
- IKEA-hack and RTA cabinet builds let DIYers get a built-in look using stock cabinet boxes and custom trim.
- Slat accent panels, LED lighting strips, and a mix of open and closed storage add a more current, decor-forward finish.
For tight spaces, a single run of low cabinetry under a mounted TV often beats a full flanking build. It keeps sightlines clean and avoids crowding a narrow room. For anyone weighing a full custom media wall against a simpler shelf-and-cabinet combo, an internal primer on fireplace media walls walks through how the pieces fit together before you commit to a layout.
Planning your layout: measurements, sightlines, and depth
Before you buy a single board, get the numbers right. A few measurements determine whether the finished wall looks intentional or crowded.
- Mount the TV so its center sits at seated eye level, typically close to where the mantel line falls, and check the sightline from your main seating spot before drilling anything.
- Plan wall cabinet depth around 12 inches, base cabinet depth between 15 and 18 inches, and shallow floating shelves between 7 and 10 inches, depending on what they need to hold.
- Leave room behind cabinetry for wiring, an in-cabinet power strip, and a cable chase so cords never show on the finished face.
- Size a firewood niche to the length of your typical split logs plus a couple of inches of clearance, and keep it clear of any required heat setback.
- Bring a tape measure, your TV's exact dimensions, and your fireplace clearance numbers to the store or your contractor meeting.
If you are matching a kit to an existing wall, sizing guidance built around common wall widths, such as an 8 to 10 foot span versus a 20 to 24 foot span, makes it easier to pick the right module count before you order anything.
Materials and finishes that hold up around a fireplace
The materials question splits into two parts: what touches the fireplace opening, and what makes up the storage itself.
Around the firebox, non-combustible surrounds such as tile, stone veneer, or metal trim are the standard choice when code requires a heat-rated surface, particularly for wood-burning units. Away from that zone, cabinet construction usually comes down to plywood with a wood veneer for durability, MDF with a painted finish for a smooth built-in look, or stock RTA cabinet lines that trade some customization for speed and cost. Trim work, baseboard, and crown molding tie new cabinetry into existing millwork, and a supplier like Orac Decor's coving and mouldings offers profiles that help match a new built-in to an older room's trim details.
- Non-combustible tile, stone, or metal surrounds where the fireplace type requires heat-rated material.
- Plywood with veneer for cabinet boxes that need to last, MDF paint-grade for a clean built-in look, RTA lines for budget and speed.
- Matching trim profiles and scribe strips to blend new cabinetry with existing molding.
- Slat accent panels and integrated LED lighting for a modern media wall finish.
- Flush, hardware-free doors or simple recessed pulls to keep hidden storage visually quiet.
How fireplace type changes your storage and safety options
Clearance rules and material choices depend entirely on what kind of fireplace you have, and this is where most DIY plans go wrong.
Wood-burning fireplaces carry the strictest requirements: fixed clearances to combustible material, non-combustible surrounds, and reference standards like NFPA 211 that govern how close wood cabinetry can sit to the opening. Local code and your fireplace's own manual take priority over generic advice. Gas fireplaces have model-specific clearances that are often tighter than wood-burning requirements, but any gas-line work should go to a licensed professional rather than a DIY fix.

Electric inserts give you the most room to design around. Many models let the LED flame effect run independently of the heating element, so you get the visual year-round without heat output, and media units built for these inserts commonly fit TVs up to about 70 to 75 inches, according to Lowe's electric fireplace insert category. That flexibility is a big reason electric inserts pair so easily with a fireplace and TV combo unit. Whatever the fireplace type, build in air gaps and heat shields where cabinetry sits near the opening, and call a pro for chimney modifications, gas-line changes, or structural framing.
DIY tips and common pitfalls to avoid
Older homes rarely have level floors or square walls, and the gap between a plan on paper and a plan on-site is where most projects lose a weekend.
Shim base cabinets to handle floor slope, then scribe the trim to hide any resulting gap instead of forcing the cabinet to sit flush. Long floating shelves need reinforcement: hidden brackets, cleats, or a laminated shelf core keep a wide span from sagging over time, a detail covered well in DIY built-in and floating shelf tutorials. Route power and cable runs before the cabinets go on the wall, and add an in-cabinet outlet if you are hiding a router or streaming box behind a door. Premade kits and RTA cabinets speed things up considerably compared with framing from scratch, though a full built-in with custom trim is realistically a multi-weekend project rather than a single Saturday.
Pro Tip: Dry-fit every cabinet and shelf bracket before you commit to a single screw, since fixing a crooked pilot hole after the fact takes far longer than checking level twice.

When to DIY and when to hire a pro
I judge this by three things: your comfort with a level and a stud finder, whether the job touches gas lines or structural framing, and how much your weekends are worth to you. A straightforward shelf-and-cabinet combo is a solid DIY weekend. Anything involving a gas fireplace, chimney work, or load-bearing changes belongs with a licensed contractor, full stop.
Pre-cut, pre-labeled kits sit in the middle: they cut the guesswork out of a build without the cost of a fully custom job, which is why they have become a common shortcut for people who want the finished look without the framing headaches.
— Jake
The Media Wall Store: kits built for exactly this project
Building a fireplace wall from scratch means measuring, cutting, and fixing gaps as you go. Some kits skip that part: every panel arrives pre-cut and pre-labeled, with hidden wire management already planned into the design, so assembly can happen in a weekend instead of over several. Finishes and fireplace compatibility options help ensure the flame effect, TV size, and cabinetry coordinate before you open the box.

- Pre-cut, pre-labeled panels with hidden wire management built into the design.
- Fireplace-compatible layouts, including options for electric inserts and independent flame effects.
- A kit fits fast timelines and set budgets, while a full custom design suits homeowners who want a fully bespoke finish.
Kits work well when you know roughly what you want and would rather assemble than build from raw lumber, while a Full Design & Quote or a design consultation makes sense if you want a layout worked out first. Browse current media wall kits to see finish and fireplace options, or request a design quote to get a layout built around your wall's exact dimensions.
Sources
Product pages, safety standards, and DIY tutorials cited above cover fireplace types, clearances, and build techniques.
- Electric fireplace inserts | Lowe's
- 34 Fireplace built-in ideas to add extra storage and style | The Spruce
- Easy DIY Fireplace Built-in Cabinets + Floating Shelves | DIY Huntress
- 13 best firewood storage ideas | AcuCraft
FAQ
What is the best storage layout for a small fireplace wall?
Shallow floating shelves paired with a low-profile base cabinet usually work best on tight walls, since they add storage without eating into room depth. This layout also keeps sightlines to a mounted TV clean, which matters more on a narrow wall.
Can I put built-in cabinets right next to a wood-burning fireplace?
Only within the clearances set by your fireplace's manual and the applicable code, since NFPA 211 and similar standards govern how close combustible material can sit to a wood-burning opening. Always confirm clearances with a professional before building.
Do electric fireplace inserts limit my TV size?
Not much: many media units built around electric inserts fit TVs up to around the largest common sizes, according to Lowe's electric insert category. The flame effect on most electric inserts also runs independently of the heater, so screen size and heat output are not linked.
Are IKEA hacks a reliable way to build fireplace storage?
Yes, stock cabinet lines combined with a raised base and trim work are a common, budget-friendly way to get a built-in look, as shown in IKEA hack built-in projects. The trim and base platform are what make the finished cabinets look custom rather than off-the-shelf.
How long does a DIY fireplace built-in typically take?
A simple shelf-and-cabinet combo can come together in a weekend, while a full floor-to-ceiling built-in with custom trim usually runs across several weekends. Pre-cut kits, including The Media Wall Store's kits, are designed to compress that timeline closer to a single weekend.