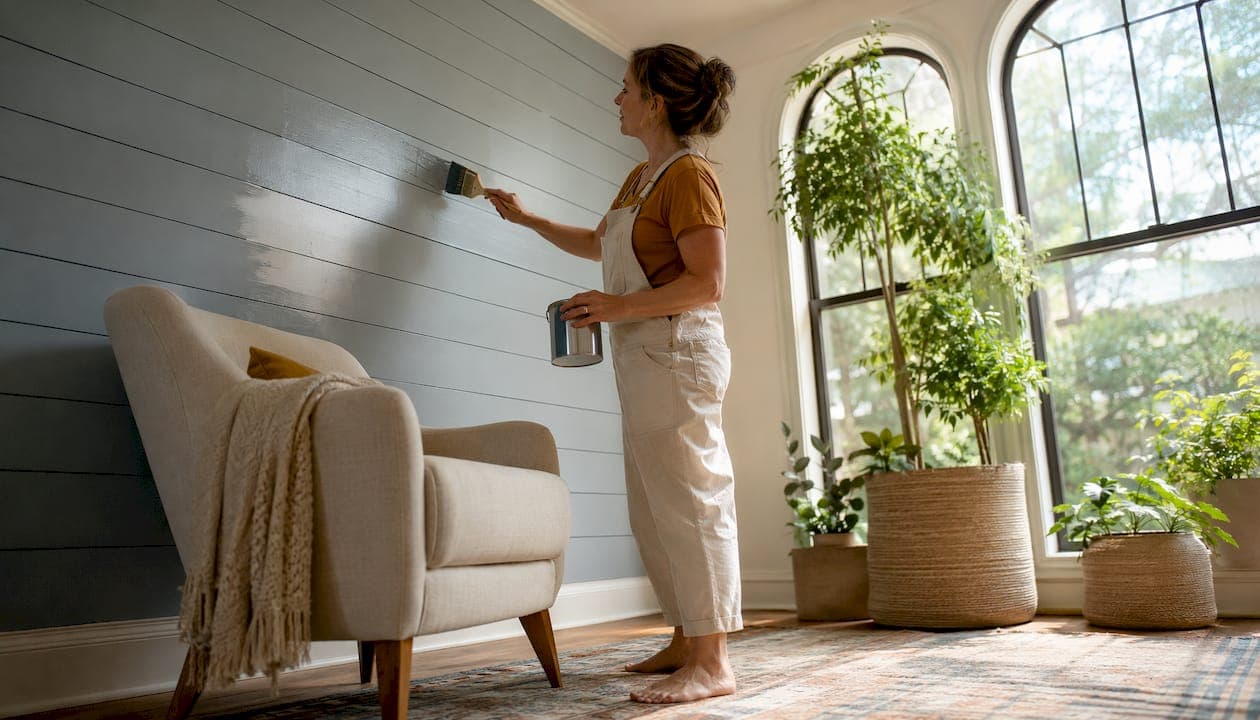
A framed center-panel shiplap media wall built with pre-primed MDF nickel-gap boards and a 1/8" reveal is the most reliable luxury DIY result for a TV installation. It paints without grain bleed-through, hides wires cleanly, and takes integrated LED lighting without looking like a farmhouse throwback.
Before you cut a single board, lock in these five things:
- MDF nickel-gap boards (pre-primed, pre-primed boards sized to create a contemporary look)
- a spacer sized for a consistent reveal for a consistent reveal on every course
- Stud map of the entire wall before cladding starts
- TV-mount tolerance calculated with bracket depth plus board thickness
- Pre-cut kit option from Themediawallstore if you want a weekend finish with zero guesswork
Table of Contents
- What are the best shiplap accent wall ideas for a living room?
- Which shiplap materials work best for a painted media wall?
- How does board orientation change the way your living room reads?
- How do you integrate a TV, speakers, and wiring into a shiplap wall?
- How do you measure and budget for a shiplap media wall?
- What paint and finish choices lift shiplap from farmhouse to luxury modern?
- DIY from scratch, a pre-cut kit, or a pro — which route fits you?
- Key Takeaways
- Why the "full wall" instinct is the one to fight
- Themediawallstore makes the weekend install real
- Useful sources
- FAQ
What are the best shiplap accent wall ideas for a living room?
The 2026 design direction treats shiplap as architectural framing, not wallpaper. These eight ideas all work with a mounted TV and integrated media components.
- Framed center panel with LED perimeter lighting. Build a rectangular shiplap panel sized to the TV and floating console, then recess an LED strip behind the reveal edge. The glow frames the screen without competing with it. This is the cleanest modern media wall approach available right now.
- Full-height vertical planks in a TV niche. Vertical boards draw the eye up and make ceilings feel taller, a move that works especially well in rooms under nine feet. Wire channels run naturally behind vertical seams.
- Horizontal wide-plank backdrop. A wide horizontal planks visually widen a seating area and pairs well with a low-profile TV mount. Keep the rest of the walls plain so the texture reads as intentional.
- Two-tone panel: dark behind the TV, lighter surround. A deep navy or charcoal backdrop makes a large TV recede visually. The surrounding lighter walls frame it like a gallery piece rather than a black rectangle on a white wall.
- Half-wall wainscot with a slim speaker shelf. Shiplap from floor to chair-rail height keeps texture low and media-focused. A narrow shelf at the top rail holds a soundbar or remotes without extra hardware.
- Shiplap field plus slat column accent. Combine a narrow shiplap field with a slat wall panel column flanking the TV for both acoustic absorption and visual depth. The contrast between flat boards and slat texture reads as custom millwork.
- Chevron or diagonal shiplap in a framed panel. Reserve this for the TV wall only. Diagonal cuts add architectural drama, but they demand precise miters and a pre-planned panel boundary so the pattern doesn't fight the room.
- Shiplap wrap around built-in cabinets or a fireplace. Wrapping shiplap around a fireplace TV stand cavity with a dedicated ventilation gap ties the whole wall together. Leave at least 2" of open clearance above any heat-producing component.
Pro Tip: For a living room accent wall that photographs well, keep the shiplap panel no wider than the sofa below it. Oversized panels look unanchored.
Which shiplap materials work best for a painted media wall?
The material choice determines whether your finish looks custom or craft-fair. Here is how the main options stack up:
| Material | Best For | Painted Finish | Media Integration | Notes |
|---|---|---|---|---|
| MDF nickel-gap | Painted luxury results | Excellent — no grain | Easy wire channels | Recommended for painted projects |
| Pre-primed pine | Cost/authenticity balance | Good — minor grain risk | Good | Needs careful priming |
| Solid pine/cedar | Stained, natural looks | Fair — grain shows | Moderate | Requires acclimation |
| PVC/foam | Wet or humid areas | Good | Good | Less tactile luxury feel |
The short decision rule: if you are painting, use MDF. If you are staining, choose solid wood and let it acclimate to the room for 48–72 hours before fastening. For media wiring and kit integration, pre-cut nickel-gap MDF profiles are the practical default.
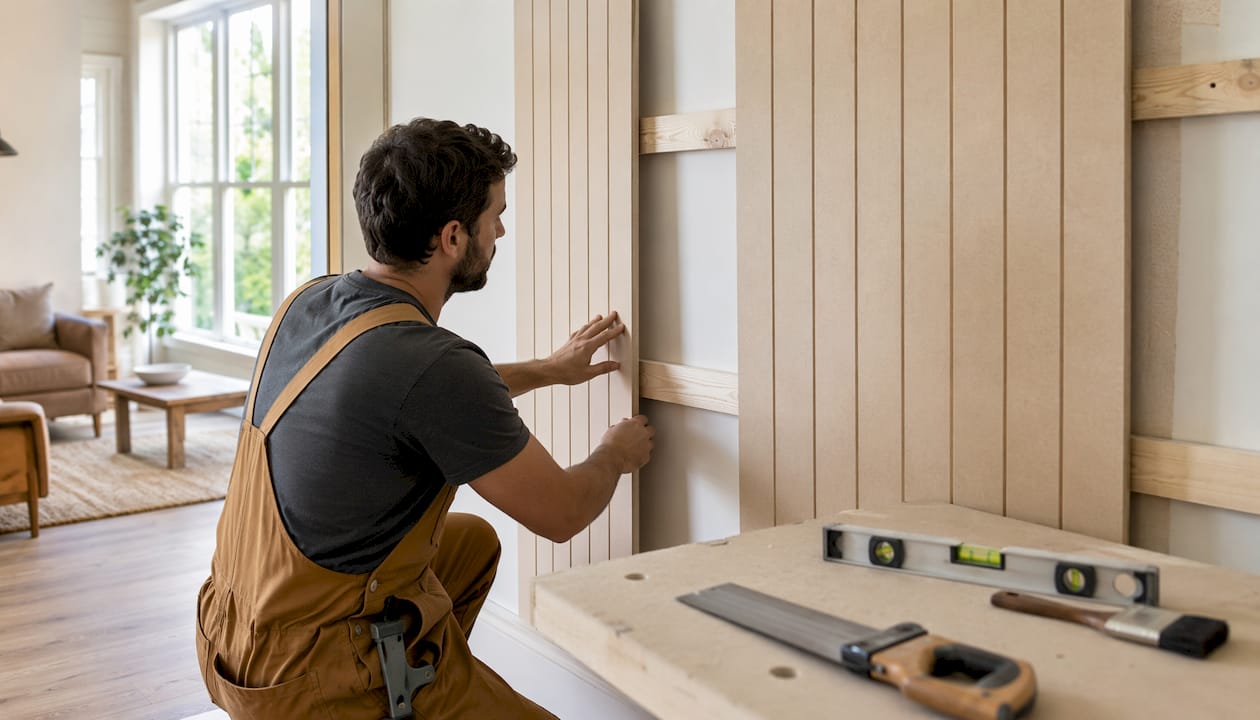
Profile choice matters too. Nickel-gap yields a consistent 1/8" shadow line and leaves a natural channel for low-voltage wire runs. Tongue-and-groove locks tighter but makes future wire access harder. Rabbeted profiles split the difference.
Pro Tip: Seal all MDF edges with a shellac-based primer before painting. Unsealed MDF edges absorb paint unevenly and telegraph every brad hole. See the DIY panel guide for a full prep sequence.
How does board orientation change the way your living room reads?
Orientation is one of the cheapest design decisions you can make, and it has a bigger visual impact than most homeowners expect.
- Horizontal runs visually widen the room. Classic for lower ceilings or to reinforce a long sofa-TV axis. The industry-standard reveal is 1/8" for subtle shadow lines and expansion room.
- Vertical runs draw the eye upward and make ceilings feel taller. Increasingly popular in 2026 for modern media walls, especially in rooms with 8-foot ceilings that need visual lift.
- Plank width: narrow planks read contemporary and refined; wide planks read bold and architectural. Match width to room scale.
- Stagger end joints by at least 24" so seams never align across adjacent courses.
- Plan TV cutouts to land on solid board material, not on a tongue or groove edge, which can split under mount weight.
How do you integrate a TV, speakers, and wiring into a shiplap wall?
Getting the media side right before the first board goes up saves hours of rework. Work through this sequence:
- Map studs and mark the TV center. Calculate bracket depth plus board thickness to confirm the mount sits flush. Most TV brackets add 1–2" of depth; MDF nickel-gap boards add roughly 3/4".
- Install blocking and electrical boxes. Add solid lumber blocking behind any speaker or mount location. Run in-wall conduit or low-voltage cable channels now, before cladding.
- Leave a service chase. A removable access panel behind the TV cavity lets you swap HDMI cables, add a streaming device, or replace a power strip without touching the shiplap.
- Plan ventilation. Never seal heat-producing components tightly. Leave panel gaps or cut ventilation slots near any AV receiver or streaming box.
- Fit shiplap with spacers. Work from the bottom up, checking level every three courses. Use a 1/8" hardboard scrap as a consistent spacer.
- Cut the TV aperture last. Mark the opening from the back side and use a jigsaw. Test-fit the mount before final fastening.
- Test all AV gear before painting. Power everything up, confirm signal paths, and check for heat buildup before you seal the wall with primer and paint.
Pro Tip: Nail into studs wherever possible. Skipping studs and nailing only into drywall is one of the most common installation failures — the boards eventually pull away from the wall, especially near a heavy TV mount.
How do you measure and budget for a shiplap media wall?
Start with wall area in square feet (height × width), then subtract large openings like windows. Note TV and fixture cutouts separately since you still need full boards behind them for blocking.
Add 10–15% for cuts and waste. A 108 sq ft wall needs roughly 124 sq ft of material ordered. That buffer covers angled cuts, damaged boards, and pattern matching on diagonal layouts.
| Item | Notes |
|---|---|
| Shiplap boards | Wall sq ft + 10–15% waste |
| 1/8" spacers | One pack covers most walls |
| Finish nails / brad gun nails | 2" for MDF into studs |
| Construction adhesive | One tube per 100 sq ft |
| Blocking lumber | 2×4 or 2×6 behind mount points |
| Shellac primer + paint | One quart primer; one gallon paint per 100 sq ft |
| Paintable acrylic caulk | Two tubes minimum |
DIY MDF nickel-gap materials for roughly 100 sq ft typically cost between $250 and $350. Pine boards and any contractor labor push the total higher. Build in a contingency for blocking lumber and mounting hardware, which most material calculators omit.
What paint and finish choices lift shiplap from farmhouse to luxury modern?
Primer is not optional on MDF. Use a shellac-based or high-build primer on all faces and edges before topcoating. For the finish coat, choose satin or eggshell sheen — flat paint shows every brad hole and scuff, while satin cleans easily and holds up to the humidity swings a living room sees.
Color guidance by room orientation:
- North-facing rooms: warmer whites like Benjamin Moore Simply White prevent the wall from reading gray or cold under limited natural light.
- South-facing rooms: cooler whites like Benjamin Moore Chantilly Lace stay crisp without going yellow in direct sun.
- TV backdrop: deep charcoal or navy makes the screen recede and reads as a deliberate modern choice rather than a default. Pair with warm wood tones in the console to keep the room from feeling heavy.
Caulk every reveal transition and trim joint with paintable acrylic caulk before the final coat. Do not overfill the nickel gap itself — a thin bead at the board edges is enough. For integrated lighting, recess LED strips behind a floating reveal or in a reeded channel so the glow reads as depth, not glare. Maintenance is straightforward: dust with a microfiber cloth and touch up scuffs with the original paint. Properly sealed MDF holds up well for years without refinishing.
For more wall planks decor ideas and finish pairings, the Themediawallstore blog covers 2026 styling trends in detail.
DIY from scratch, a pre-cut kit, or a pro — which route fits you?
- DIY from scratch. Best for experienced builders who want total control over dimensions and profiles. Expect a full weekend plus a second day for finishing. You handle every cut, every measurement, and every wire channel.
- Luxury DIY kit. Pre-cut and pre-labeled panels with integrated LED channels and hidden-wire management. A kit from Themediawallstore installs in a weekend without a contractor. The Monaco Luxury Media Wall Kit is a strong example: floating console, slat wall, and display tower arrive ready to assemble. Over 1,000 satisfied customers have used this route to get a high-end finish at a fraction of custom-build cost.
- Hire a pro. Required for complex electrical work, structural changes, or if you want a guaranteed finish without lifting a tool. Higher cost, but ventilation compliance and finish quality are handled for you. If you are in the San Francisco Bay Area, Themediawallstore offers white-glove custom installation.
The decision comes down to four things: timeline tolerance, tool access, willingness to cut around outlets, and desired finish level. If you want the fastest path to a luxury result without a contractor, a pre-cut kit wins on every count.
When weighing the broader renovation picture, house makeover guidance can help you sequence a shiplap media wall alongside other upgrades without overlap.
Key Takeaways
A framed MDF nickel-gap media wall with a 1/8" reveal, planned wiring, and satin paint delivers the most reliable luxury DIY result for a living-room TV installation.
| Point | Details |
|---|---|
| MDF for painted finishes | MDF nickel-gap boards avoid grain show-through and take primer and paint cleanly. |
| 1/8" reveal is non-negotiable | The nickel gap allows board expansion and creates the shadow line that reads as custom millwork. |
| Order 10–15% extra material | Allow 10–15% extra material for cuts and waste beyond your wall area. |
| Plan wiring before cladding | Rough-in conduit, blocking, and a service chase before the first board goes up. |
| Themediawallstore kits | Pre-cut, pre-labeled weekend-install kits with integrated LED and hidden-wire channels skip the hardest steps. |
Why the "full wall" instinct is the one to fight
Most homeowners planning a shiplap media wall start by imagining boards covering every surface in the room. That instinct is worth questioning. The rooms that photograph best, and more importantly feel best to live in, almost always use shiplap as a framing device: one panel, one wall, one focal point.
The shift in 2026 design thinking is real. Placement determines perceived sophistication far more than coverage does. A tightly framed shiplap panel behind a TV, sized to the console below it and lit from behind, reads as architecture. The same boards spread across four walls read as a trend.
The other thing most guides understate is how much the finish quality matters relative to the layout. A perfectly oriented wall with mediocre paint prep looks worse than a simpler layout done with proper priming, satin sheen, and clean caulk lines. The material and finish choices covered here are where the luxury result actually lives. Pair those with interior door and trim color decisions that complement your shiplap tone, and the whole room reads as considered rather than assembled.
Themediawallstore makes the weekend install real
Skip the measuring marathons and custom-cut headaches. Themediawallstore's pre-cut, pre-labeled media wall kits arrive with integrated LED channels, hidden-wire management, and mounting tolerance guidance built in — everything sized and labeled so the hardest part of the project is already done before you pick up a nail gun.

The kits are designed for a single-weekend install, backed by expert support if you hit a snag, and covered by risk-free returns. More than 1,000 homeowners have used them to get a high-end media wall finish without a contractor's timeline or price tag.
Browse the full kit catalog to find the right size and finish for your living room, or book a free 3D design consultation to see your wall before you build it.
Useful sources
- Shiplap accent wall — D and G Flooring — installation standards, reveal sizing, and orientation effects
- Shiplap living room — D and G Flooring — materials estimation, waste calculation, and common install failures
- 13 Shiplap Walls for 2026 — Homedit — 2026 placement-over-coverage trend context
- Shiplap accent wall ideas — The Spruce — color and backdrop guidance for TV walls
- Themediawallstore blog — accent wall ideas — framing and layout strategies for media walls
- Themediawallstore — panel interior design guide — finish techniques and 2026 panel trends
FAQ
What is the best shiplap material for a painted living room media wall?
MDF nickel-gap boards are the top choice for painted finishes because they have no wood grain to bleed through the topcoat. Prime all faces and edges with a shellac-based primer before painting.
How much shiplap do I need to order for a 108 sq ft wall?
Add 10–15% for cuts and waste, so a 108 sq ft wall requires roughly 124 sq ft of material ordered.
Should shiplap run horizontal or vertical on a TV wall?
Horizontal runs widen the room visually; vertical runs add perceived ceiling height. For most living rooms with a centered TV, horizontal is the classic choice, but vertical works well in rooms under nine feet tall.
Can I install a shiplap media wall in a weekend?
Yes, with a pre-cut kit. Themediawallstore's kits arrive pre-labeled with integrated LED channels and hidden-wire management, making a weekend install realistic for a homeowner with basic tools.
What paint sheen should I use on shiplap?
Use satin or eggshell. Flat paint shows nail holes and scuffs easily, while satin cleans well and holds up to normal living-room wear over time.